Baby lashes are brand-new lashes that have only just emerged from the eyelid skin. They’re in the earliest growth phase, anagen.
Babies and baby lashes are a sore subject for a lot of artists. It’s the stickies that appear “out of nowhere,” the crooked natural lashes those stickies leave behind, and the “antennas” poking out a week into wear. That “chaotic Kylie” look and “dislocated lash” all come down to handling anagen-stage lashes wrong.
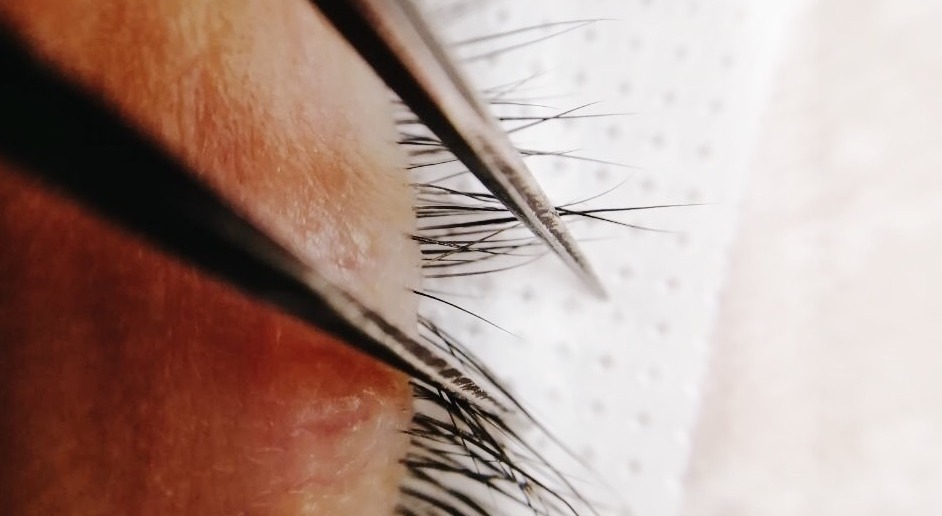
These lashes are still very weak, and if you work them carelessly the fallout can be: stickies with other lashes, a twisted extension (a “dislocated lash”), and discomfort or even pain for the client.
Where do crooked lashes come from?
Crooked or “curly” lashes are the result of a sticky, when a lash simply gets yanked mechanically.
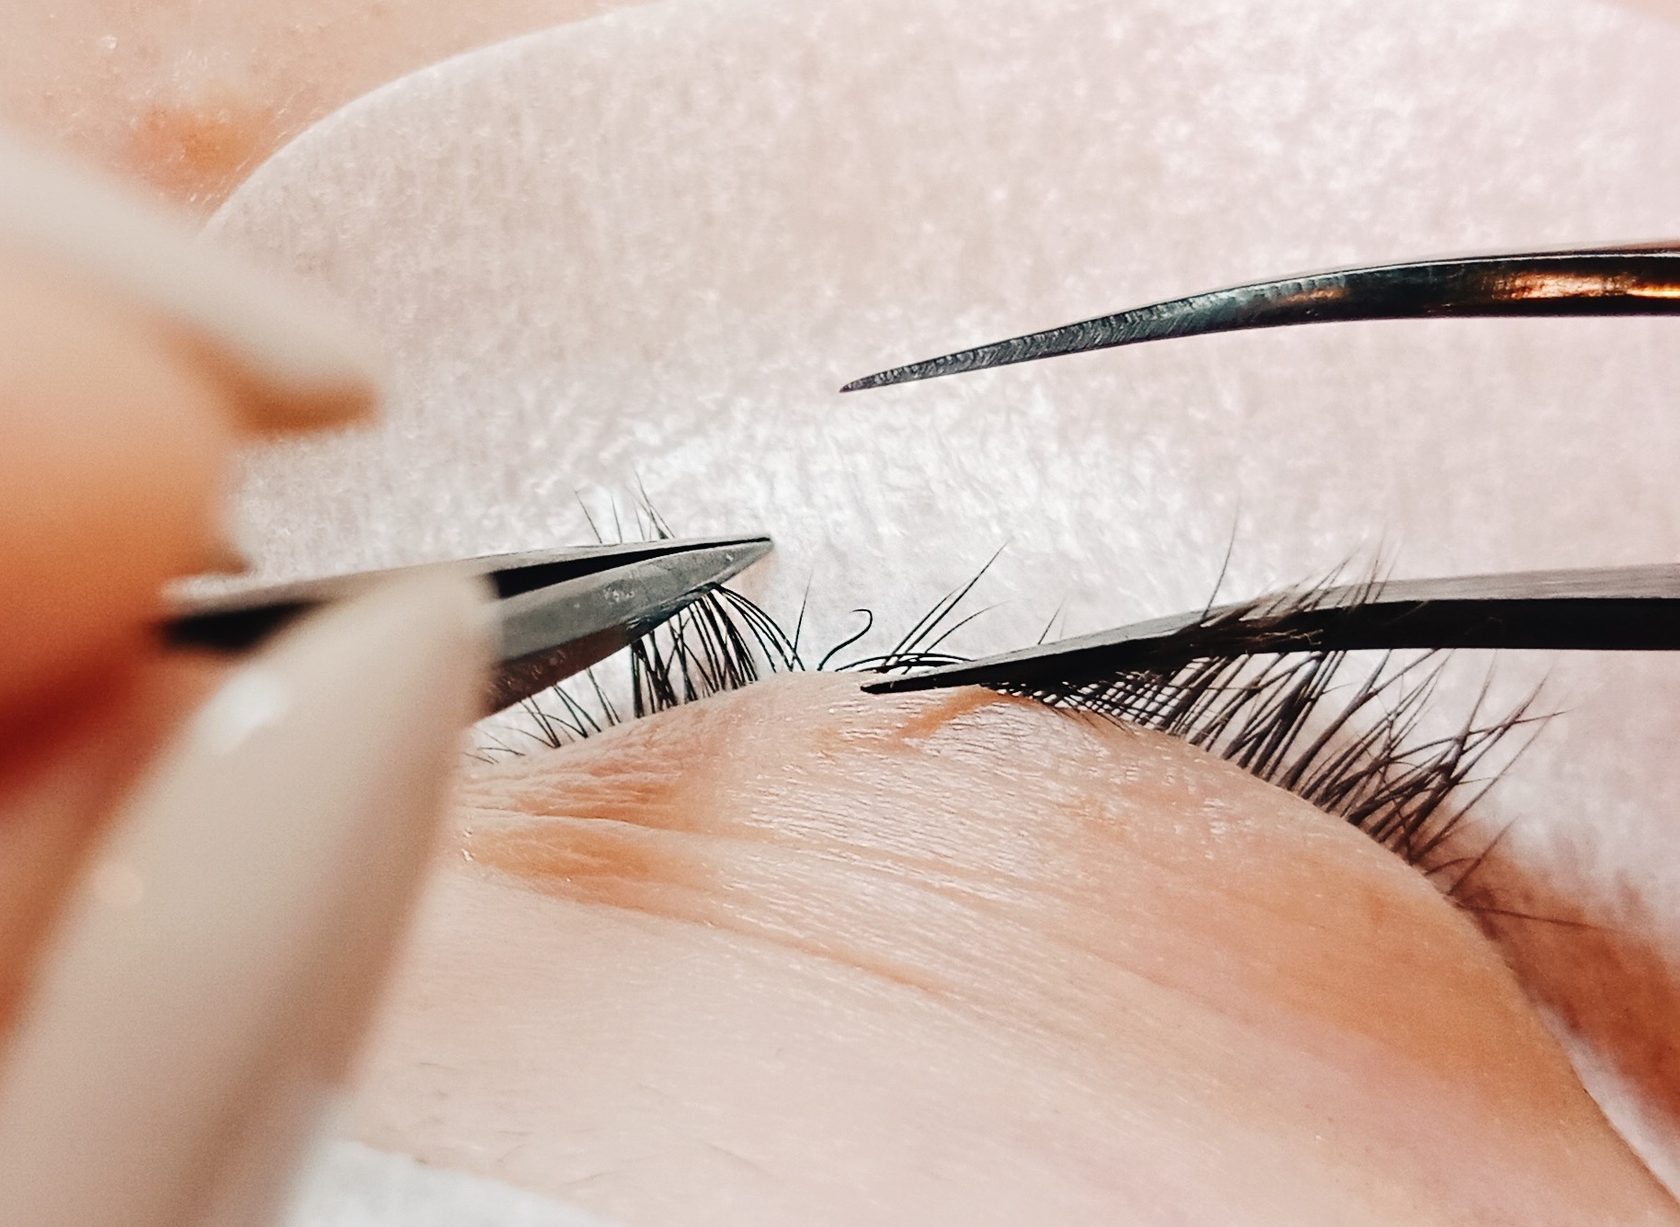
So always check yourself with a tweezer for micro-stickies, running the tweezer through the lashes right at the base. A sticky is a technique error and client discomfort, and it leads to lashes being pulled out.
Remember: a yanked anagen lash won’t grow back right away, only when nature intended. Which means you’ll be waiting quite a while.
And since anagen is a lash in active growth, a sticky with it also creates “loops” of lashes, your future crooked ones.
Tips for working with thin, weak lashes
Light material and the right length. Use shortened, lightest-possible lashes on these. By the time the anagen lash grows in, the extension should be the same length as the mature ones.
Mind the weight balance. Don’t overload the lash. When in doubt, skip a weak lash rather than risk the quality of your work.
Check for stickies. After your set, always check every lash with a tweezer, tracing it at the roots. Stickies lead to lashes being pulled and to client discomfort.
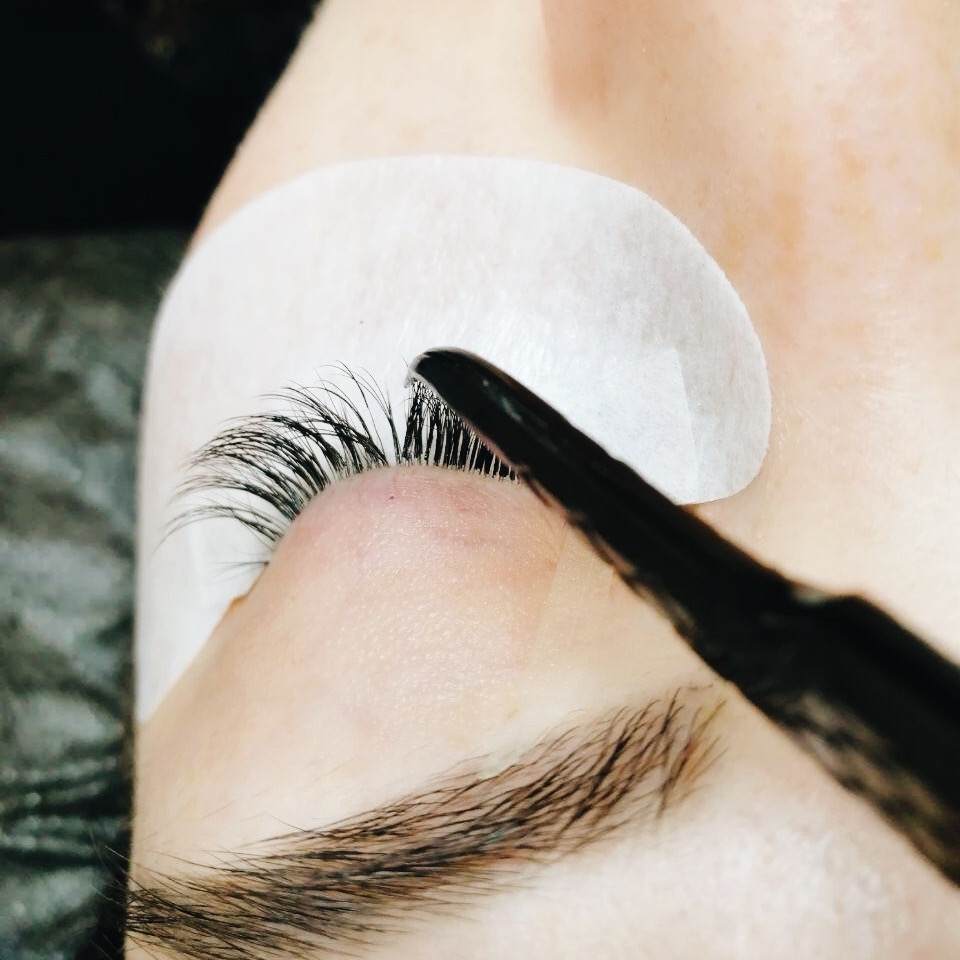
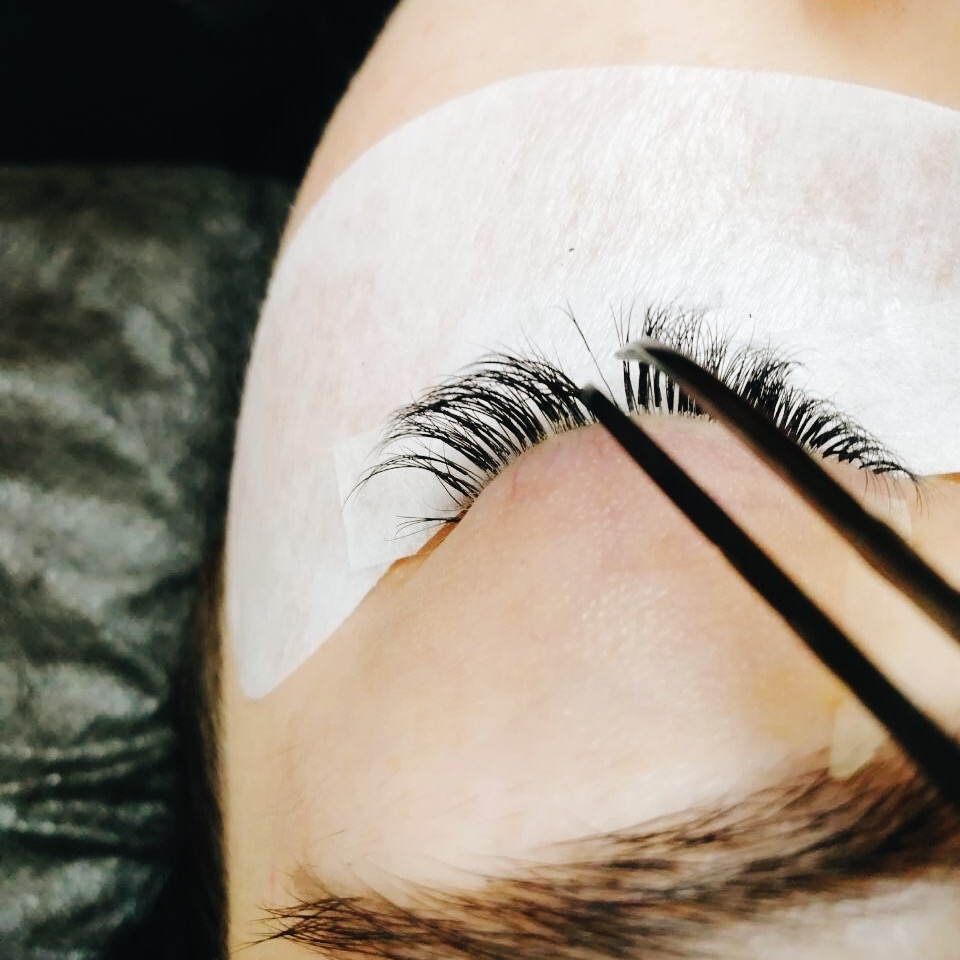
Keep a minimal gap. Attach the extension to the part closer to the base of the natural lash, but never touch the lid skin.
Watch the direction. Make sure the extension or fan’s direction matches the natural lash’s. That prevents twisting as it grows.
Leave the tiniest baby lashes alone. The very shortest lashes are best left untouched, to avoid “antennas” a week later.
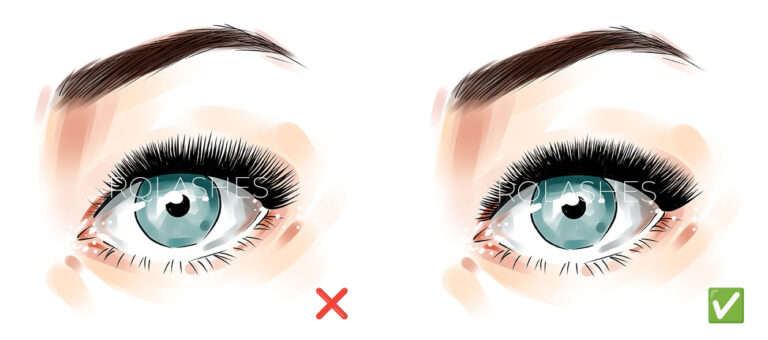
This is what correct extension on anagen-stage lashes looks like: over time, once the lash has grown to the length of its neighbors, the fan doesn’t stand out from the lash line. Set a length that will make the extension even with the main lash once it reaches maturity. The smaller the anagen lash, the more you subtract from the length you’d normally use in that zone.
If you put a thick, long lash or fan on a tiny anagen lash, on top of the week-later “antenna” you can get a “dislocated lash.” That’s when the lash twists at the tip under the load, which can be very uncomfortable and even painful for the client.
If a client has a lot of baby lashes that are ready for extension, warn them that working with baby lashes takes more time, so the appointment may run 30 to 40 minutes longer.
You might also like
 Working the Inner and Outer Corners
 Relative vs. Absolute Humidity
 Is Hypoallergenic Lash Adhesive a Marketing Myth?
 Trending Effects: Anime, Kim, Kylie, Angel
 LED Lash Extensions: The Method, Pros, and Cons
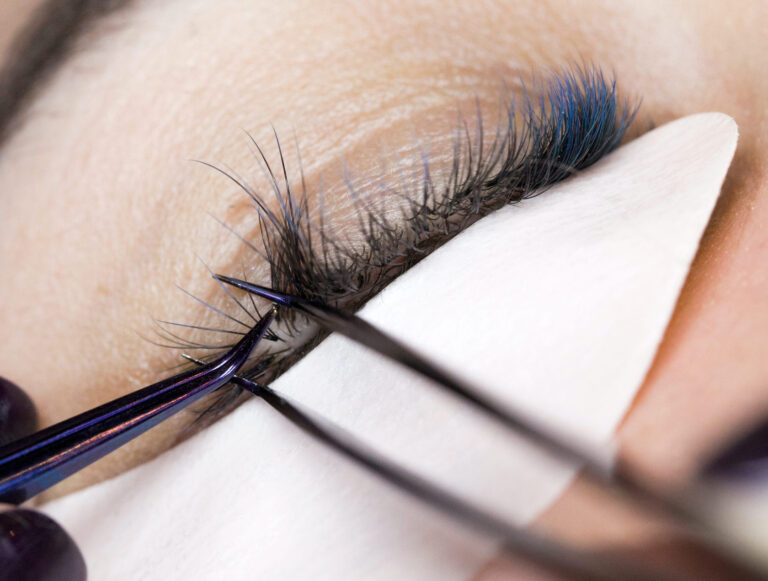 Room Microclimate: The Ideal Temperature and Humidity for Lashing
 Competition Lash Looks
 The Top 5 Trending Lash Effects (With Maps)
 The Wet Look Lash Effect
 The Ombre Lash Technique and Shadow Effect
 Lash Porosity and How It Affects Retention
 Colored and Creative Lash Extensions
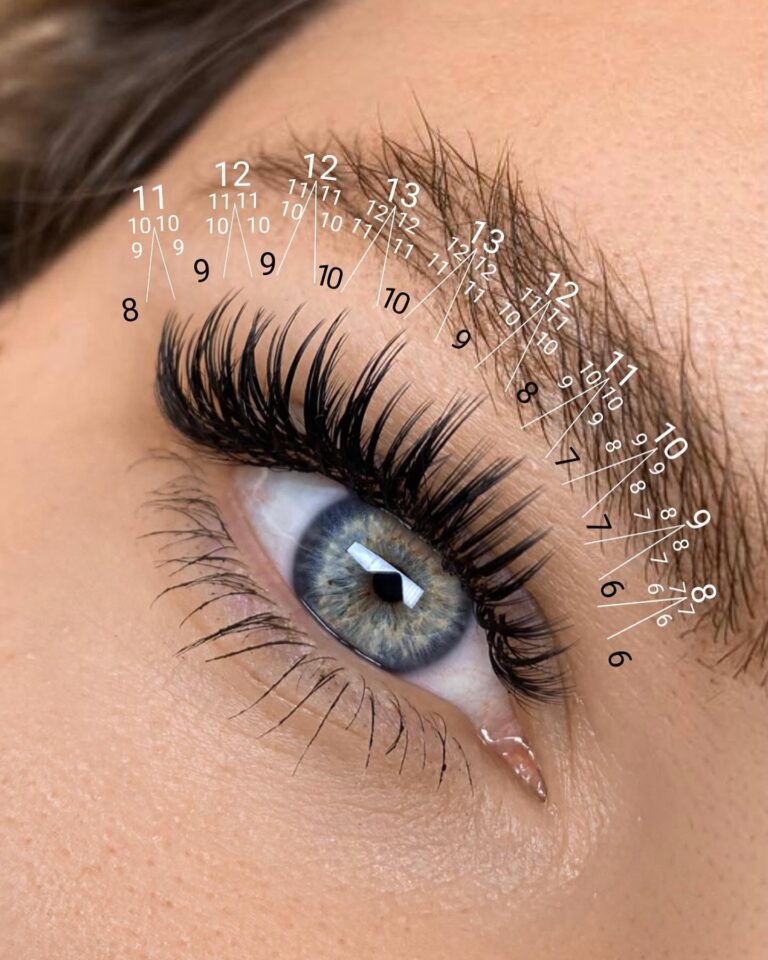 The Mascara Effect in Lash Extensions
 Bottom Lash Extensions
 “I Swear I Washed Them!” What to Do When Clients Ignore Aftercare
 The Winged Eyeliner Lash Effect
 Why You Can (and Should) Get Lash Extensions Wet
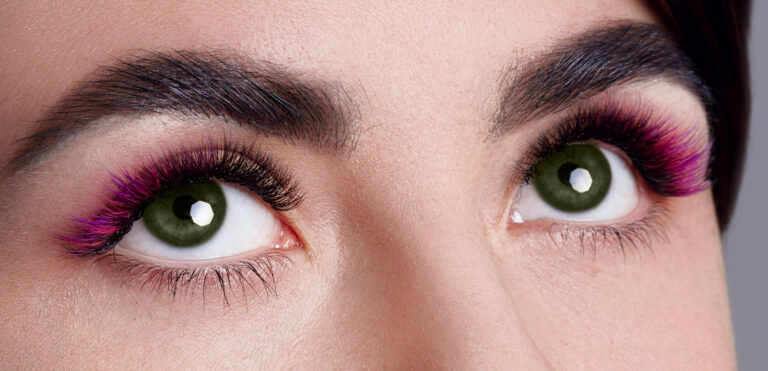 How to Match Colored Lashes to Eye Color
 Working With the L Curl
 Summer Lashing: How to Tame Your Adhesive in the Heat
 Working With Lash Adhesive in Winter
 Adaptive Lash Extensions: What They Really Are