How well you work the corners is a great marker of overall quality, since inner and outer corners are one of the main judging criteria at lash championships.
But even if you’re not headed to a championship anytime soon, it’s important to follow the basic rules for corners so your set looks pretty and natural, and stays safe and comfortable for the client.
How to work the inner corners
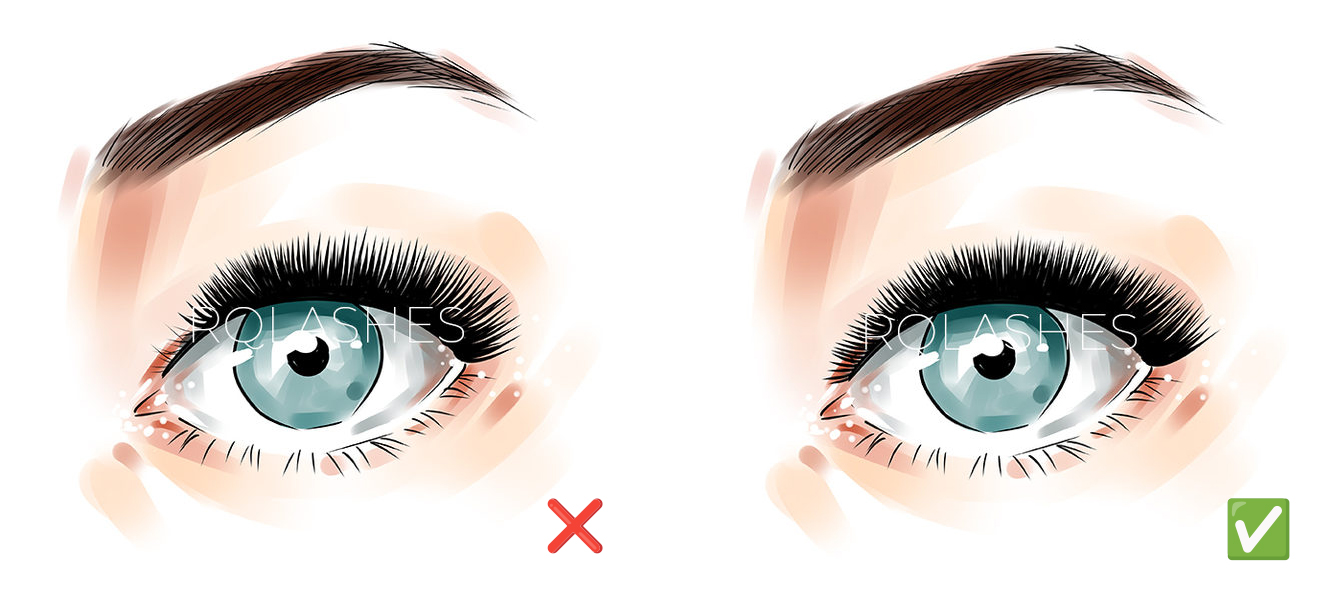
Where to start. ❌ Don’t start with the wrong lashes. ✔️ You have to start with the very first lashes, the ones growing right by the nose. Yes, they’re often hard to reach, but tape saves us all. 😉 Starting from the first lashes is exactly what makes the eye look bigger, whereas skipping them noticeably shrinks it.
Length. ❌ Don’t use lengths over 7 mm. ✔️ Overly long lengths look unnatural, unattractive, and are uncomfortable for the client (the lashes can poke the skin). Stay within 4 to 6 mm. That length also helps with direction, since lashes that are too long start wandering in all directions.
Volume. ❌ Not more than 3D. ✔️ Even if you’re doing mega volume, it should taper toward the corners. Otherwise the short, thin lashes in the inner corners start to droop, and it doesn’t look great.
Curl. ❌ Don’t use anything but flatter curls. ✔️ In the inner corners, use only a C curl to avoid a messy look and discomfort for the client.
Gap. ❌ Not too big. ✔️ Give the corners extra attention and try to keep the gap even everywhere. If you’re struggling to reach the lashes in the inner corners, pull and hold the skin in the corner with tape so you can see exactly where the lashes start and measure the right gap.
Direction. ❌ Not straight. ✔️ We point the inner-corner lashes toward the nose, at roughly a 45-degree angle. That “fanned” direction (inner and outer lashes pointing opposite ways) is what visually opens the eyes. The exception is close-set eyes, where you should point the lashes straight so you don’t amplify that natural effect. With short lengths, the extensions won’t bother the client.
How to work the outer corners
❌ The most common mistake is using the longest lashes in the outer corner. Even if the natural lashes there are the same length as in the main section, it looks strange, the sense of cohesion is lost, and the outer lashes droop, making the eyes look downturned.
✔️ So the last lashes, whatever the effect, should be shorter than your main length. For a cat eye, for example, if you start at 5 mm in the inner corners and use 11 mm as your longest length, finish with 8 mm lashes, or 6 to 7 mm if you want a sharper transition.
You also need to set the right direction, anywhere from 45° to 90° depending on the direction style you’ve chosen for the whole set.
How to make corners easier to work
1. Set yourself up comfortably. A tricky task gets twice as hard when you’re uncomfortable. Mind your light; it should be bright but not blinding. Make sure your neck, back, and arms aren’t strained, and that your chair and couch are set up for you.
2. Lift the lid. A little tension on the lid, up or to the side depending on the zone, changes the direction of the natural lashes, making them more vertical and visible. That makes isolation and placement much easier. You can lift the lid with a finger as you work, or gently tape it back with a thin strip of medical tape.
3. Watch your hand position. Your hands should be in a comfortable position. Especially important for beginners: before you start on the corners, try placing a lash there without adhesive. That helps you find the position and angle that work for you.
4. Start with the corners. It’s better to work the difficult zones at the start of the appointment, when you’re full of energy and focus. Leave them for later and there’s a good chance you’ll just get tired and your quality will drop.
5. Make sure the pad is placed correctly. The eye pad should sit snugly, not slide, and not cover the lashes in the corner zones. Otherwise it blocks your tweezers and creates extra trouble.
You might also like
 Is Hypoallergenic Lash Adhesive a Marketing Myth?
 Summer Lashing: How to Tame Your Adhesive in the Heat
 Bottom Lash Extensions
 Working With the L Curl
 Relative vs. Absolute Humidity
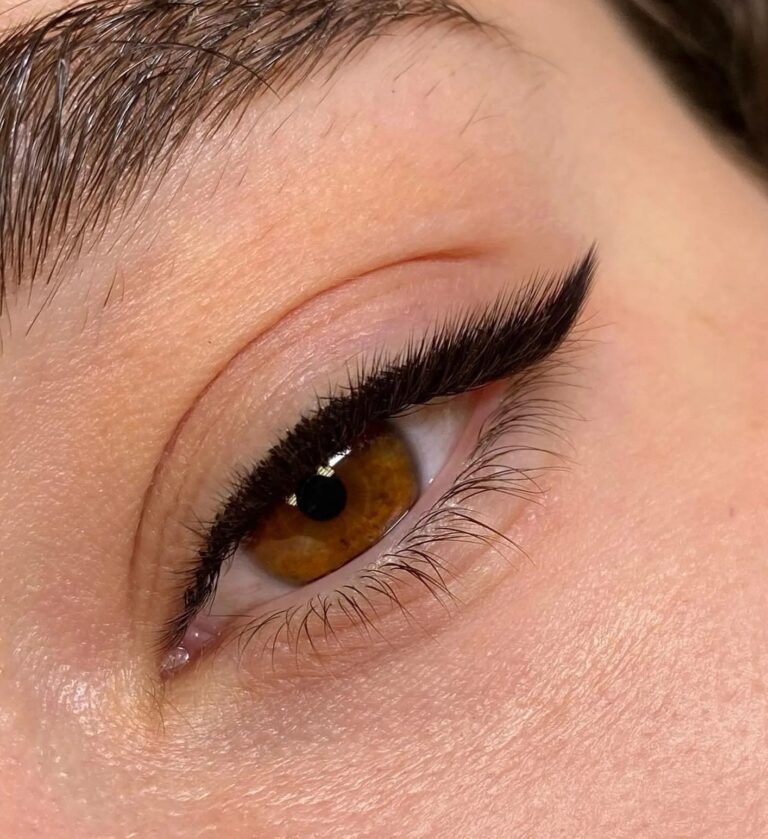 The Winged Eyeliner Lash Effect
 Lash Porosity and How It Affects Retention
 How to Match Colored Lashes to Eye Color
 Working With Lash Adhesive in Winter
 The Wet Look Lash Effect
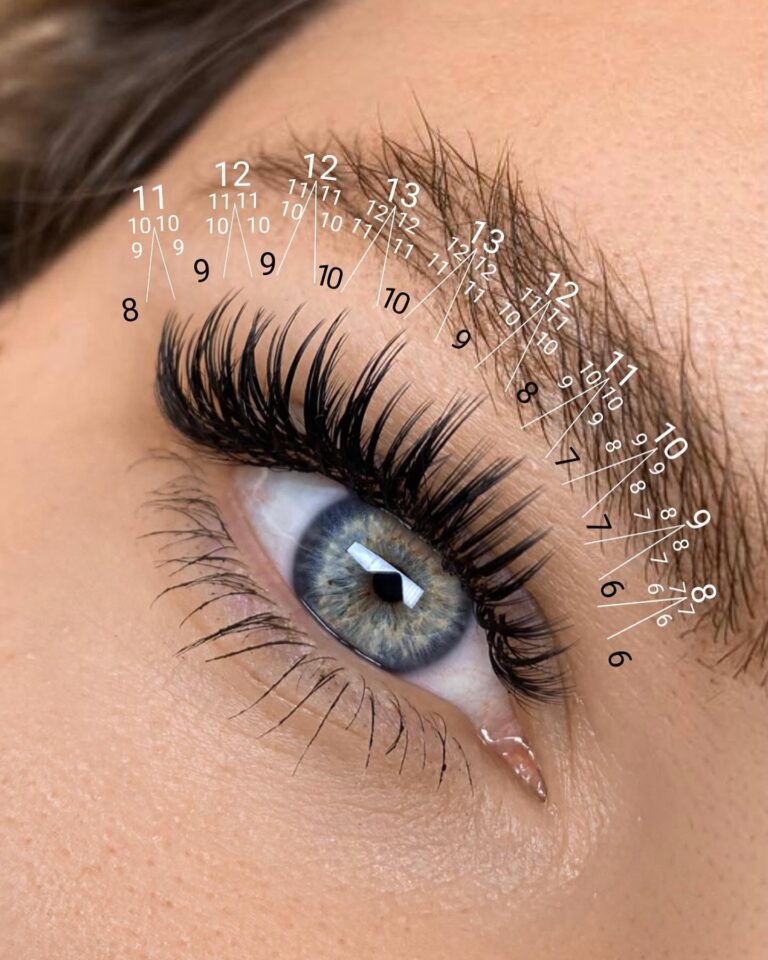 The Mascara Effect in Lash Extensions
 Adaptive Lash Extensions: What They Really Are
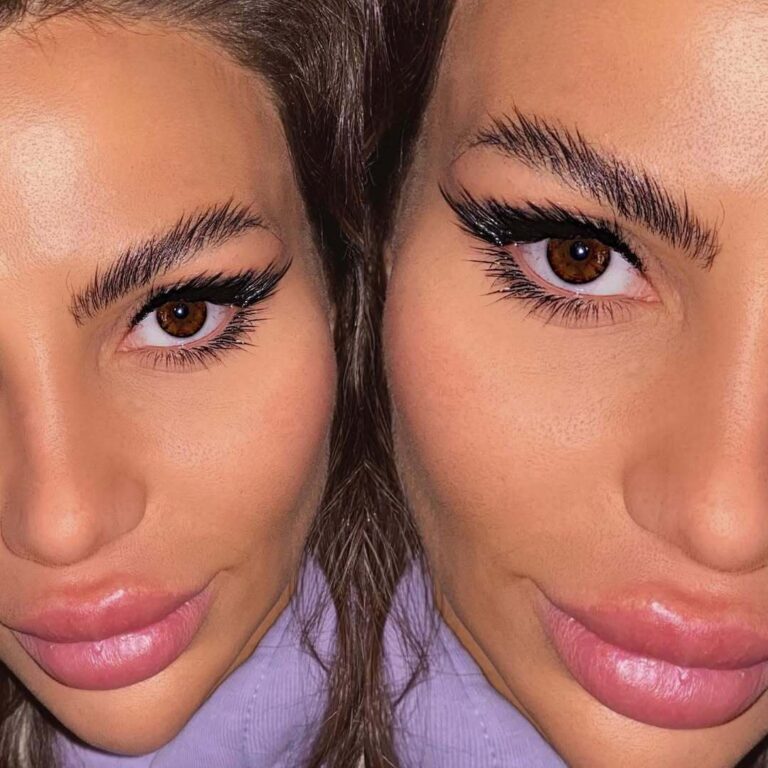 Trending Effects: Anime, Kim, Kylie, Angel
 Colored and Creative Lash Extensions
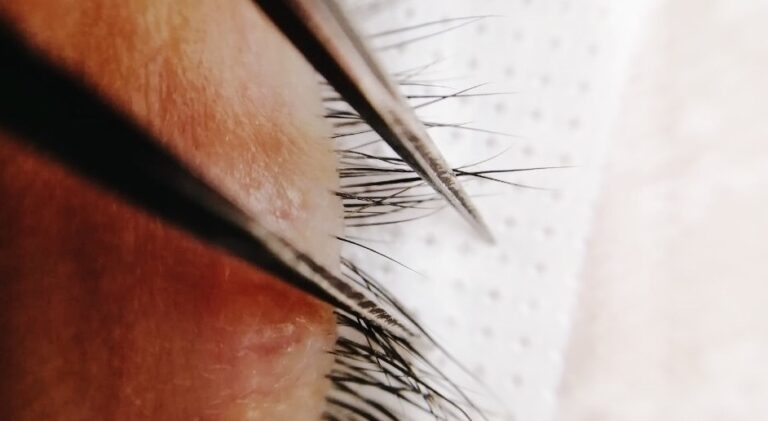 How to Work With Baby Lashes (Anagen Stage)
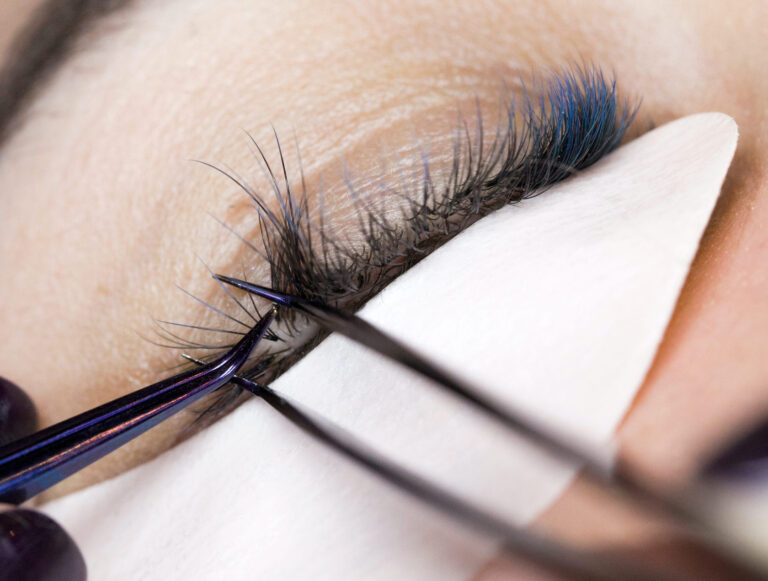 Room Microclimate: The Ideal Temperature and Humidity for Lashing
 Competition Lash Looks
 LED Lash Extensions: The Method, Pros, and Cons
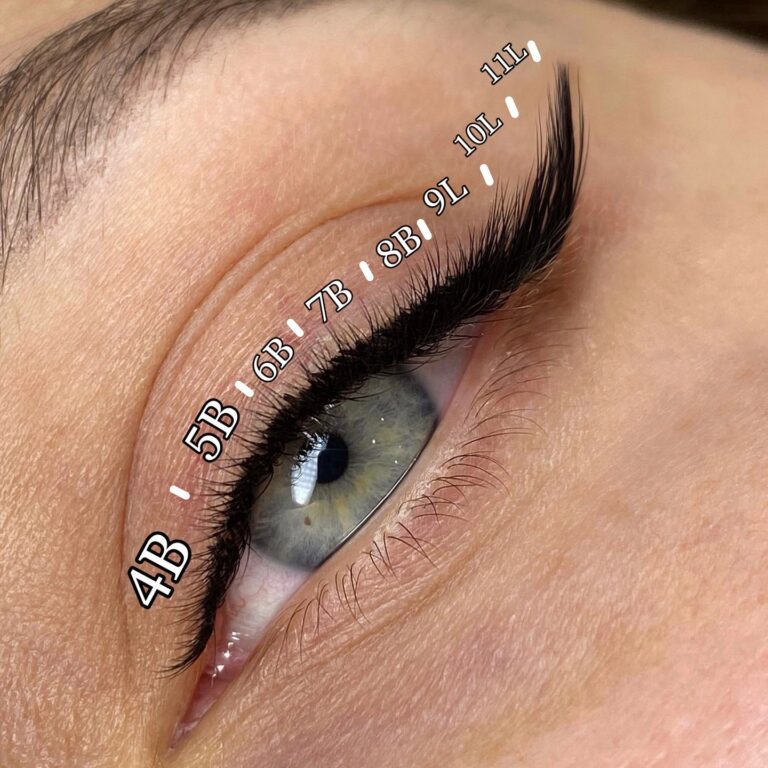 The Top 5 Trending Lash Effects (With Maps)
 The Ombre Lash Technique and Shadow Effect
 “I Swear I Washed Them!” What to Do When Clients Ignore Aftercare
 Why You Can (and Should) Get Lash Extensions Wet