Unfortunately, many lash artists think a beautiful Instagram is a waste of time and just post all their work photos in a row. That’s exactly why later there are no follows or likes, only puzzlement along the lines of “huh, clients aren’t really coming from Instagram.”
How do you build cool visuals on Instagram that attract new clients? How do you keep the account in one consistent style? Do you need to plan your feed, and how? Let’s figure it out!
How to choose your profile picture
If you’re an independent beauty pro, it’s best to use a personal close-up photo where you’re smiling. It’s welcoming and tells followers you’re a real, living person, and as we know, people buy from people.
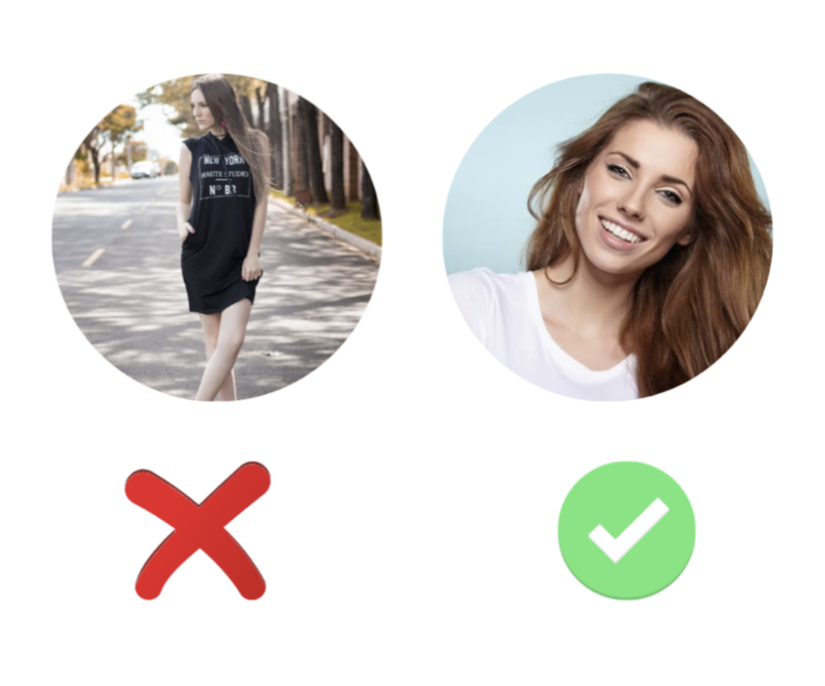
For a salon or studio, it’s better to use your branded logo; it helps your audience remember you and your name.
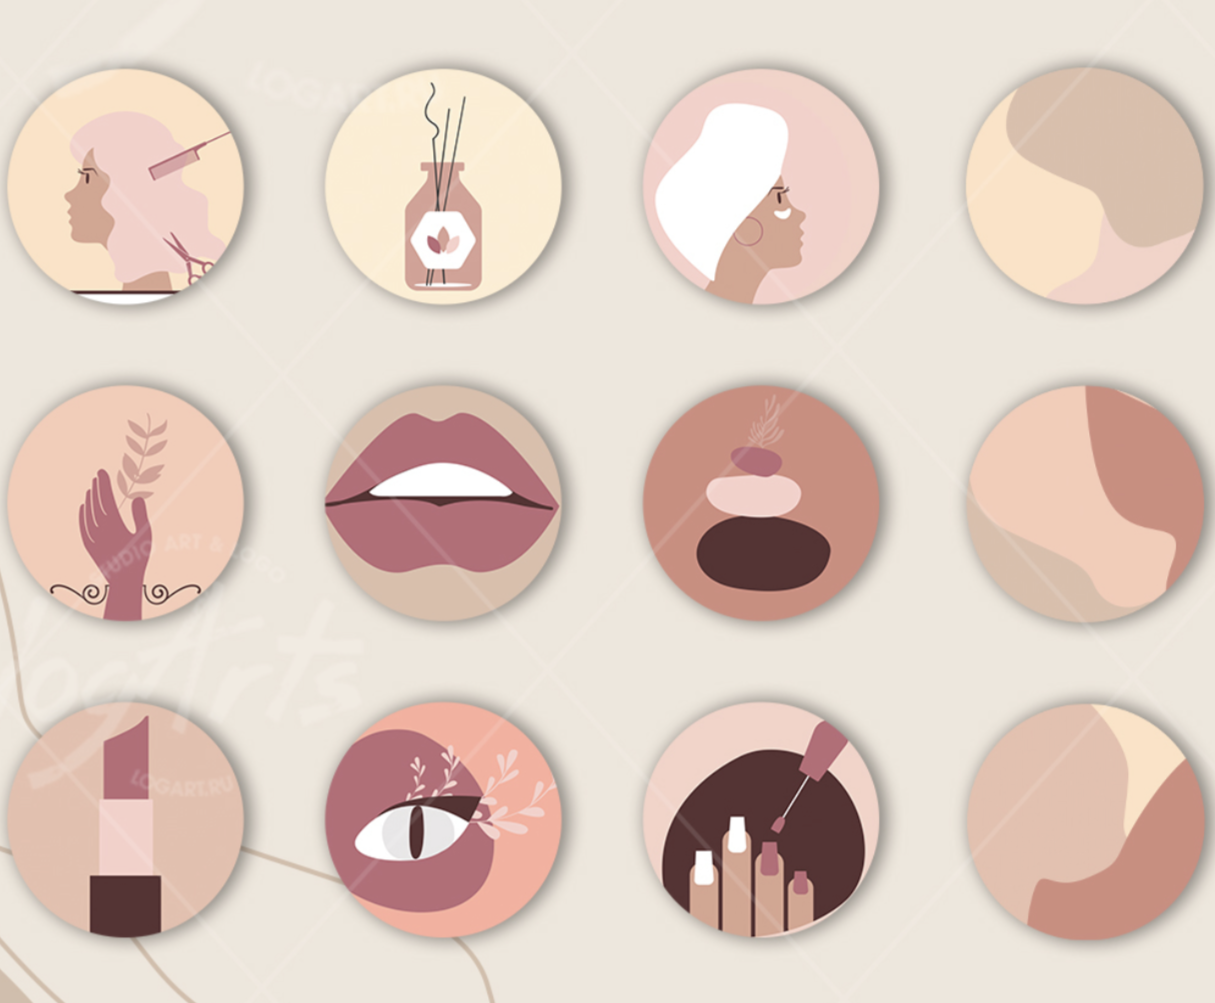
What to add to your highlights
So users can easily find the info they need, make a few themed pinned stories: prices; reviews; promos; address; how to book; work examples; answers to FAQs, and so on. For the covers, use icons in one consistent style (you can commission a designer or find them yourself on free resources).
The main rules of a beautiful Instagram account
Take quality photos (for that you’ll need nice lighting and a phone with a good camera). Shoot your work from different angles (read how to choose the ideal angle for lash photos here). Decide what mood you want to set on your profile. Edit your photos and videos (find the top apps for editing face and eye photos here). Don’t overdo it; natural is in. Create templates for photos with text (if you have any on your profile). Choose 1 to 3 filters and try to use only those (the VSCO app, for example, has a huge selection of filters for every taste). Stick to your chosen editing style. Use colors that go together in your photos and videos.
Planning your feed
Instead of dropping everything every day to write yet another post, use tools that let you plan content in advance.
Set aside a few hours for a content plan to write several posts and think through the visuals (what order to post photos and videos in so they look great together). That way they work for you for a long time. Pin your important posts and top work, so they’re always at the start of your feed and visible to first-time visitors.
Feed-planning apps:
Preview (built for Android, with an iOS version too. Has a built-in photo editor. No limit on the number of photos and videos for building your feed.) Mosaico (unfortunately, iPhone/iOS only. You can add text and hashtags for a planned post. No photo editor, but you can set a reminder that it’s time to post to Instagram.) Plann (works on all phones and systems, and opens in browsers on desktop. Has a built-in photo editor. The free tier includes scheduled posting. A paid subscription unlocks broader, more interesting features.) Unum (one of the most popular mobile apps for feed planning. Its built-in editor helps you edit photos nicely. Once you connect and authorize your profile, you can view your account stats right in it.) Planoly (besides feed post planning, you can add a plan for stories. A pleasant, easy-to-navigate interface.)
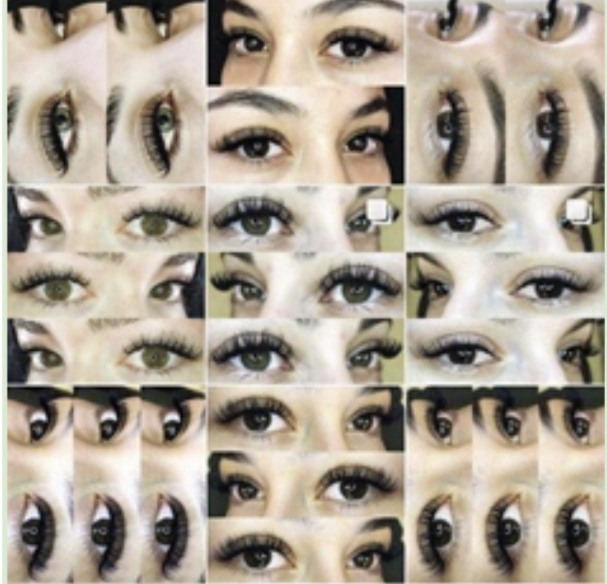
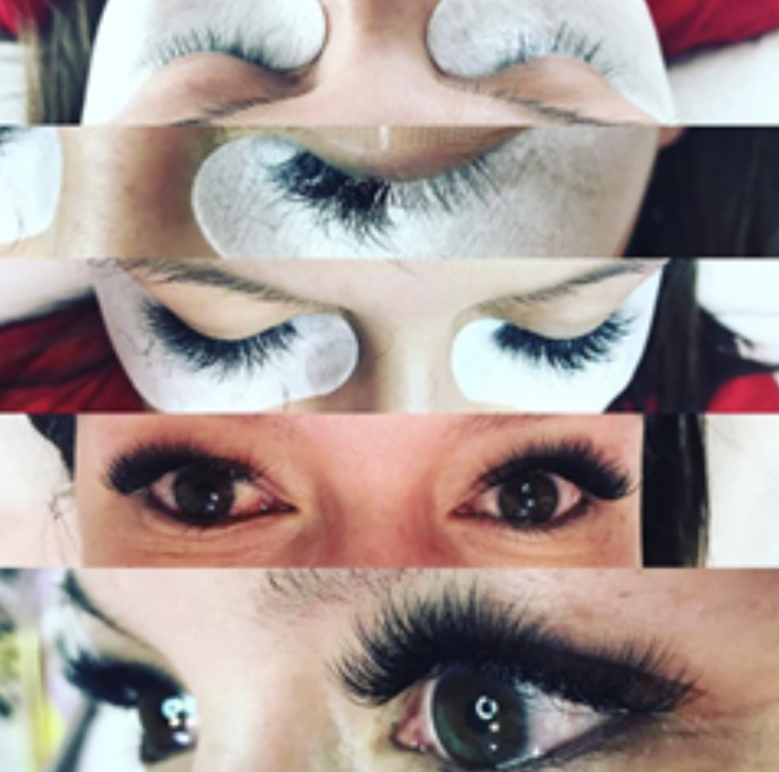
Examples of poor lash-artist visuals
A common mistake among new artists is posting only photos of their work, especially in collage format.
Ideas for what to post besides lash photos
Aftercare tips. Your achievements and credentials. Photos of you and your colleagues. Humor. Beauty news. “Behind the scenes” of your work. Before-and-after photos. Aesthetic photos for inspiration. Interesting facts about you and the treatment itself. Trends in the lash world. How you set up your station. Client transformation cases with their story (a top pick!). How you disinfect your materials. Your mission and philosophy. Your journey from beginner to pro. Photos of your cozy studio. Client reviews. Questions for followers, discussions, and much more! We’d recommend avoiding collages altogether, especially with more than 2 photos.
Instagram has long had the “series,” or as many call it, “carousel” feature, where you can post several photos or videos in one post. First, it’s much easier to see the details of the artist’s work, and second, it looks more aesthetic and doesn’t “clutter” the account.
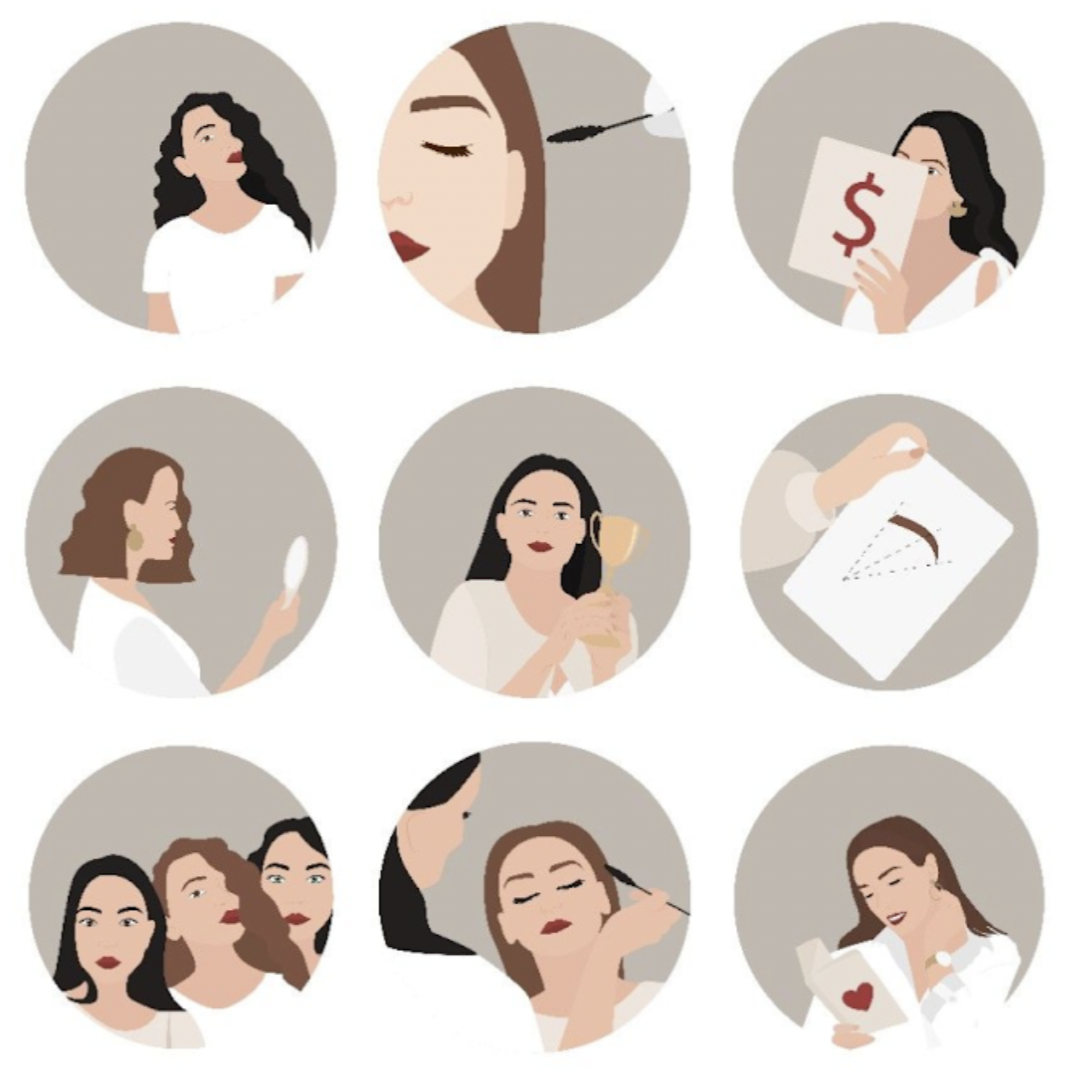
Examples of great lash-artist visuals
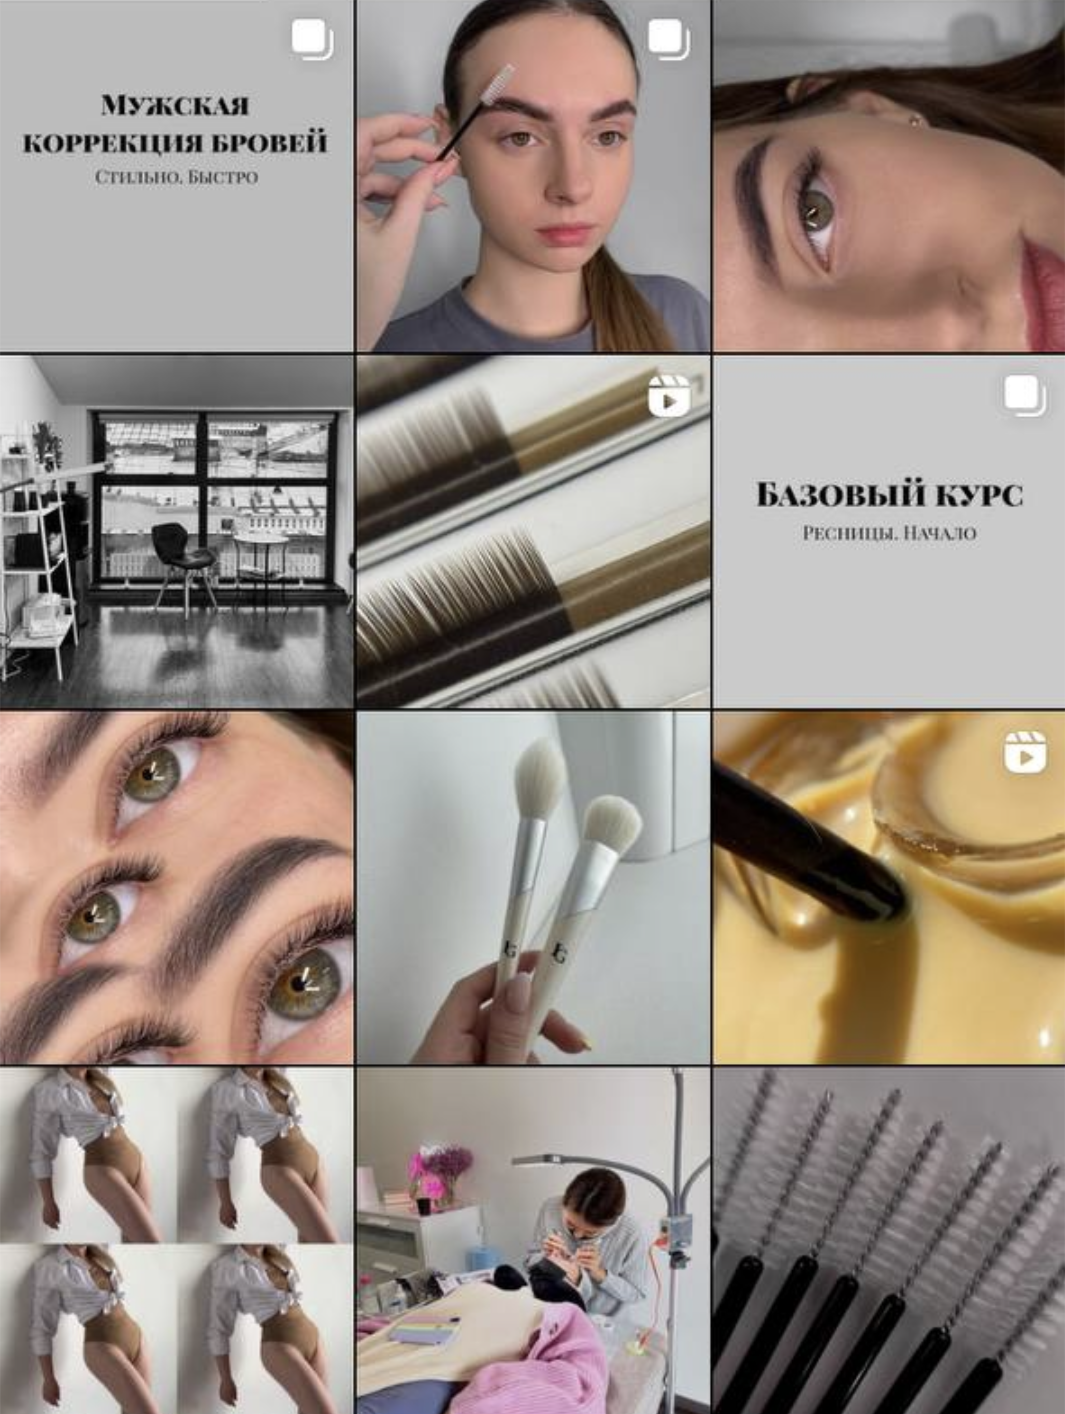
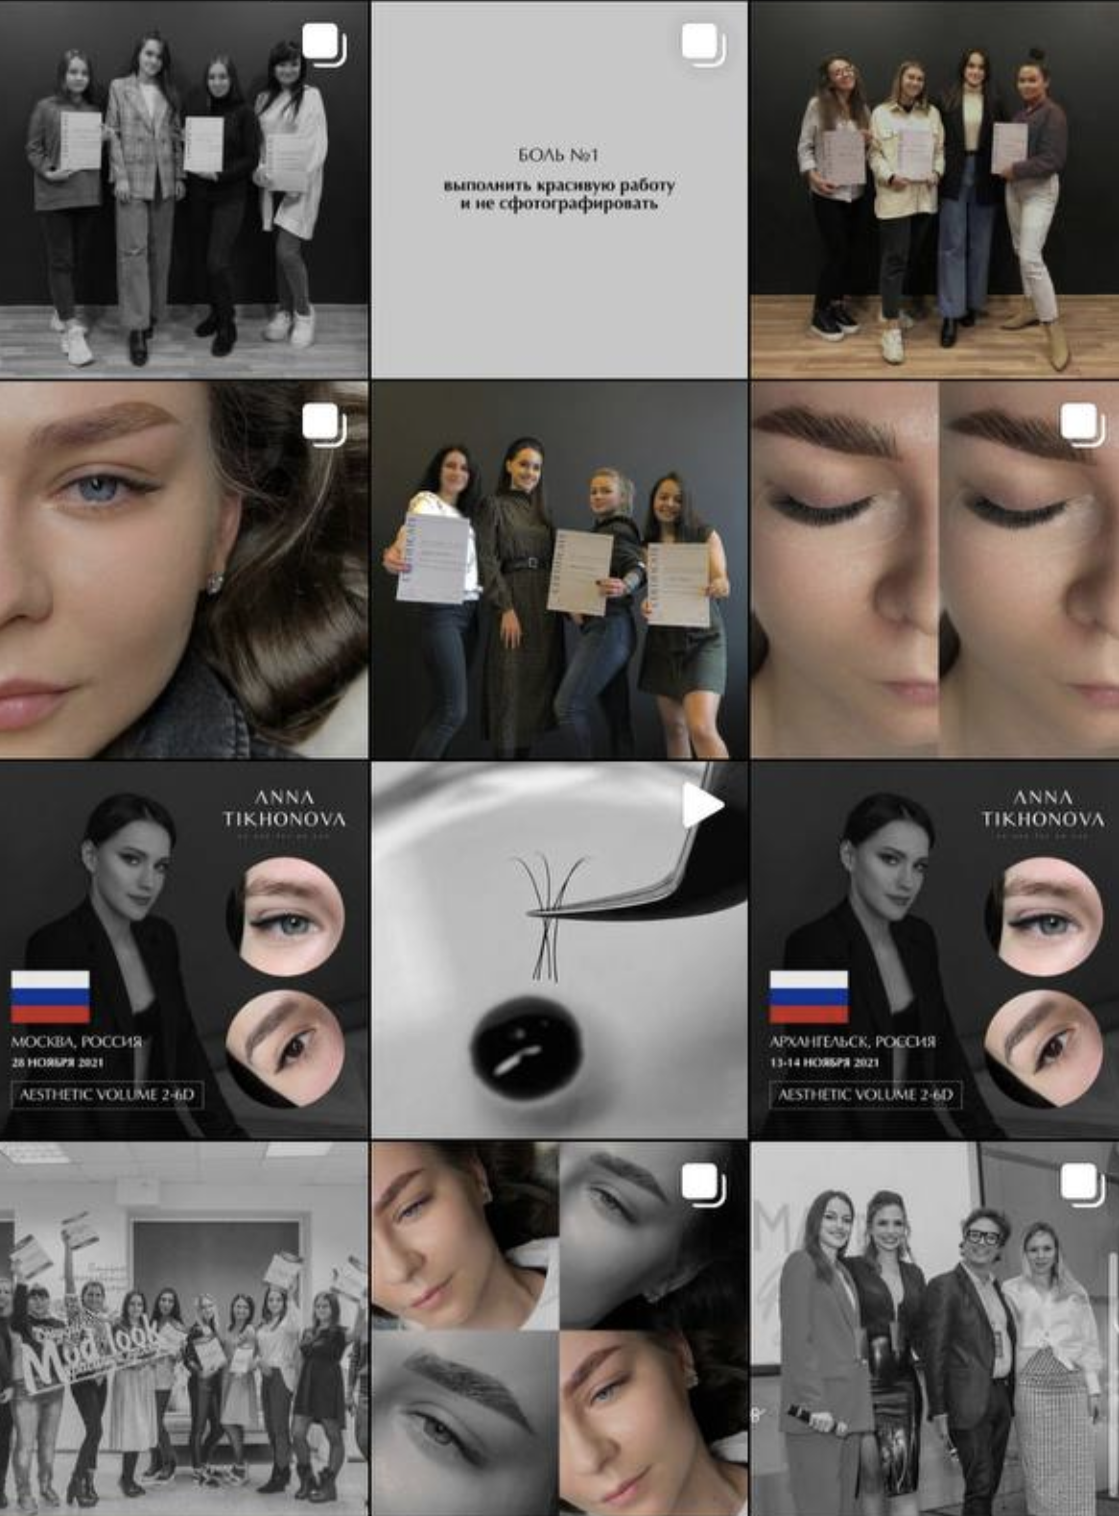
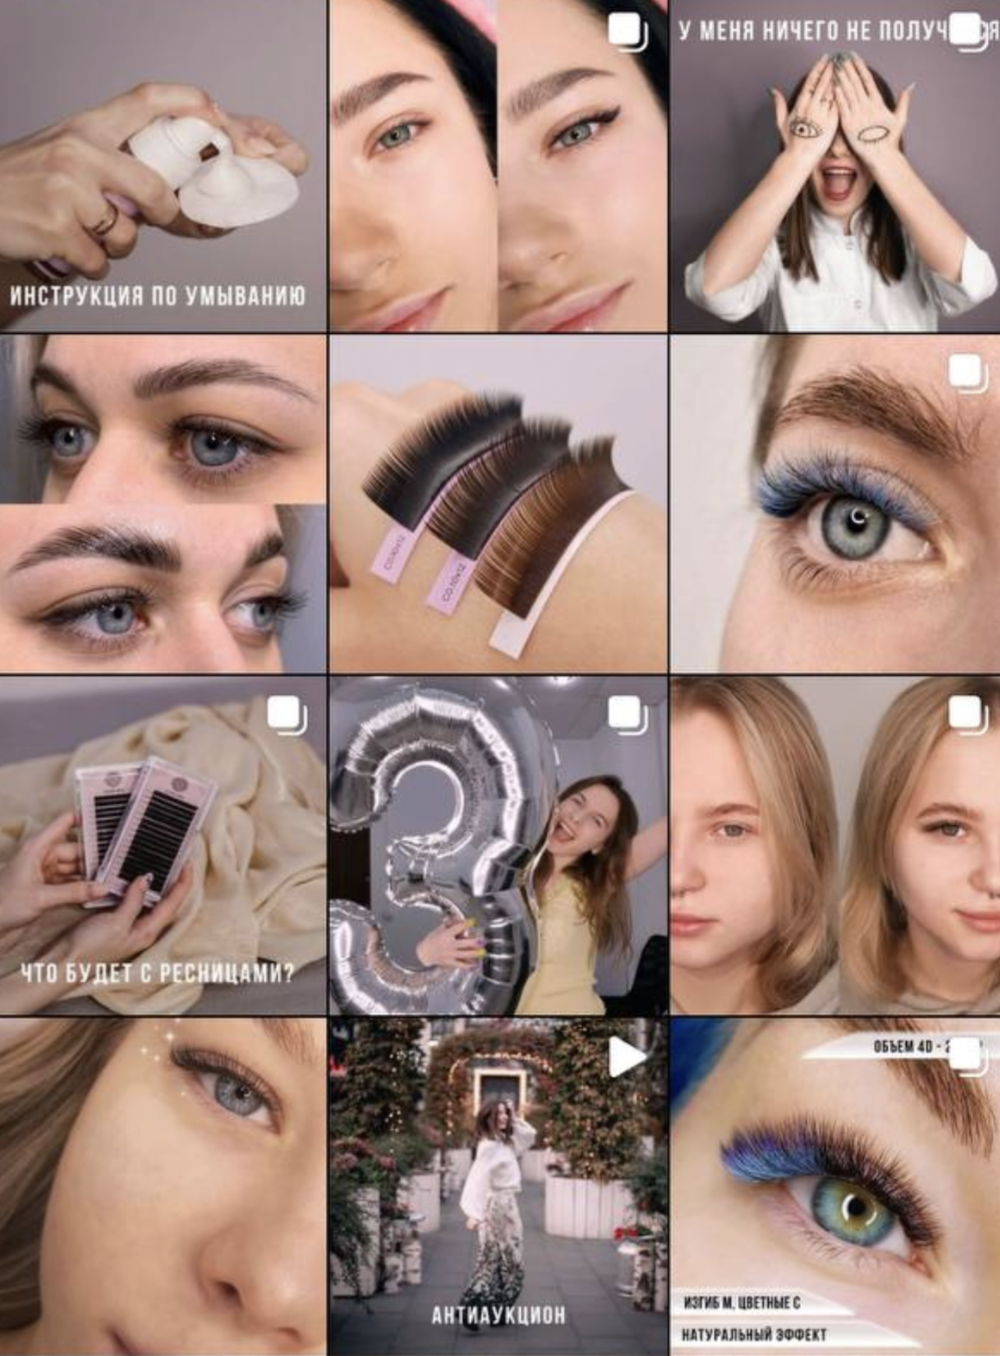
What do all three of these very different lash-artist visuals have in common? First, a consistent editing style. Second, a choice of colors that go together (especially in the first example). All the face photos are edited well (flaws removed, features enhanced). And most importantly, variety! If you think there’s nothing to shoot besides work examples, look closely at these profiles. Here you’ve got photos of the artist herself, photos of materials and the studio, text, and graphics. It all comes down to your eye and your creativity!
Try to create a profile you’d want to follow yourself! And if you’re curious how to grow on Instagram through reels!
You might also like
 10 Ways to Keep a Client and Make Them a Regular
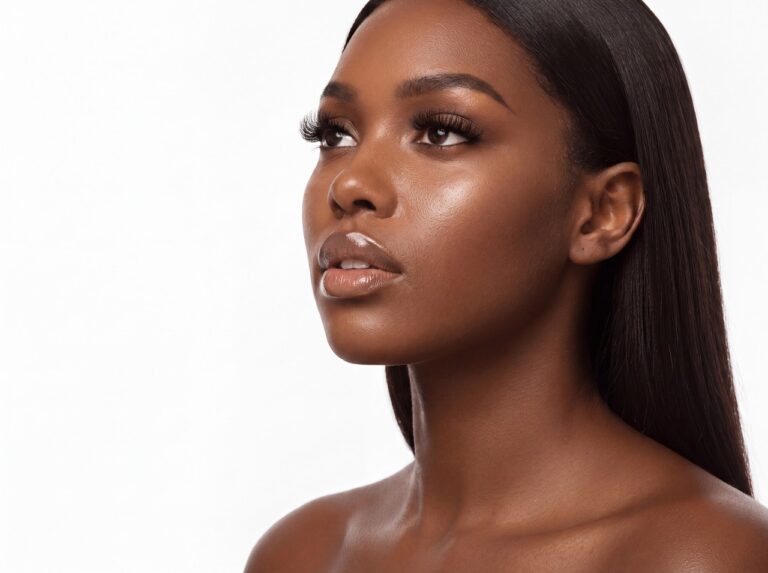 How to Start a Fight by Photographing Your Client
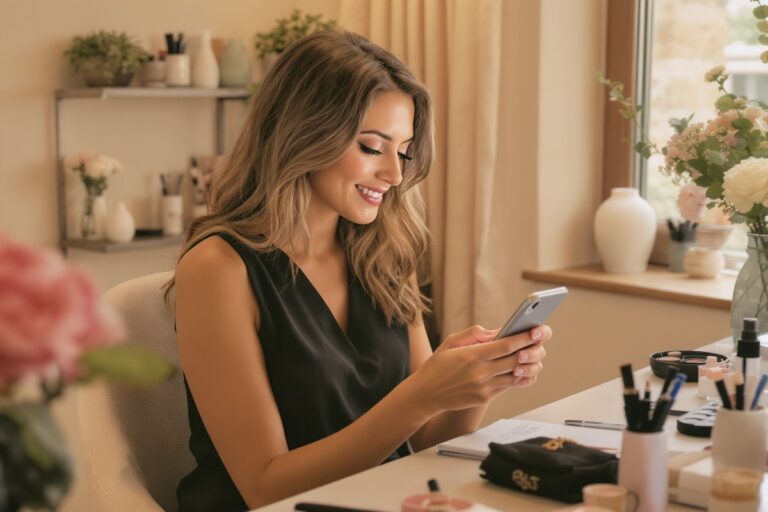 Post Ideas for Lash Artists: Part 2
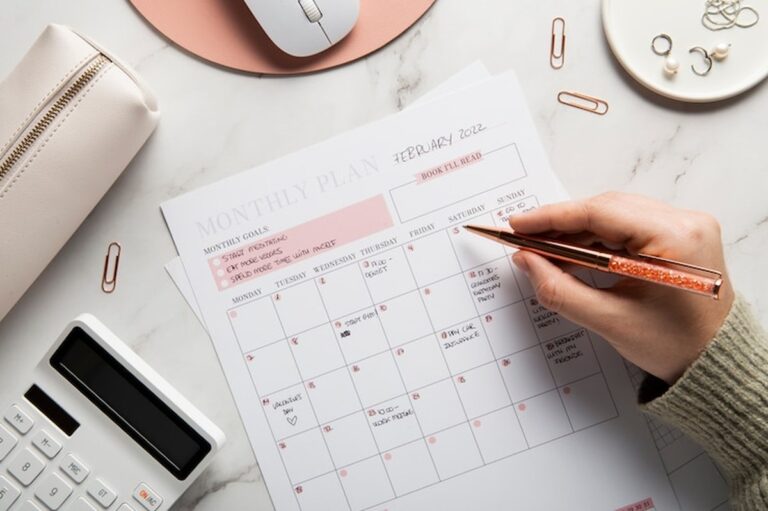 Post Ideas for Lash Artists: Social Media Content Examples (Part 1)
 Your Own Lash Studio: The Pros and Cons
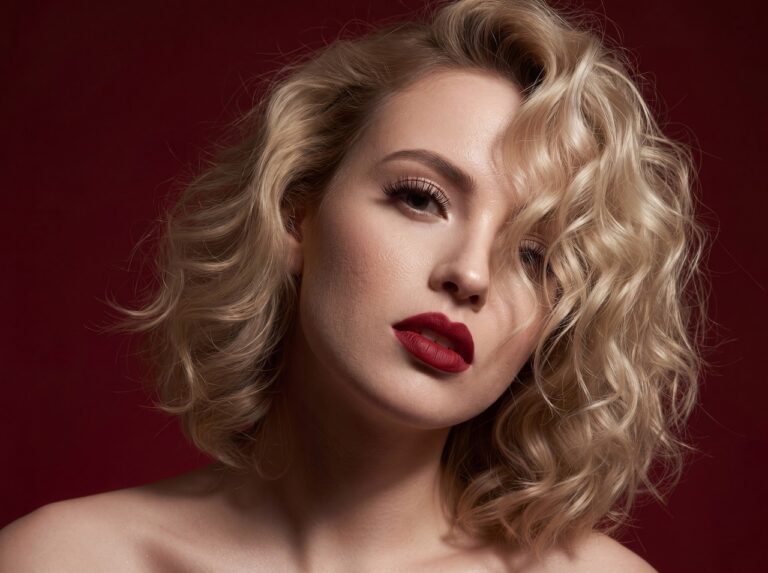 The 7 Best Apps for Editing Face and Eye Photos on Your Phone
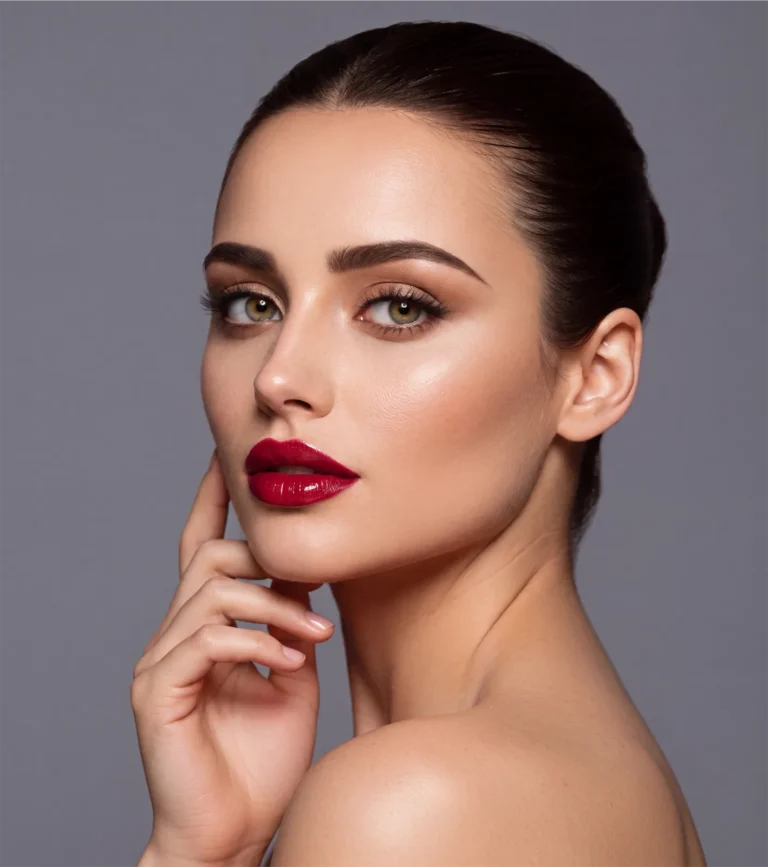 Why Do I Have So Few Clients?
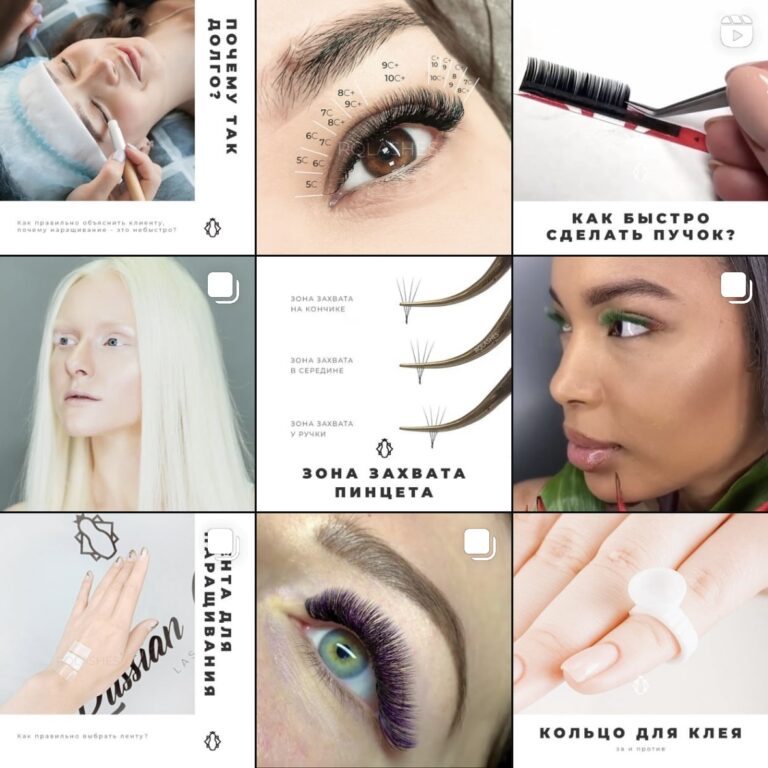 8 Instagram Content Ideas for Lash Artists
 How Can a Lash Artist Earn More?
 Where to Find Lash Extension Clients
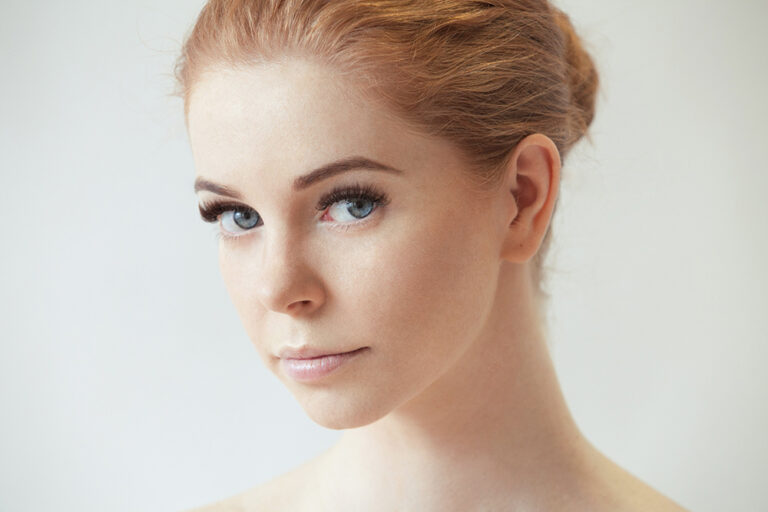 5 Free Ways to Attract Clients for Lash Artists and Salons
 Online Lash Training: The Pros and Cons
 How to Deal With Difficult Clients: A Psychologist’s Tips
 To Wait or Not? What to Do When a Client Is Late
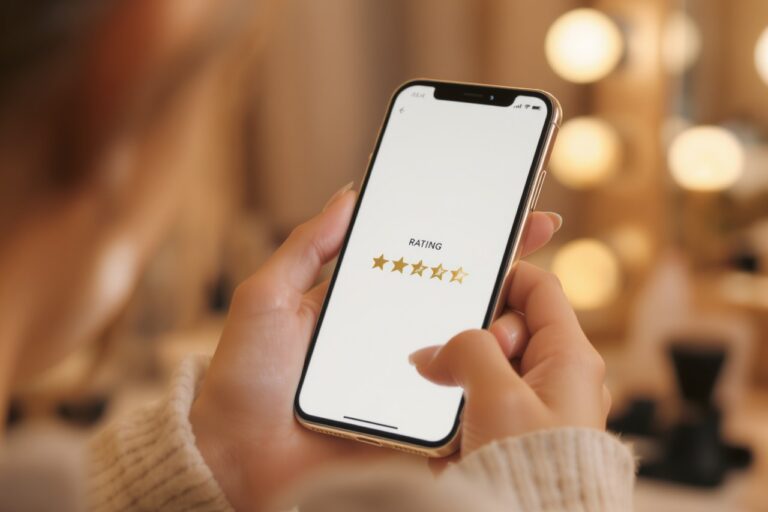 Why Lash Extension Reviews Matter
 Free Ways to Market Yourself as a Lash Artist on Instagram
 How to Turn a New Client Into a Regular
 How Much Can You Earn as a Lash Artist? Real Numbers, Not Fairy Tales
 A Lash Artist’s Portfolio That Sells
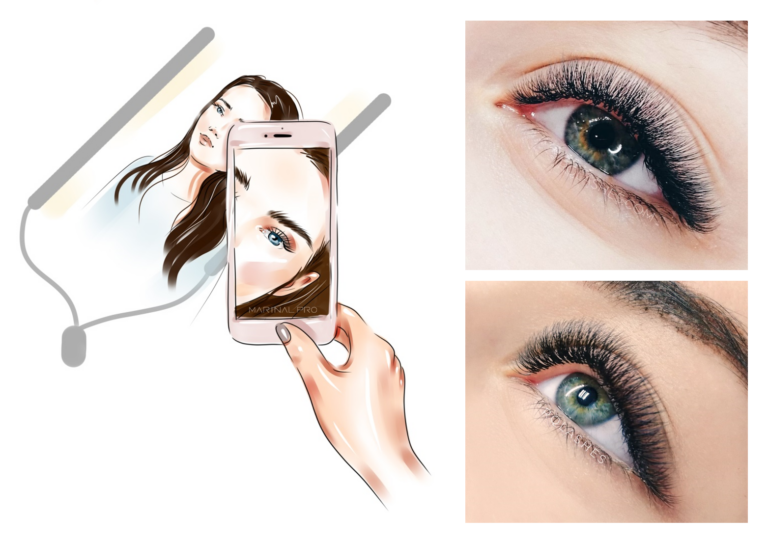 Free Guide: The Best Angles for Lash Photos
 Negative Reviews: How to Respond
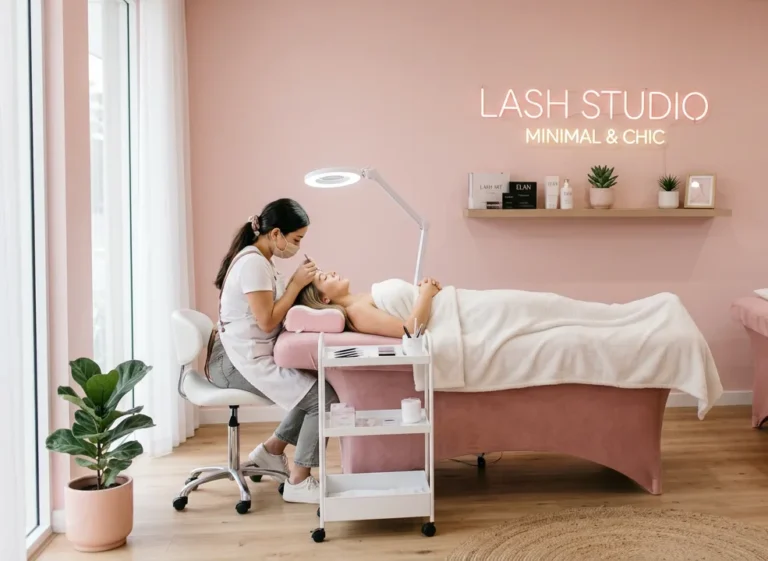 How to Win Back Clients
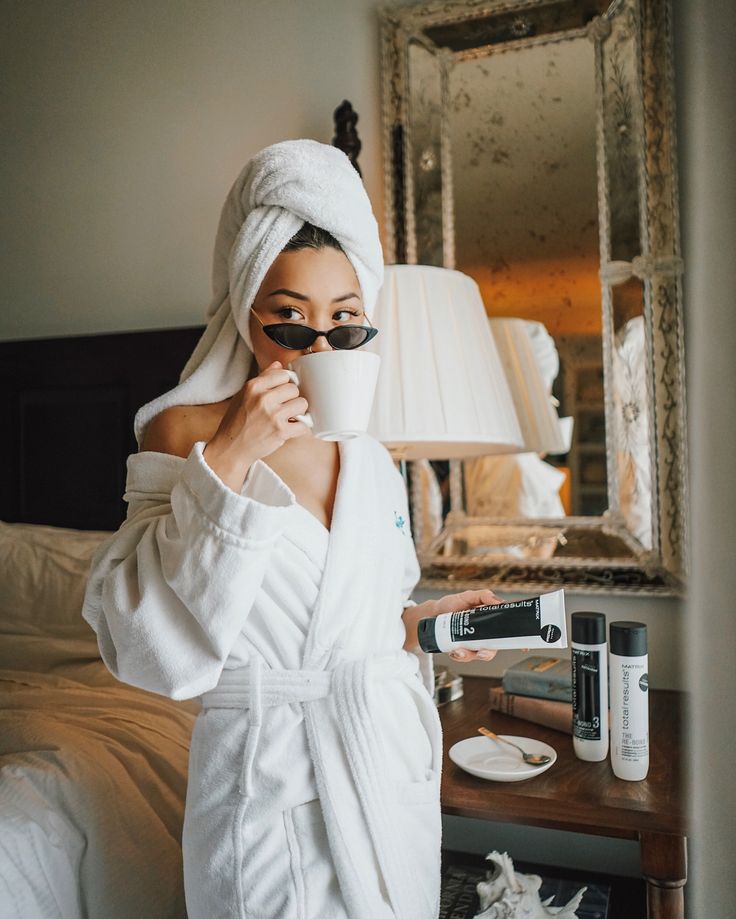 Off-Limits Topics: What Not to Discuss With a Client
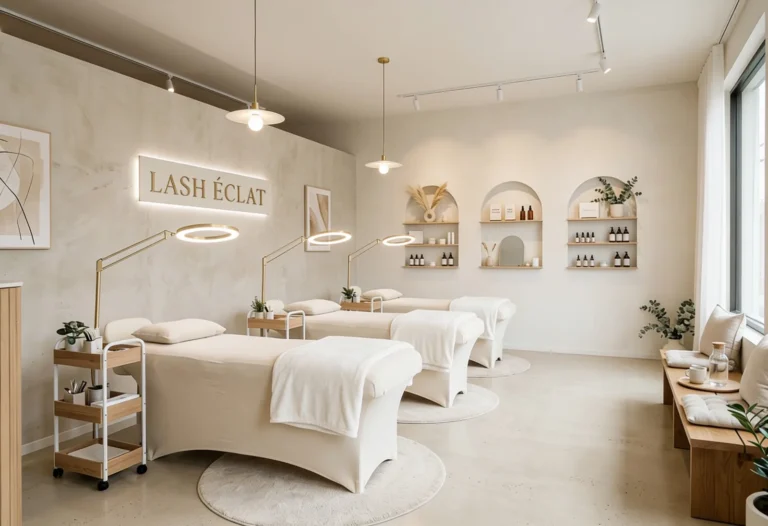 The Most Common Beauty Salon Advertising Mistakes
 Building Your Lash Team
 Burnout in Lash Artists
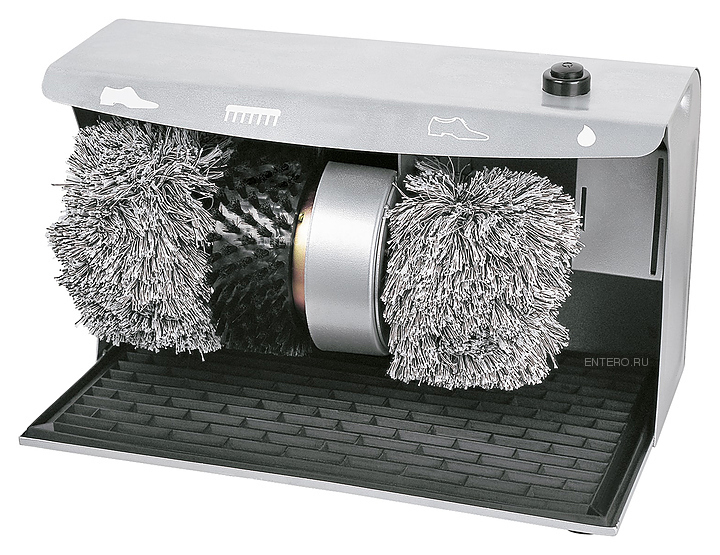 The Secrets of Great Client Service for a Lash Studio
 The Top 7 Ways to Advertise Your Lash Services
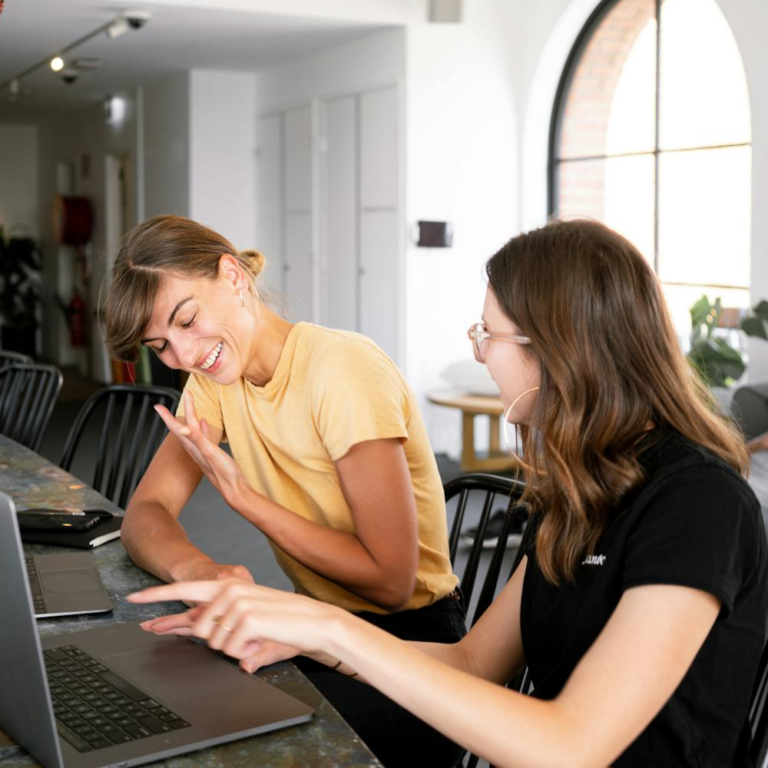 Your Salon’s Instagram Profile: From the Basics to the Details