Proper technique for dipping the lash into adhesive is one of the key moments in a lash artist’s work. It affects not only the strength of the bond but also the client’s comfort and how long the result lasts. Mistakes at this stage can lead to falling-apart fans, stickies, or extra fumes. Let’s figure out how to find the ideal depth and what to keep in mind.
The main rule: how much adhesive?
The universal rule is this: the depth you dip the lash into the adhesive shouldn’t exceed the length of the future bond with the natural lash.
If the adhesive rises above the contact point between the extension and the natural lash, it creates:
Extra weight that increases the load on the natural lashes.
More fumes, which can irritate the eyes.
A risk of stickies, which make the set harder to wear and worse-looking.
The optimal bond length. The minimum is 1 mm, the maximum is 2.5 mm. That’s enough for the extension to hold firmly without overloading the natural lash.
The straighter the natural lash, the longer the bond can be. If the natural lash is very curved, the bond should be minimal to keep the look clean and comfortable.
Working with fans for volume
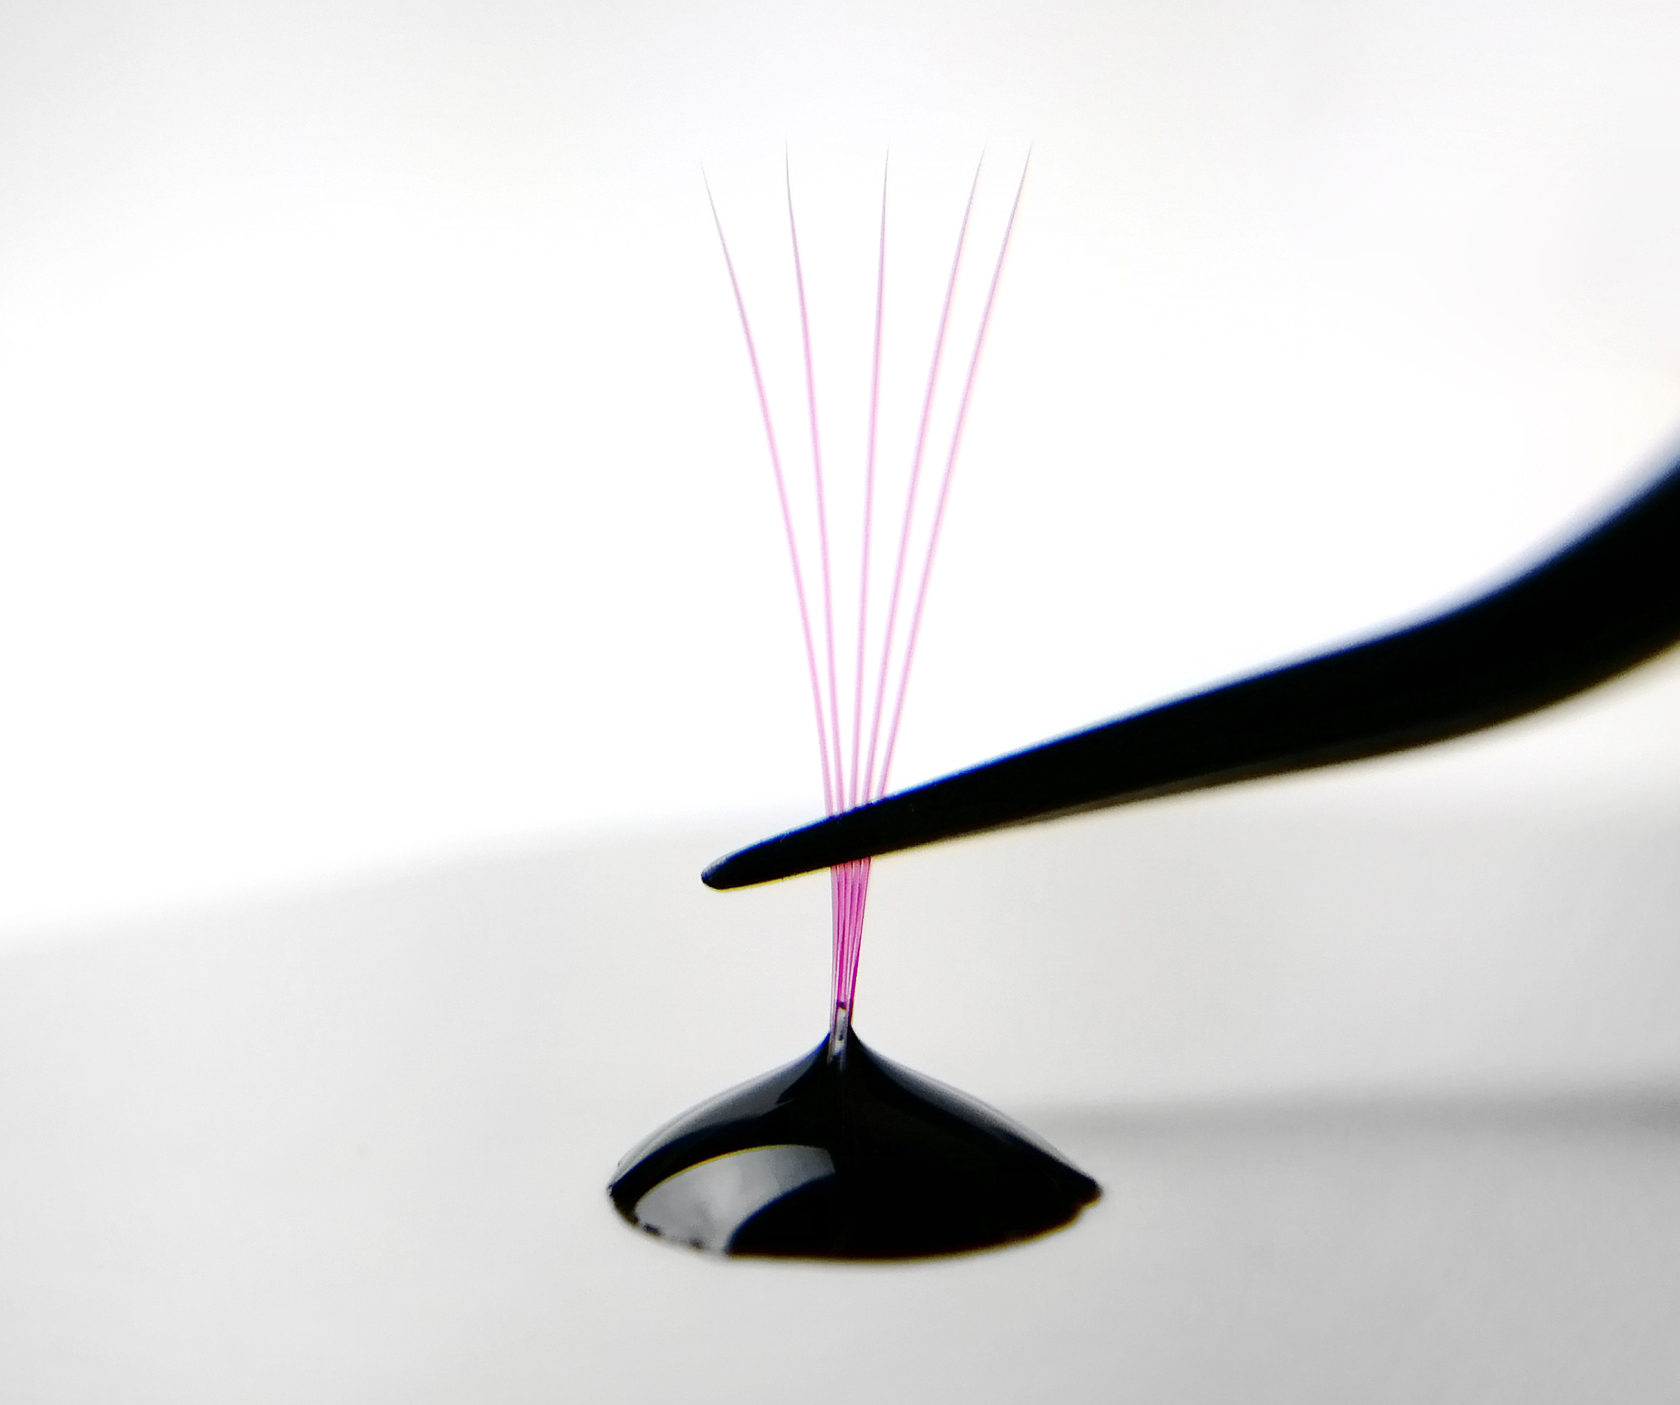
For volume, the fan base should dip a bit less than a single lash. That’s because the base tends to “wick up” more adhesive, you’ve probably noticed how the adhesive sometimes “creeps” up the base after you dip a fan.
How to pick up adhesive correctly
For a precise pickup, a few factors matter:
The right setup in your studio: bright lighting; use a black adhesive so you can see its volume; keep the working drop on a white surface for easier control.
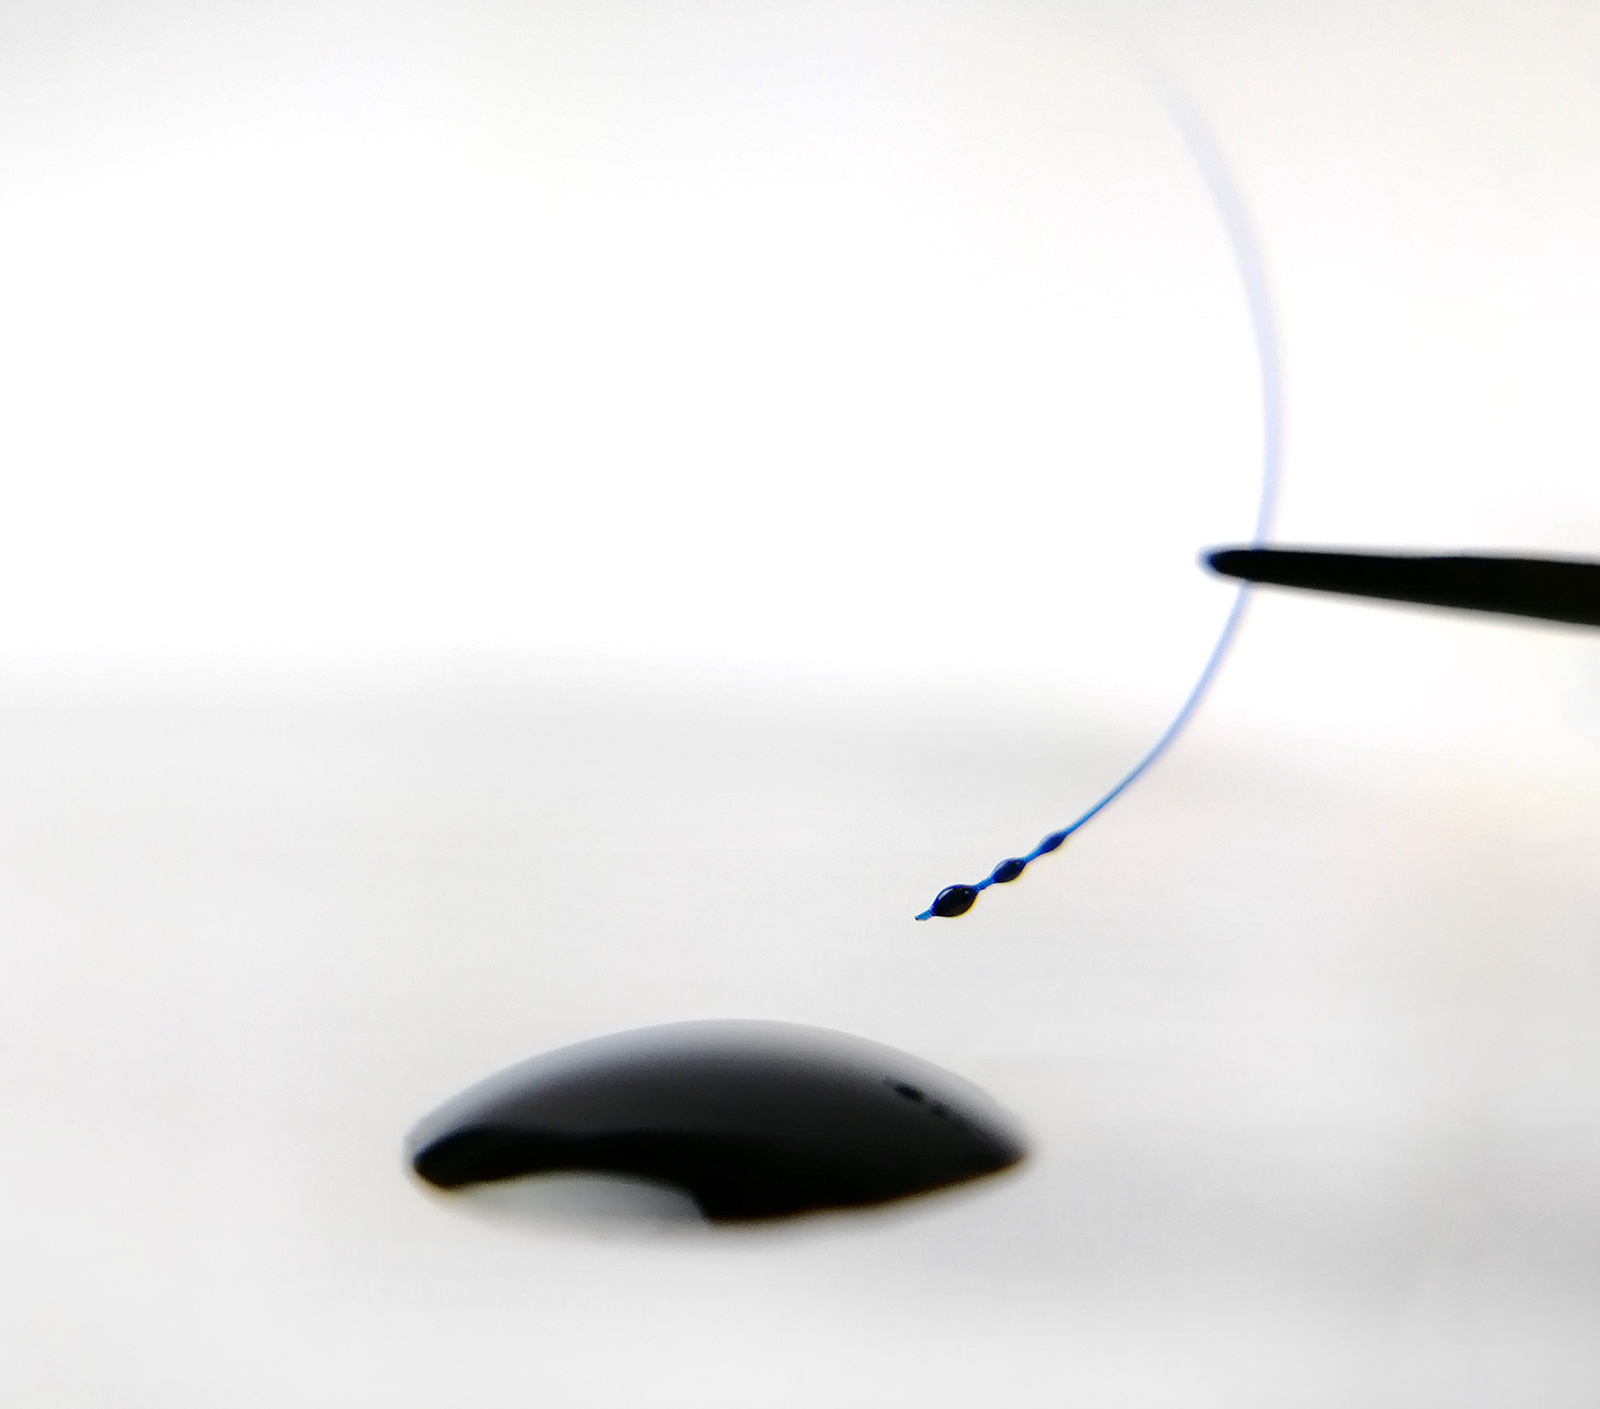
The pickup method: never swipe the lash horizontally across the drop, that picks up too much adhesive. Pick it up by piercing the top of the working drop or its edge.
Entry and exit speed: insert the lash base into the adhesive slowly to control the depth. Exit speed affects how much adhesive you get, a fast exit leaves more on the lash, while a slow exit lets the adhesive flow back into the drop, which reduces the amount.
To pick up exactly as much as you need:
- Know how much adhesive the current job needs (it depends on the natural lash thickness and your technique).
- Watch the process visually.
- Make sure the working drop is fresh and big enough (over time the adhesive thickens and spreads poorly, so refresh the drop regularly and keep it large enough that it doesn’t dry too fast).
- Keep your hand steady (use a hand rest near the working drop).
- Account for the fan: the thicker the base, the more adhesive it absorbs, so dip it minimally to avoid overload.
What is a microdrop and how do you work with it?
A microdrop is a small amount of adhesive taken from the working drop to attach the lashes.
In classic technique, a single lash can have several microdrops. In volume technique, only one microdrop is used. The amount of adhesive in a microdrop should always match the thickness of the natural lash you’re working on. That’s important for getting the best hold without excess.
A microdrop should stay concentrated only in the future bond zone and not rise above it. That gives you a strong hold, minimal fumes, and clean work with no excess adhesive or stickies.
The right dip depth and precise adhesive dosing are the foundation of successful, long-lasting work. Follow these rules to avoid stickies, extra weight, and other common problems. Confident technique, attention to detail, and control at every step will help you create perfect lashes that delight your clients with their beauty and quality!
You might also like
 Why Your Client’s Eyes Water, and Why It Matters
 Lash Remover: Which Type to Choose
 The Main Lash Extension Effects
 The Difference Between an Allergy and Irritation After Lash Extensions
 The Wispy Lash Effect
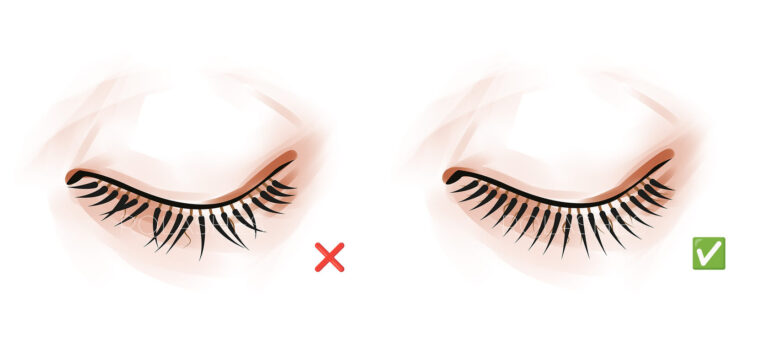 How to Set the Direction of the Lashes
 How to Choose the Best Lashes for Extensions
 Disinfecting and Sterilizing Lash Tweezers
 The Best Lash Adhesive: How to Choose
 What Causes Allergies in Lash Extensions?
 Lash Extensions for Beginners: Where to Start and What You Need
 How to Work With Lash Adhesive
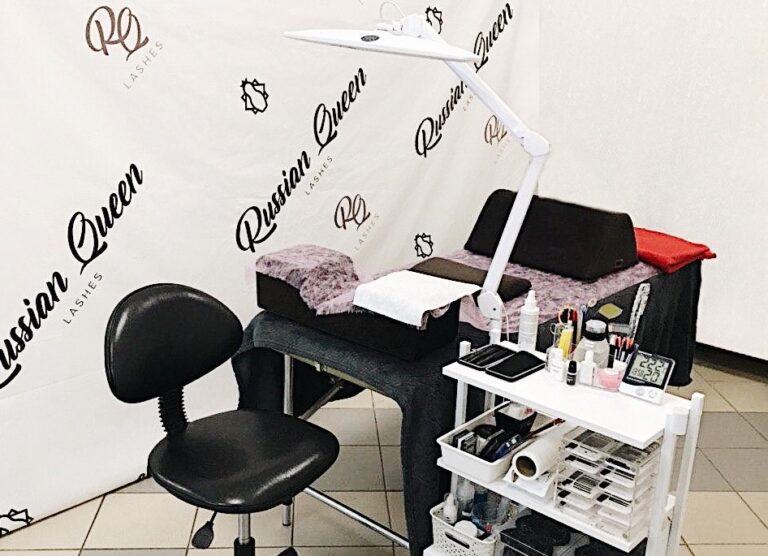 How to Set Up Your Lash Workstation
 Angling Lashes Toward the Nose in the Corners: Yes or No?
 Why Do Lashes Tangle, Twist, or Droop?
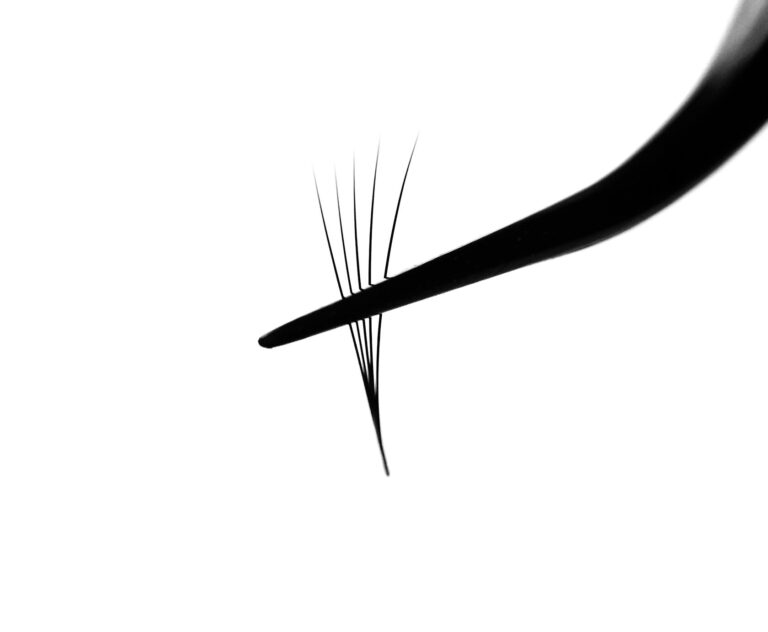 Why Volume Fans Fall Apart
 Common Lash Extension Mistakes
 How to Do a Lash Patch Test the Right Way
 Types and Shapes of Lash Tweezers
 Why Do Eyes Get Red After Lash Extensions?
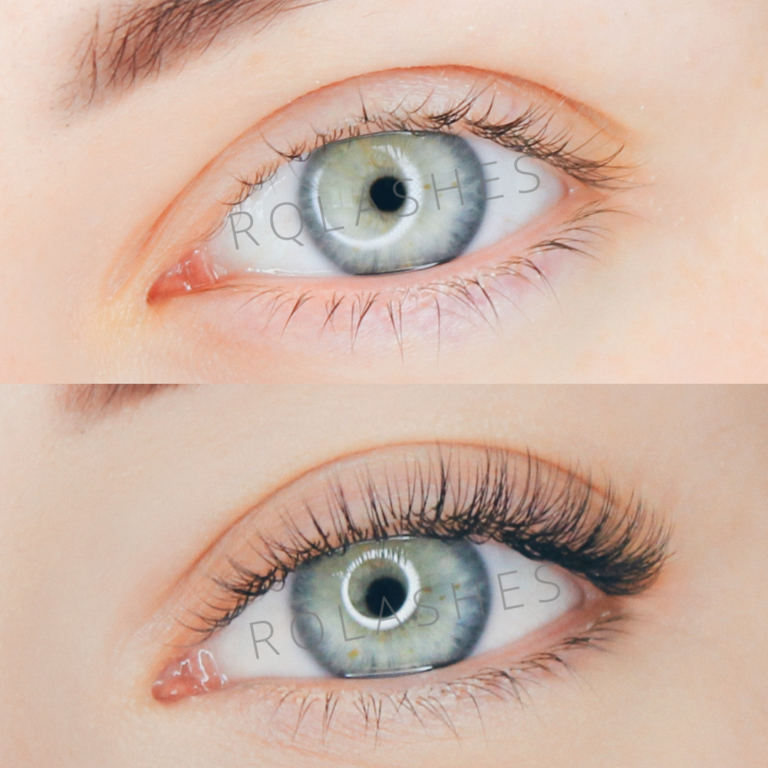 Are Classic Lash Extensions Still Trending?
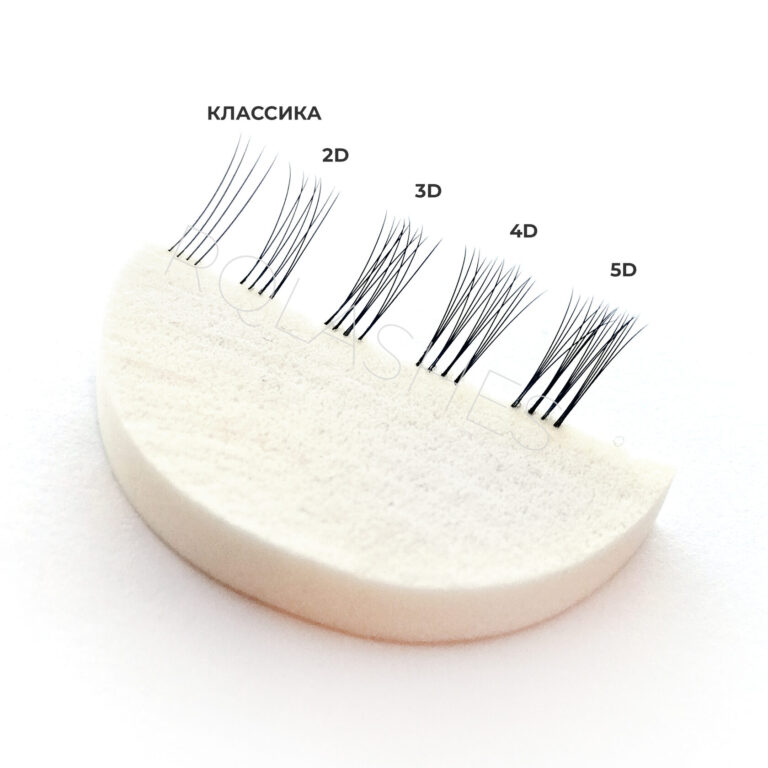 Lash Extension Volumes Explained
 How to Choose the Best Lash Tweezers
 7 Ways Lash Artists Can Protect Their Eyesight
 Wet Effect Lashes: A Photo Gallery
 Your Client’s Eyelids Keep Twitching: What to Do?
 Prepping the Extensions Before Application
 The Steps for Prepping the Natural Lashes
 Remover Balls Up Into White Clumps: What to Do?
 How to Make Lash Extensions Last Longer