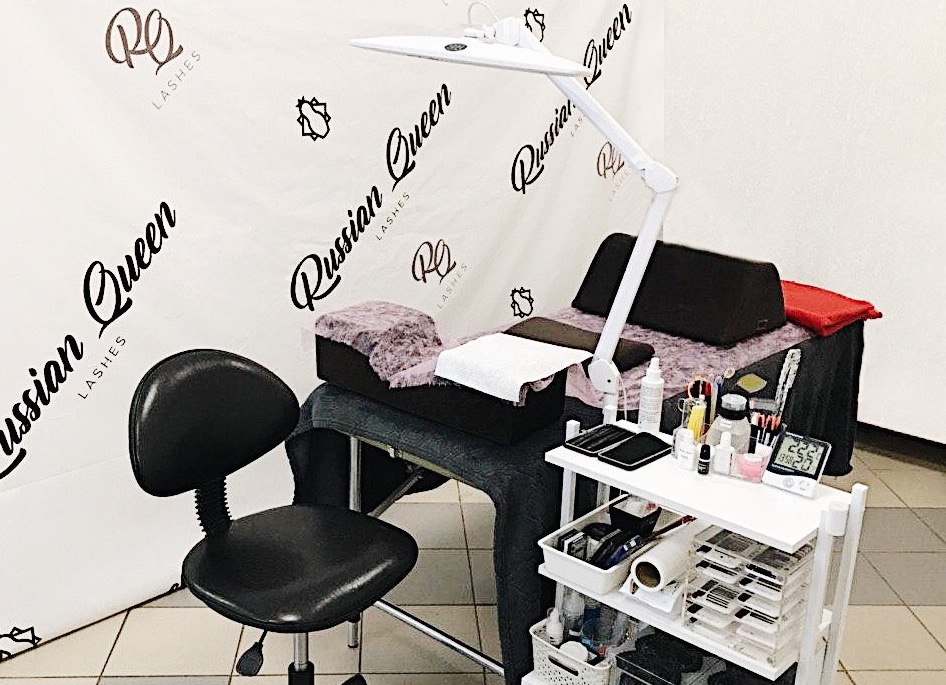
A well-organized workstation is the key to working fast, comfortably, and without wearing yourself out. Here’s how to set one up.
A couch and an adjustable chair. A folding massage couch works well, ideally one with a steel frame rather than cables. The height depends on your own height, and the crossbars between the legs shouldn’t stop you from getting in close. Your chair has to be height-adjustable, with a backrest that supports your lower back.
The right light. A sturdy clamp lamp with even, white LED fill light. It needs to be bright (24W and up), flat, and shadow-free. That speeds up your work and takes strain off your eyes. Neutral white LED lamps are best, with no yellow or blue cast.
A trash bin. Everyone forgets this one, but having it right next to you is what keeps your station clean.
A stable cart. Keep everything you might reach for during the appointment on it, so you’re not hunting around the room mid-set.
Your lash tile and adhesive drop go to the side of the client: on the right if you’re right-handed, on the left if you’re left-handed. Keep the tile closer to you and the adhesive a little farther out to cut down on fumes. Raise both to about the client’s eye level so you’re not constantly bending down.
A pillow for the client. A soft “horseshoe” bead pillow is a good pick, as long as it doesn’t lift the head too high. Inflatable ones are a poor choice: either too firm or they won’t hold their shape. Bolsters that give the same support are a fine alternative.
One more tip: prep ahead. Cut your under-eye tape or pads, pre-stick your pads if that’s how you work, shake and mix your adhesive before the first client, lay out all your disposables. Anything to keep you from losing time mid-appointment.
There are plenty of smaller details, but these are the essentials. Make your station as comfortable as you can for both you and your clients, and never skip safety. 😉
You might also like
 The Best Lash Adhesive: How to Choose
 The Squirrel Effect in Lash Extensions (Diagrams and Photos)
 How to Choose the Volume
 Lash Cleanser and Primer: Do You Need Them?
 Why Your Client’s Eyes Water, and Why It Matters
 Why Volume Fans Fall Apart
 How to Set the Direction of the Lashes
 Angling Lashes Toward the Nose in the Corners: Yes or No?
 Types of Lash Tweezer Sterilization Equipment
 How Deep to Dip the Lash in Adhesive
 The Wet Effect in Lash Extensions (Photos and Diagrams)
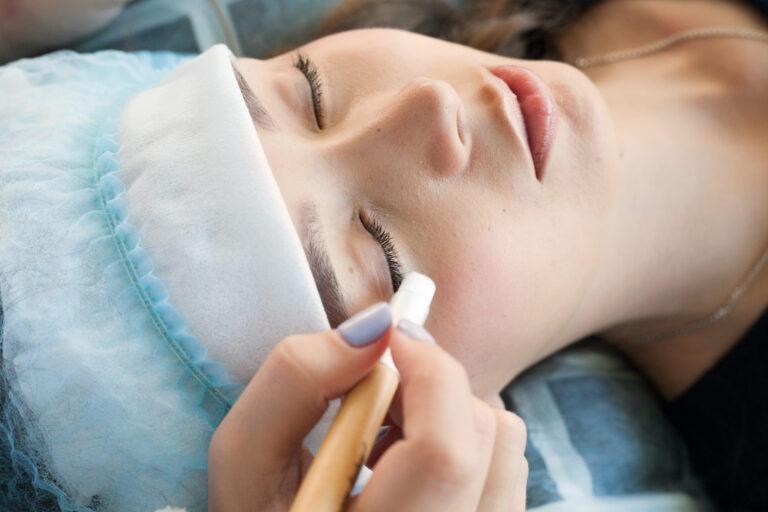 Mistakes When Cleansing Lashes Before Application
 Your Client’s Eyelids Keep Twitching: What to Do?
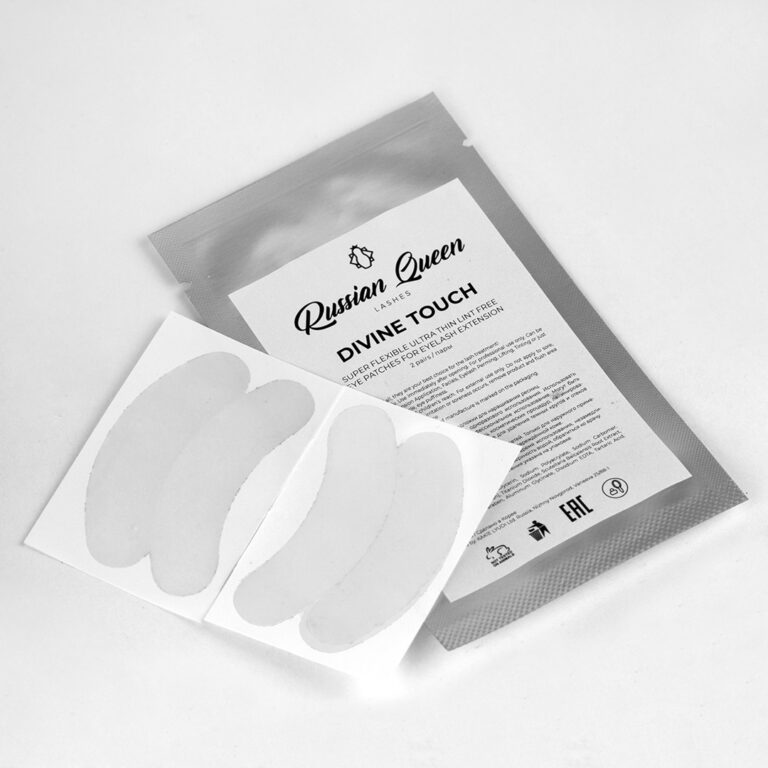 Under-Eye Pads for Lash Extensions
 The Cat Eye Lash Effect
 The Real History of False Lashes and Lash Extensions
 7 Ways Lash Artists Can Protect Their Eyesight
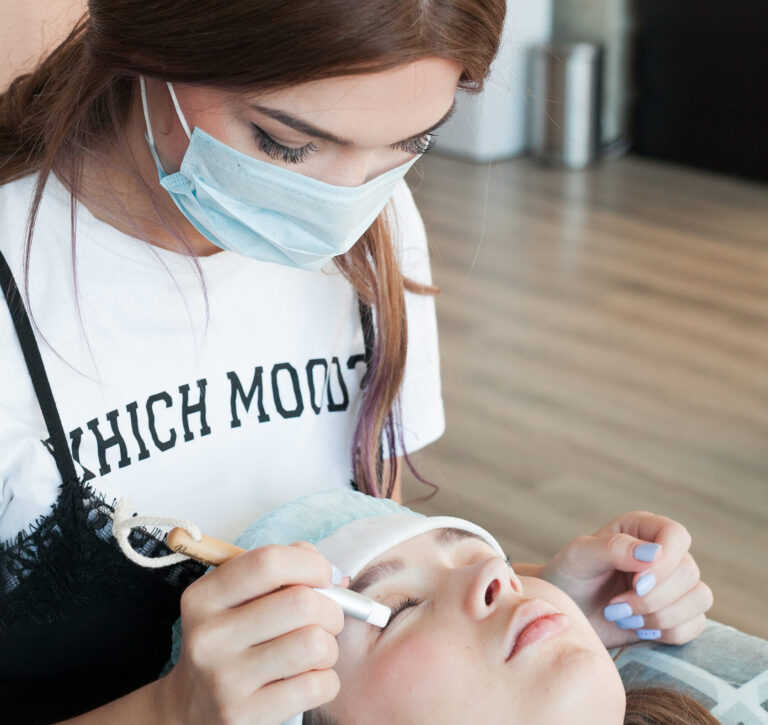 The Steps for Prepping the Natural Lashes
 Common Lash Extension Mistakes
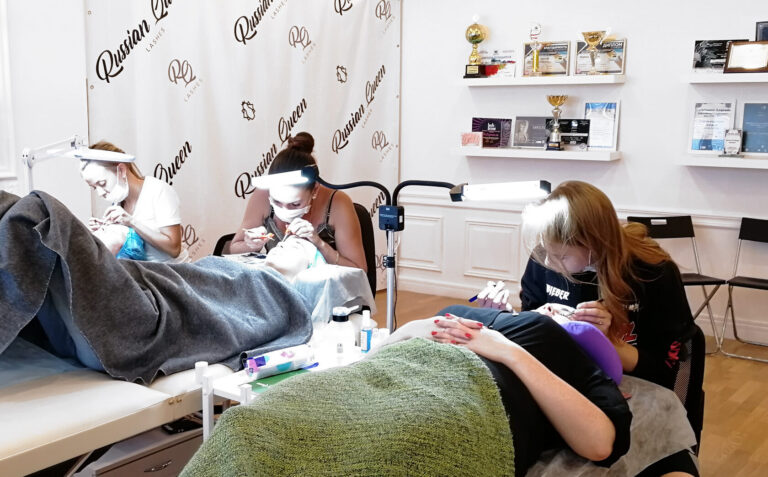 Lash Extensions for Beginners: Where to Start and What You Need
 The Best Surface for Your Adhesive Drop
 Why Do Lashes Tangle, Twist, or Droop?
 How to Choose the Best Lashes for ExtensionsHow to Choose a Lash Curl
 Types and Shapes of Lash Tweezers
 Lash Extension Volumes Explained
 How Often Should You Refresh the Adhesive Drop?
 Why Do Eyes Get Red After Lash Extensions?
 Wet Effect Lashes: A Photo Gallery
 How to Do a Lash Patch Test the Right Way