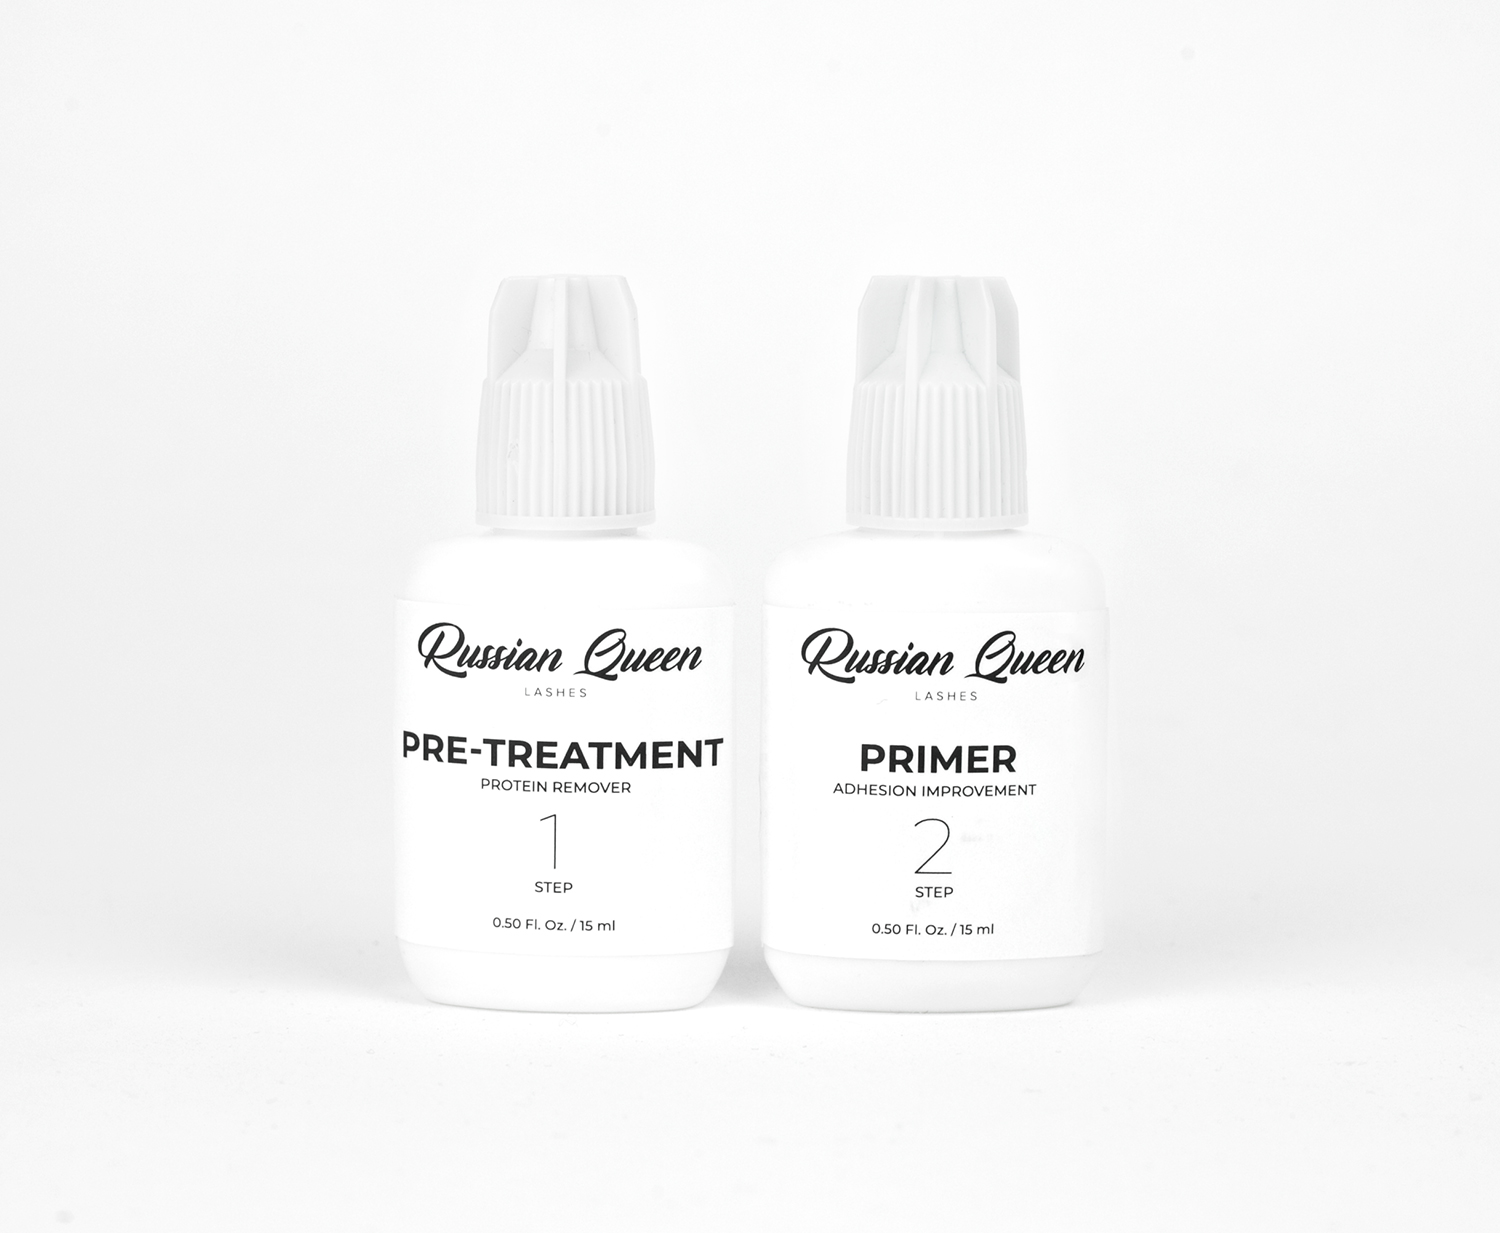
There’s a lot of confusion around the liquids of a lash stylist: some think primer and cleanser are the same thing, some skip half of them, and plenty aren’t sure where an accelerator ends and a bonder begins. Let’s go through it bit by bit.
What’s the difference between a cleanser, a primer, an accelerator, and a bonder?
They do 4 different jobs, and they come in at different points in the appointment.
Cleanser (degreaser). This is your prep. It dissolves the tiny particles of skin oil, makeup, and dirt on the natural lashes so you can wipe them away, which is why it needs to sit on the lashes for a moment before you brush it off. Alcohol breaks down oil best, so cleansers run a fairly high percentage of alcohol — you can tell by the smell. A clean, oil-free lash is the whole foundation of retention.
There are also non-alcohol cleansers that help you to remove the mascara and dust residue from the lashes, so it doesn’t dissolve the skin oil and you will need another prep step to do that.
Primer. This is also a prep step, applied to clean natural lashes before you place any extensions, and here brands split into 2 camps. For some, the primer’s job is to over-dry the freshly degreased lash and slightly open its pores so more adhesive can soak in, so it’s alcohol-based, like a stronger cleanser. For others, the primer is an alcohol-free liquid whose job is to alkalize the lash surface: cyanoacrylate adhesive cures best at an alkaline pH, and lash adhesive is 90 to 98% cyanoacrylate. Read the ingredients before you choose them.
Accelerator (some brands sell it as an “activator”). You apply a tiny amount to the eyelash strip or base of the extensions before or during the application process, and it speeds up glue curing. Its real purpose is to rebalance timing in low humidity, when the glue would otherwise stay wet too long. The catch: use too much and you over-accelerate and the glue dries before it has bonded, which gives you a weak, brittle attachment.
Super bonder. This is the finishing step, done once the full set is placed. Instead of speeding the surface cure like an accelerator, a bonder cures the adhesive from the outside in, sealing each bond, and it does this without shock curing. What you get out of it: the usual ~24-hour internal cure drops to just a few hours (some bonders seal the bond within minutes), retention improves, the bond ends up more flexible and less prone to snapping, and the sealed adhesive gives off far fewer fumes, so there’s less stinging and lower sensitivity risk for the client. Same caution as the accelerator: too much bonder actually weakens the bond.
When do you actually need an accelerator?
Reach for it based on your room, not out of habit. Lash adhesive cures on moisture from the air — humidity is basically the adhesive’s own activator — and it performs at its advertised speed in a room that sits around 45 to 60% humidity and 22 to 26°C (71 to 79°F).
- Low humidity (below ~45%). The glue can’t pull enough moisture to cure, so it stays wet too long: you get stickies, weaker adhesion, and more fume exposure. This is exactly where an accelerator earns its place — or a nano mister, a humidifier, or simply a faster-drying adhesive.
- High humidity (above ~60%). The opposite problem. The glue over-cures — shock polymerization, blooming (lash glue turning white), and adhesive drops that dry out in minutes. Above ~70%, bonding fails outright. Here you do NOT accelerate; you slow things down with a dehumidifier or a slower adhesive.
So an accelerator is a low-humidity tool. In a well-balanced room, a good adhesive often doesn’t need one at all.
When do you need a super bonder?
A bonder isn’t tied to humidity the way an accelerator is, it’s a finishing choice. It’s worth it when you want a shorter cure, better retention, and less fume sensitivity. Because it seals the fumes as it cures, many artists reach for it specifically with sensitive clients. Some bonders are even marketed as replacing the need to add humidity to the cure, so in a dry room a bonder can do double duty.
How do you apply an accelerator and a bonder correctly?
Accelerator: with a microbrush, apply a tiny, even amount to the eyelash strip or the base of the extensions, before or during application (never on the skin or the natural eye line). Keep the dose consistent and small, over-applying is what causes premature drying and weak bonds.
Super bonder: wait about 30 seconds to 2 minutes after the last extension is set (follow your product’s timing). Put a drop or two on a microfiber brush so it’s slightly damp, not dripping, then wipe along the bonding points at the base of the lashes and brush through. Use it sparingly, don’t over-saturate, and give it a couple of minutes to cure before the client opens their eyes.
How do you choose a good primer and cleanser?
Know and understand the ingredient lists on everything you work with. That’s the reason not to mix liquids from different manufacturers blindly, though if you’ve read the labels and 2 brands clearly sell the same formula under different names, mixing is fine.
For a lot of artists, a thorough cleanse (say, micellar water plus a cleanser) is all the prep the adhesive needs for full retention, and a separate primer is optional. Unlike adhesive, these liquids are simple formulas: undemanding in storage, barely affected by shipping. To check one still works, put a drop on the back of your hand, it should dry fast. Fragrance in the formula doesn’t change performance. A bottle without a spray top is easier to dose and keeps the liquid off the client’s skin, which alcohol-based formulas would otherwise dry out.
Can rubbing alcohol replace a lash cleanser?
Technically yes — alcohol dissolves oil and can degrease. But we don’t recommend it: the concentration is very high, and contact with the eye’s mucous membrane is painful and can damage it. Diluting it with water puts that risk on you, and over-diluted alcohol loses its solvent power and won’t degrease the lashes properly.
When is a second round of degreasing needed?
Usually, if you degreased thoroughly the first time, you don’t need a second pass. 2 exceptions: when the client’s eyes start to water, and when the client has a dense natural-lash structure that keeps adhesive from penetrating. In the second case, do the repeat pass with primer, its fast evaporation dries the lash and slightly opens the outer layer so more adhesive gets in.
Can baking soda replace a primer?
Short answer: no. What helps the bond is a primer that alkalizes the surface (raises the pH) and evaporates fast, leaving a clean, dry surface. A baking soda solution fails on all counts:
- It’s a solid dissolved in water. As it dries it doesn’t evaporate, it leaves a crystalline residue that settles between the natural lash and the adhesive and gets in the way of a good bond.
- It’s a strong, unmeasured alkali — a pH of about 8 to 9. The adhesive needs a controlled range; an eyeballed dose of baking soda can over-alkalize the surface, which actually hurts the cure.
- An alkaline solution near the eye’s mucous membrane can sting and irritate.
Does the client have to keep the lashes dry afterward?
No, the old “no water for 24 to 48 hours” rule is outdated, and it’s worth telling clients so, because most of them still believe it (read here why). Modern adhesive cures from the outside in, so water itself isn’t what breaks a fresh bond — mechanical movement is. Once the outer layer has set (a few minutes after the last extension is placed), water contact is fine; plenty of artists even rinse the lashes at the end of the appointment. What you do ask the client is to avoid rubbing and heavy water movement like swimming for the first 48 hours, while the bond keeps curing on the inside. A bonder helps here too: it speeds that internal cure and seals the bond, so the set holds up to water sooner.
What’s the shelf life of an opened primer and cleanser?
The factory date isn’t your best guide here — how the fresh product behaves is. Watch 2 markers: the strength of the smell and the drying speed. When you open a fresh bottle, memorize the smell and note how fast the liquid dries on skin. As soon as either changes noticeably, replace it. And close the bottles tightly after every use so the liquids last longer.
You might also like

How to Choose a Lash Curl
How to Choose the Volume

Why Your Client’s Eyes Water, and Why It Matters
Why Do Eyes Get Red After Lash Extensions?
How Deep to Dip the Lash in Adhesive
How to Set the Direction of the Lashes

What Causes Allergies in Lash Extensions?
The Main Lash Extension Effects

7 Ways Lash Artists Can Protect Their Eyesight
The Wispy Lash Effect
How to Choose the Best Lashes for Extensions
Disinfecting and Sterilizing Lash Tweezers

Men’s lash extensions: how to define the eyes and keep them masculine
The Natural Lash Effect
How to Choose the Best Lash Tweezers
Remover Balls Up Into White Clumps: What to Do?
The Best Lash Adhesive: How to Choose
The Cat Eye Lash Effect
Common Lash Extension Mistakes
The Squirrel Effect in Lash Extensions (Diagrams and Photos)
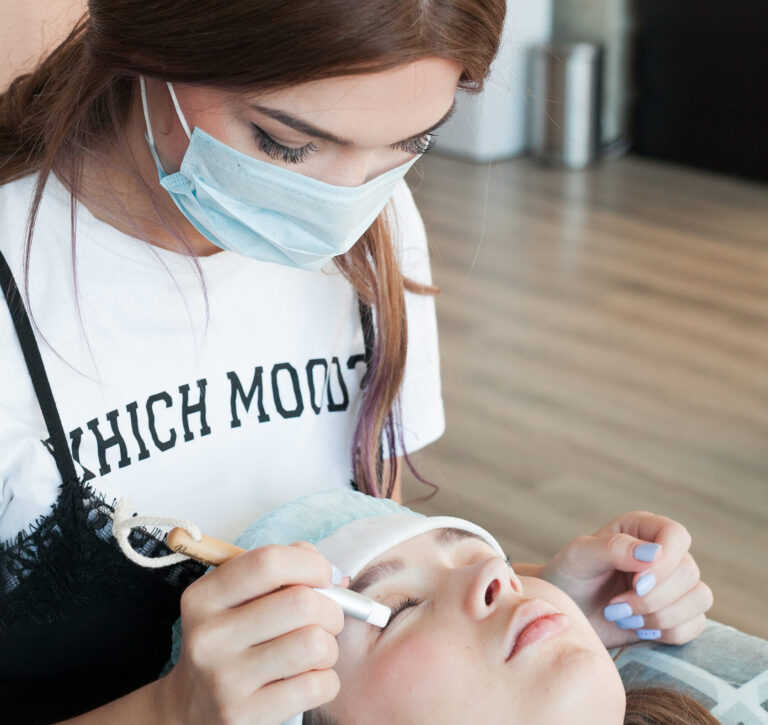
Prepping the Natural Lashes and the Extensions Before Application
Under-Eye Pads for Lash Extensions
Types of Lash Tweezer Sterilization Equipment
Lash Remover: Which Type to Choose
Mistakes When Cleansing Lashes Before Application
Lash Extensions for Beginners: Where to Start and What You Need
The Best Surface for Your Adhesive Drop
How to Make Lash Extensions Last Longer
Lash Extension Volumes Explained