In Disinfecting and Sterilizing Lash Tweezers we broke down the difference between disinfection and sterilization and how to process your tools correctly. Now let’s take a close look at the equipment that does it.
A note for the US: sanitation and disinfection standards for lash and beauty services are set by your state’s cosmetology or health board. Most states require tools to be cleaned and disinfected with an EPA-registered, hospital-grade disinfectant between clients, and some require sterilization of reusable metal tools. Always check your own state board’s rules.
Sterilization equipment
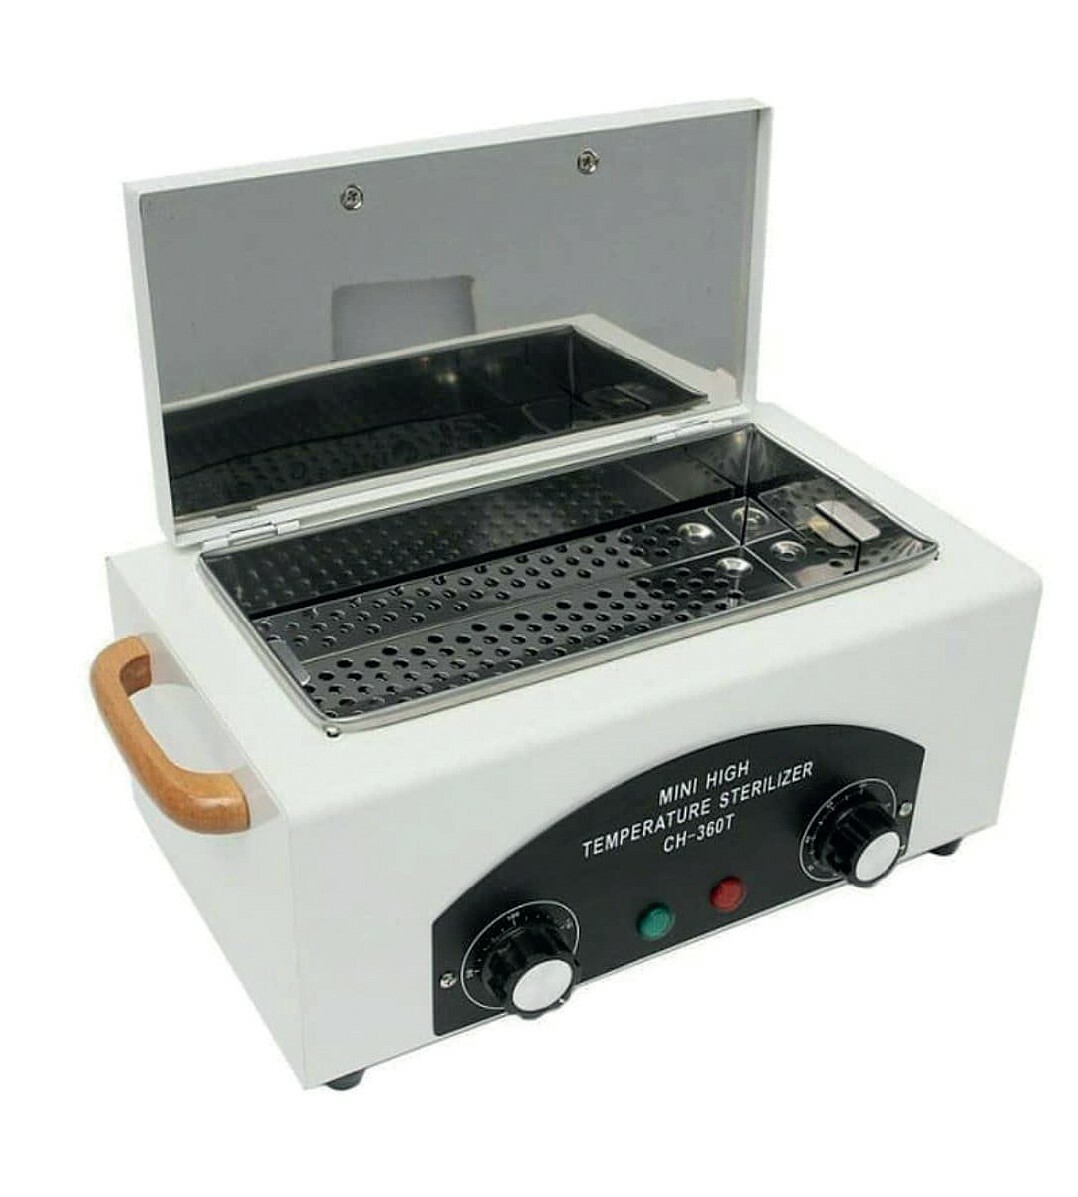
Dry heat sterilizer
What it does: sterilizes.
How it works: it heats tools to 320 to 356°F (160 to 180°C) and holds them for a set time (60 to 120 minutes) to kill all pathogens. Used with sterilization pouches or metal containers.
Pros: true sterilization; works for all metal tools; relatively inexpensive.
Cons: needs time to heat up; uses a lot of energy; you must hold the right temperature and keep tools fully dry; high heat can wear down lower-quality metal over time; not for plastic or rubber.
Bottom line: great for a home studio or salon, and one of the most popular, affordable options among lash artists.
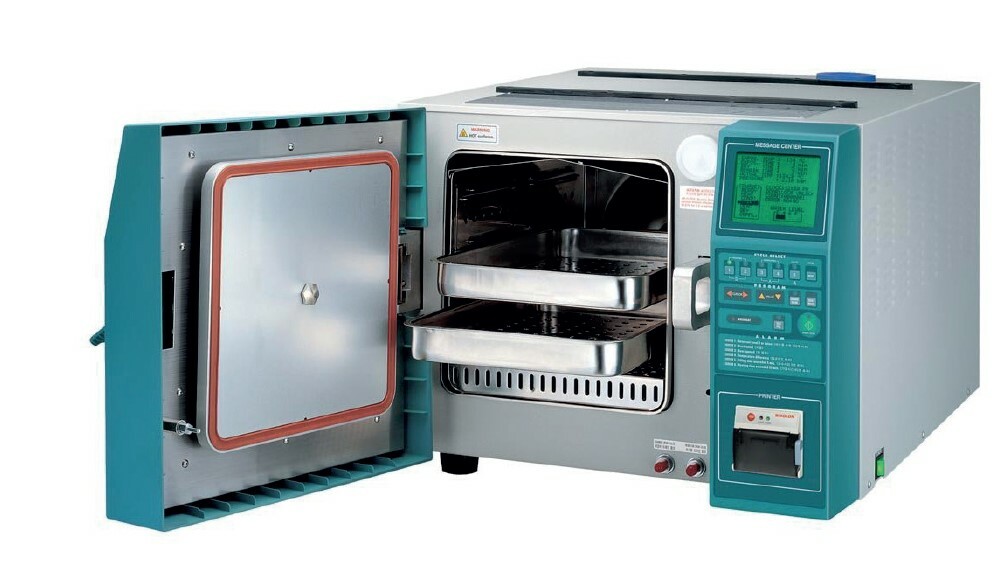
Autoclave (pressurized steam sterilizer)
What it does: sterilizes.
How it works: it treats tools with high-pressure steam at 250 to 273°F (121 to 134°C).
Pros: fast, highly effective sterilization; gentle enough even for delicate tools; the standard in medicine and cosmetology.
Cons: pricier than a dry heat unit; needs regular maintenance; bulkier; requires distilled water.
Bottom line: an excellent choice for busy studios and artists. Medical-grade safety.
Disinfection equipment
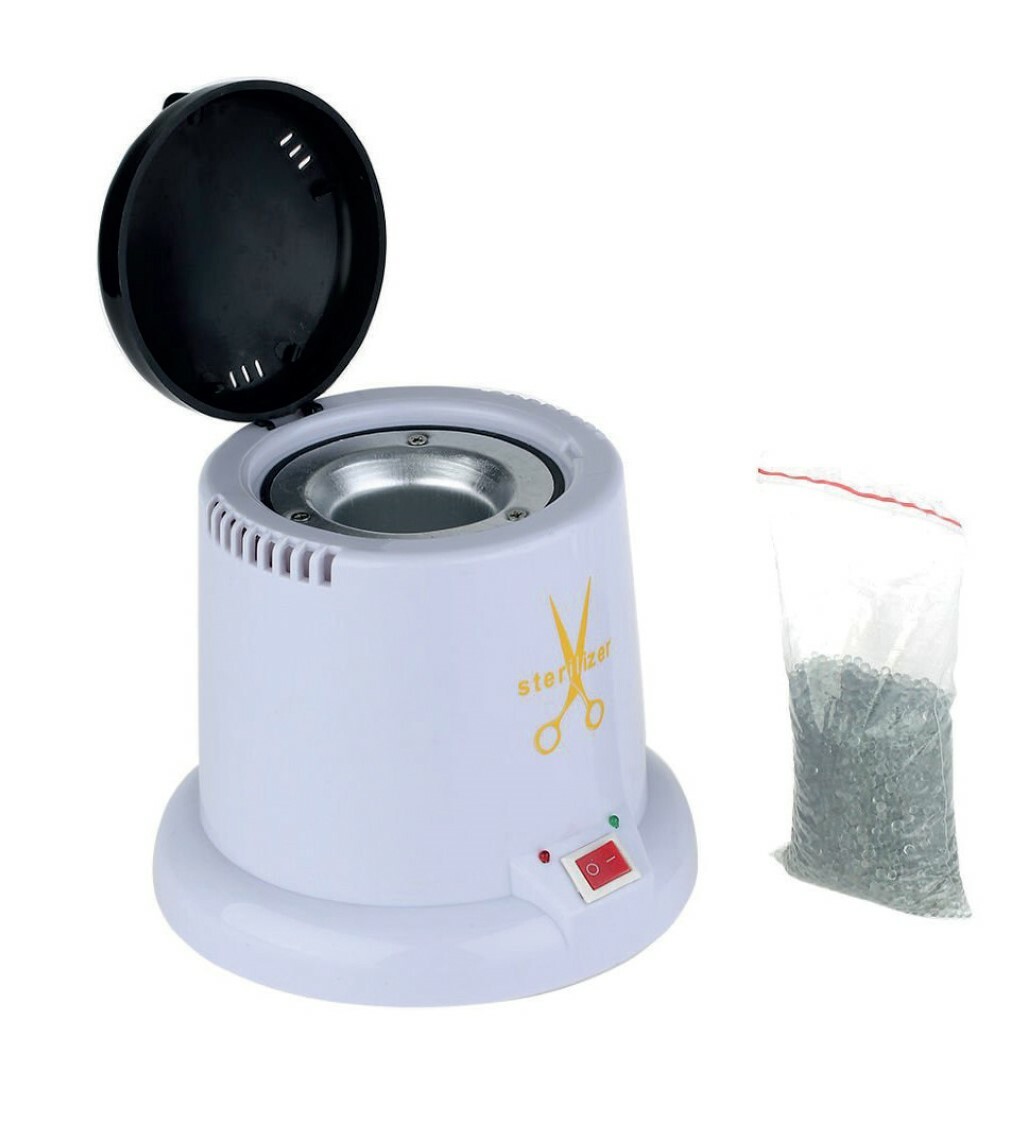
Glass bead sterilizer
What it does: disinfects, but does not sterilize (despite the name).
How it works: the metal tool is placed into glass beads heated to 390 to 480°F (200 to 250°C), which heat its working end in 10 to 30 seconds.
Pros: fast; compact; usable between clients as emergency disinfection.
Cons: only the working end is treated, not the whole tweezer; no full sterilization; can damage the tips if overheated; the beads need replacing about every 6 months or they lose their properties.
Bottom line: not suitable as your main method. Only a supplement, and even then with care.
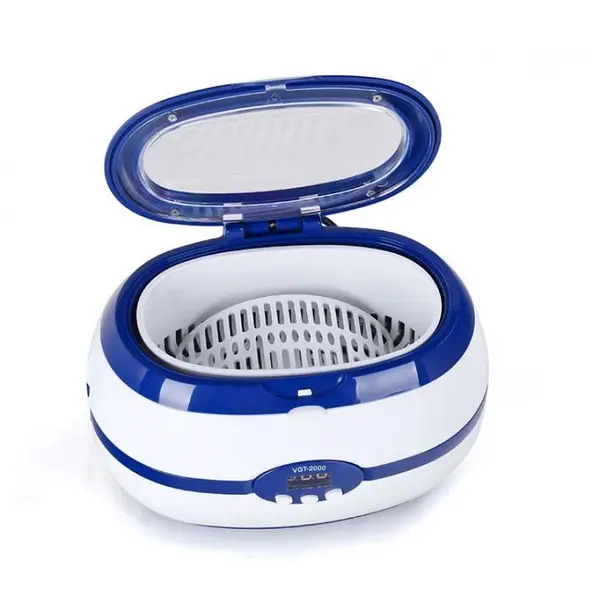
Ultrasonic bath
What it does: cleans and partially disinfects (does not sterilize).
How it works: ultrasonic vibrations push debris out of hard-to-reach spots.
Pros: ideal for removing adhesive residue and biological debris; preps tools quickly for disinfection and sterilization; safe for thin, sensitive tweezers.
Cons: doesn’t replace sterilization; needs a special solution.
Bottom line: a great pre-cleaning step before sterilizing. Recommended as a supplement, not an alternative.
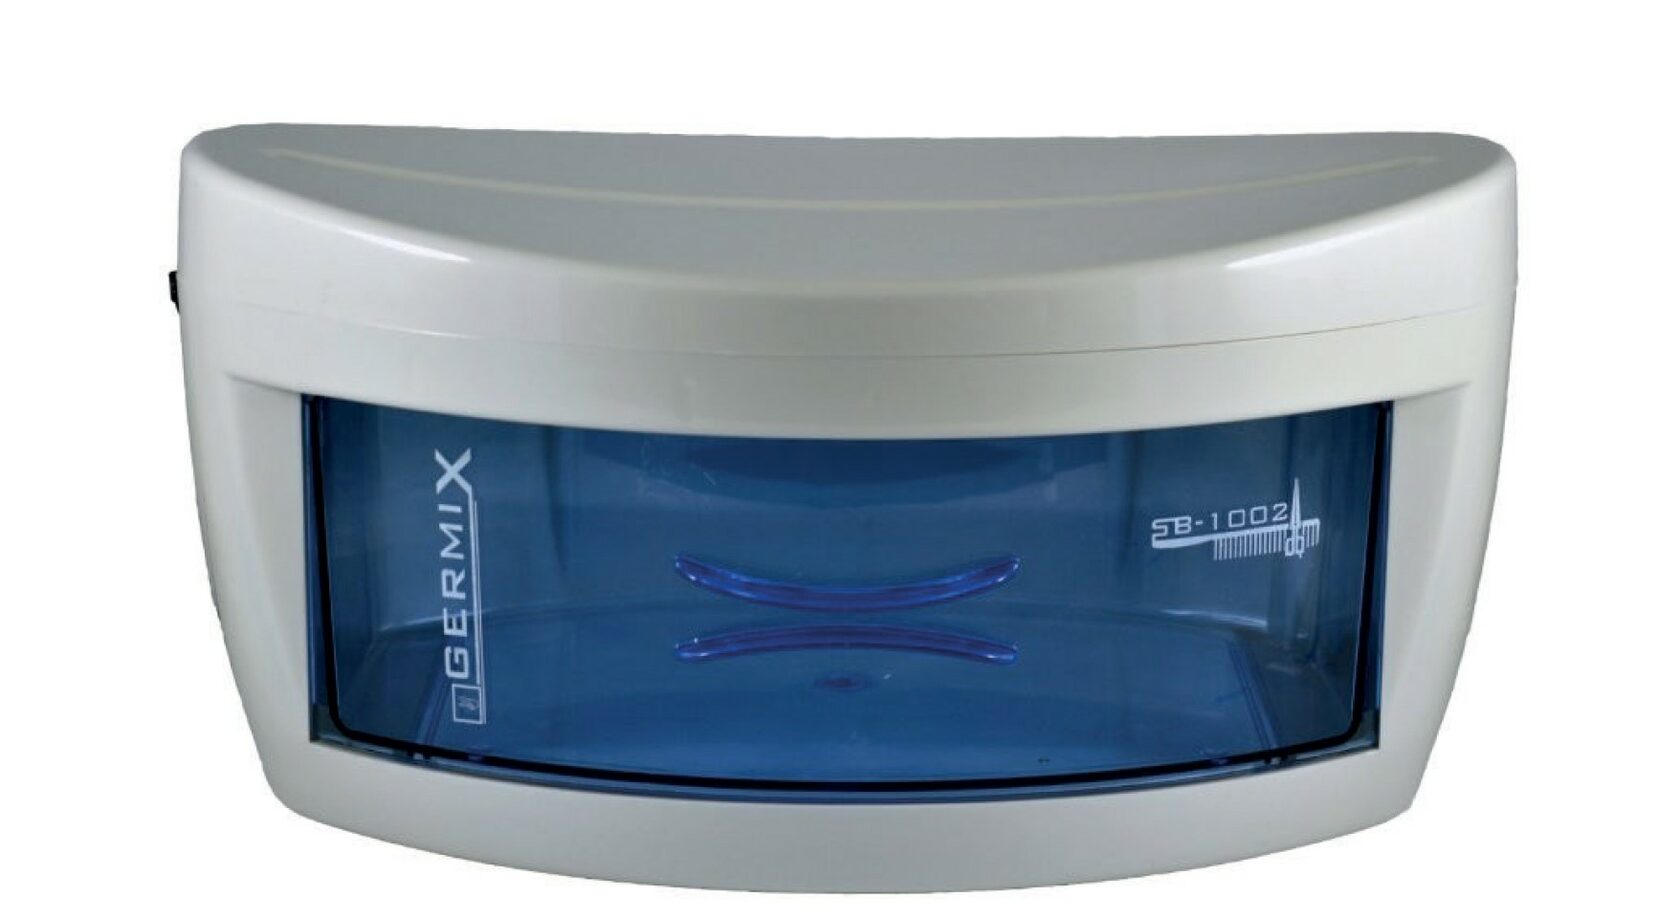
UV cabinet / germicidal lamp
What it does: slows microbial growth, but does not sterilize.
How it works: it exposes tools to ultraviolet light. Only effective with long exposure and direct light.
Pros: keeps already-sterilized tools clean; good for storage.
Cons: doesn’t remove dirt and doesn’t sterilize; effectiveness depends on placement and exposure time.
Bottom line: used only for storing clean tools, not as a processing step.
Bottom line
If you take safety and quality seriously, and want to work to your state’s standards, you need a reliable sterilization method. Alcohol, antiseptics, and hot beads don’t replace it.
A dry heat sterilizer is the best fit for most artists. An autoclave is for larger studios and anyone who wants a medical standard. Everything else is supplementary, not your main method.
Client safety is where real professionalism starts. No packaging, interior, or lighting makes up for a clean, sterile tool.
You might also like
 Everything About Brown Lash Extensions
 How to Choose the Best Lash Tweezers
 Under-Eye Pads for Lash Extensions
 Your Client’s Eyelids Keep Twitching: What to Do?
 The Cat Eye Lash Effect
 Angling Lashes Toward the Nose in the Corners: Yes or No?
 Why Do Lashes Tangle, Twist, or Droop?
 The Best Lash Adhesive: How to Choose
 Remover Balls Up Into White Clumps: What to Do?
 How Lash Extensions Are Made, Step by Step
 Lash Extension Volumes Explained
 How to Choose a Lash Curl
 How to Set the Direction of the Lashes
 How Deep to Dip the Lash in Adhesive
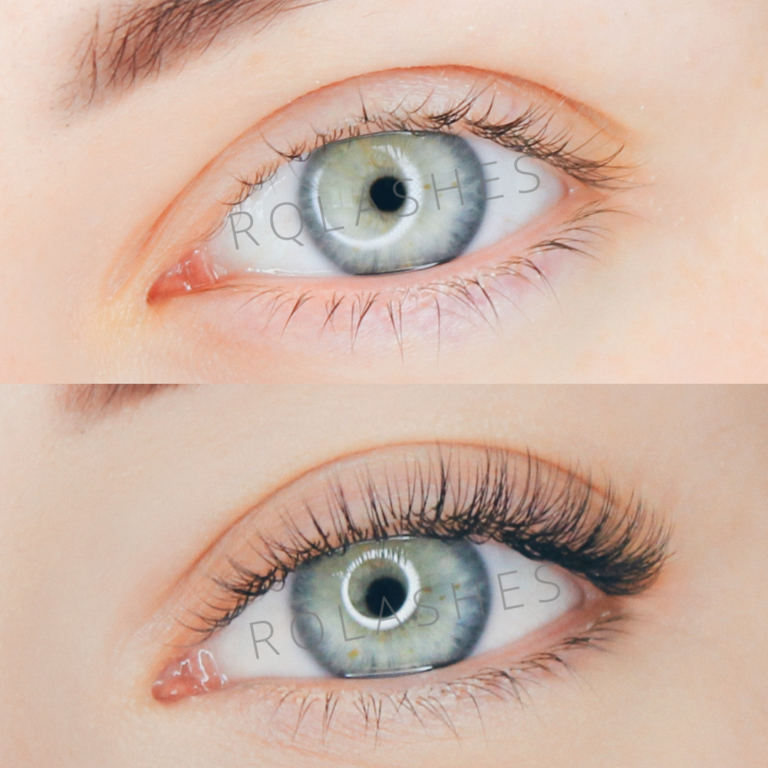 Are Classic Lash Extensions Still Trending?
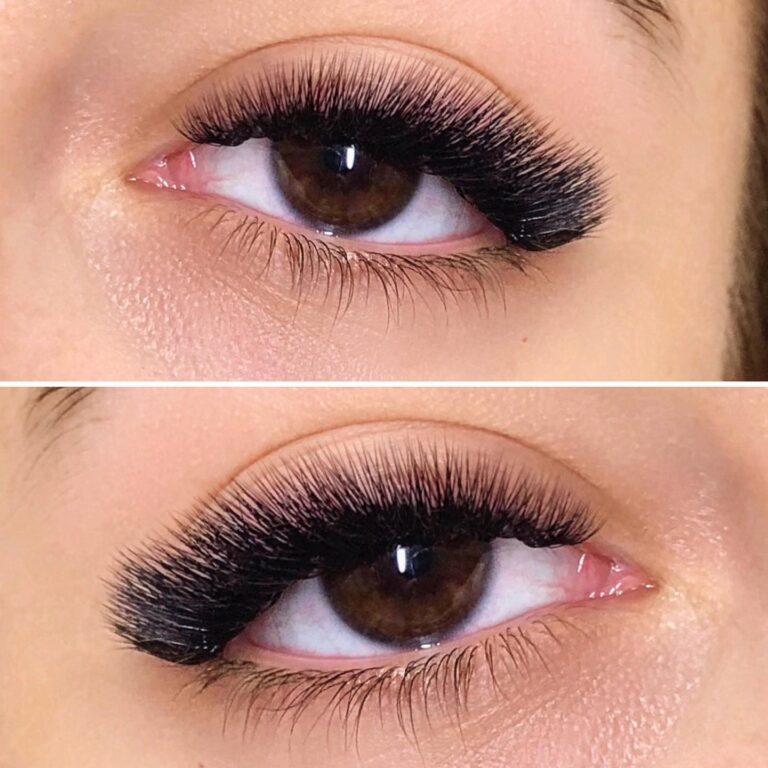 The Squirrel Effect in Lash Extensions (Diagrams and Photos)
 How to Make Lash Extensions Last Longer
 Prepping the Extensions Before Application
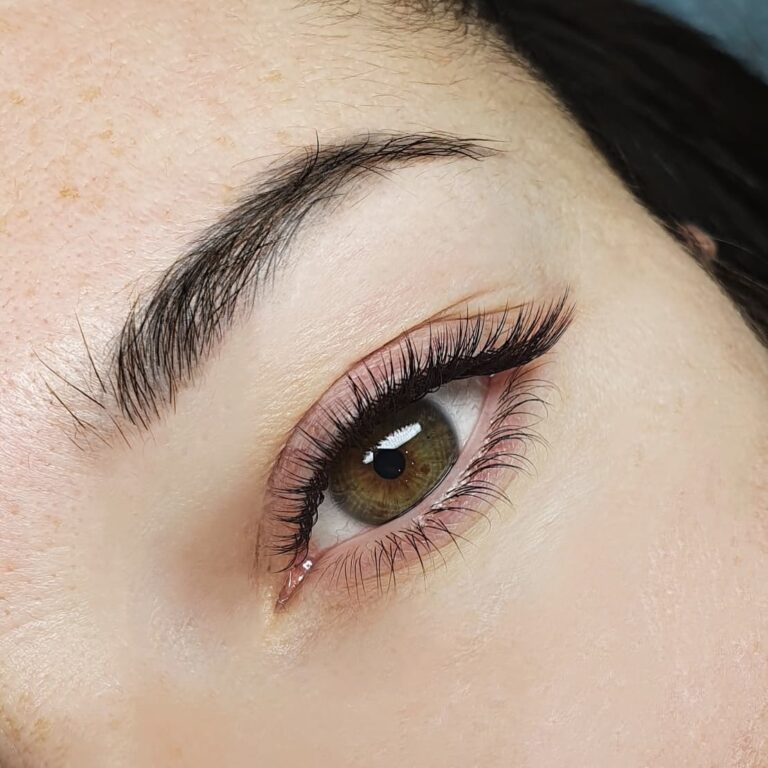 The Wet Effect in Lash Extensions (Photos and Diagrams)
 The Main Lash Extension Effects
 What Causes Allergies in Lash Extensions?
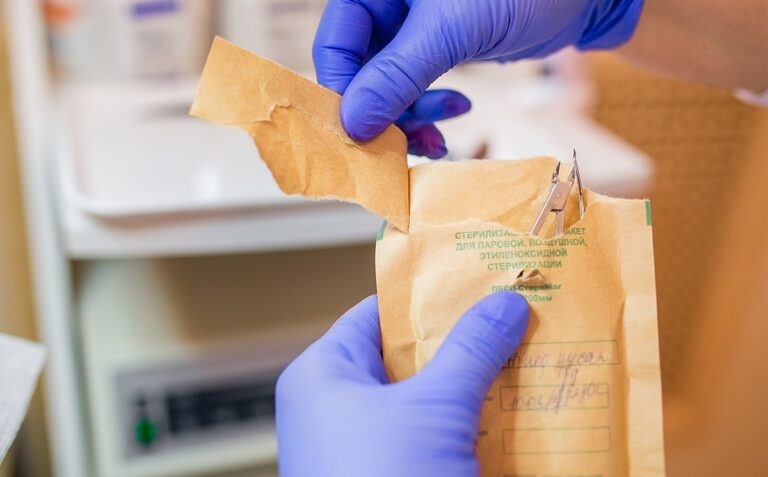 Disinfecting and Sterilizing Lash Tweezers
 Why Do Eyes Get Red After Lash Extensions?
 7 Ways Lash Artists Can Protect Their Eyesight
 Lash Extensions for Beginners: Where to Start and What You Need
 Mistakes When Cleansing Lashes Before Application
 How to Work With Lash AdhesiveHow to Choose the Best Lashes for Extensions
 Why Volume Fans Fall Apart
 How Often Should You Refresh the Adhesive Drop?