1. Each lash needs an “individual approach.” We never go by the direction of the natural lashes, since they can grow every which way. So you always have to find which side to place the extension or fan on to set the direction you want and get enough contact area.
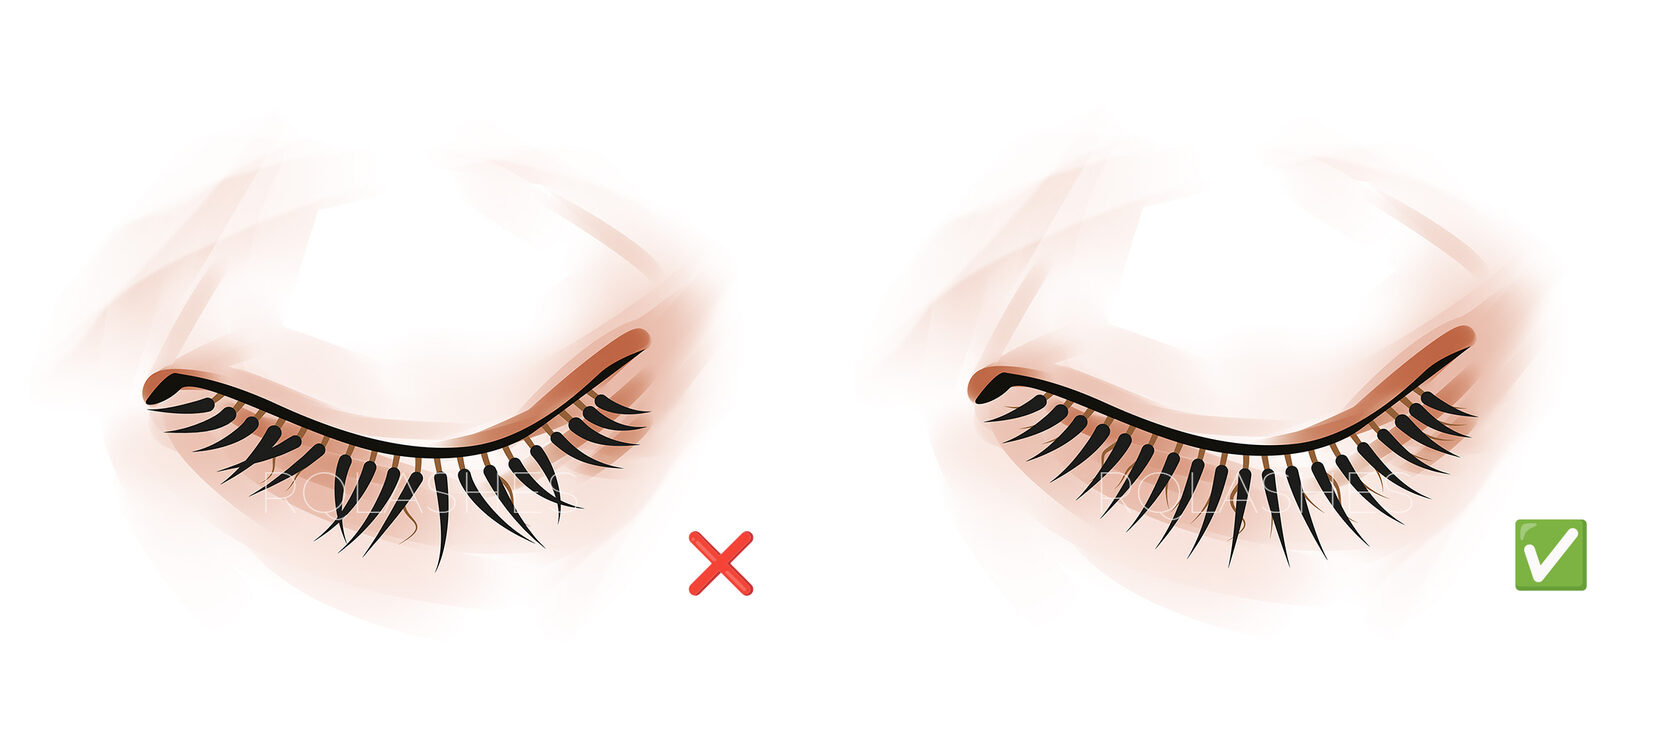
2. Set the direction gradually, increasing the angle little by little. Take your cue from the neighboring lash, all the lashes should run almost parallel to each other, like soldiers in formation, without crossing or fanning apart.
3. Pay attention to the direction of the TIPS! Lashes or fans can run parallel at the base but cross at the tips. The result: the direction still won’t look the way you want.
4. Use the mapping method. For many people, it’s much easier to set reference points that guide the direction of the whole set. (continued below)
An example of direction in lash extensions
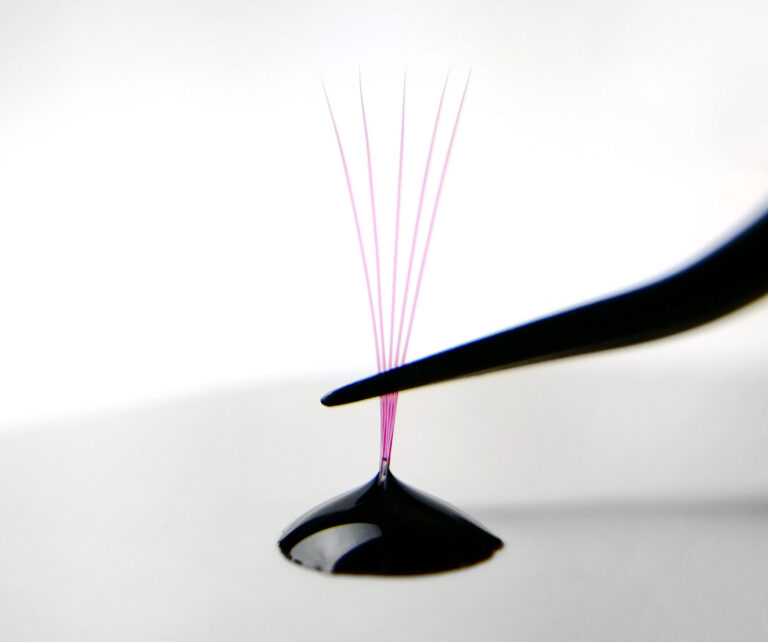
5. Work on the geometry of the fan. Fans should be as uniform as possible and not too wide, then the direction will be even too.
6. Let the lash dry. Don’t rush to the neighboring one: first, you’ll almost certainly get a sticky, and second, you can shift the direction of the freshly attached lash with your own tweezers, since the adhesive hasn’t dried enough yet to hold the fan.
7. Check that the margin is even everywhere. If the margin is inconsistent, the direction will be inconsistent too, no matter how hard you try.
8. Practice. Not just on clients, but at home too. You can take a sponge, line up a few individual extensions along the edge (one at a time), and try extending a lash or fan onto each one, setting the classic fanned direction. You can also use a strip of false lashes as your base.
Happy lashing!
You might also like
 How Deep to Dip the Lash in Adhesive
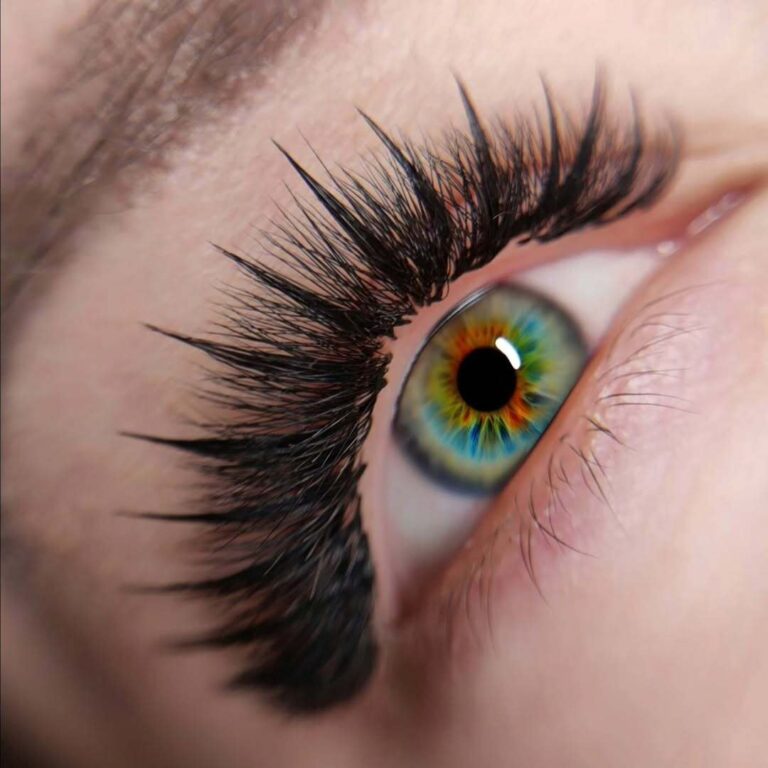 The Wispy Lash Effect
 The Best Surface for Your Adhesive Drop
 How to Choose the Volume
 Mistakes When Cleansing Lashes Before Application
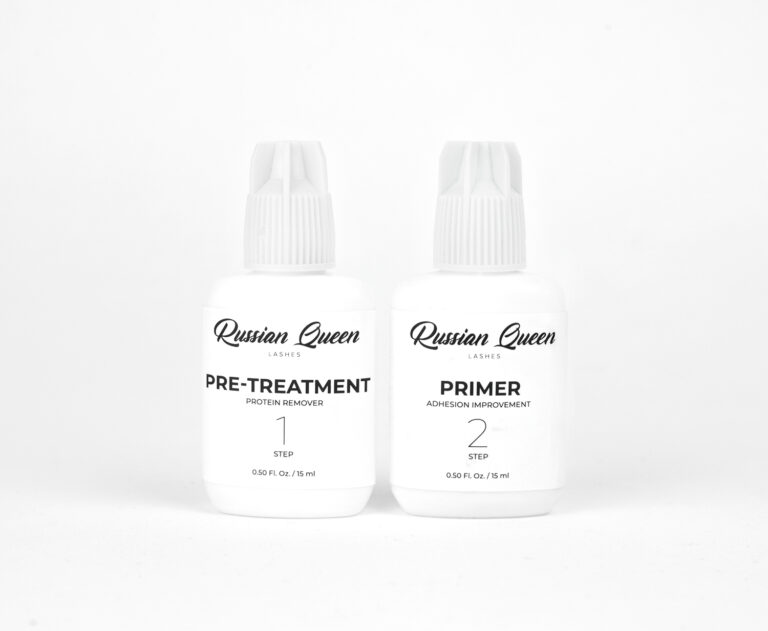 Lash Cleanser and Primer: Do You Need Them?
 How to Choose the Best Lashes for Extensions
 Remover Balls Up Into White Clumps: What to Do?
 Lash Remover: Which Type to Choose
 Types and Shapes of Lash Tweezers
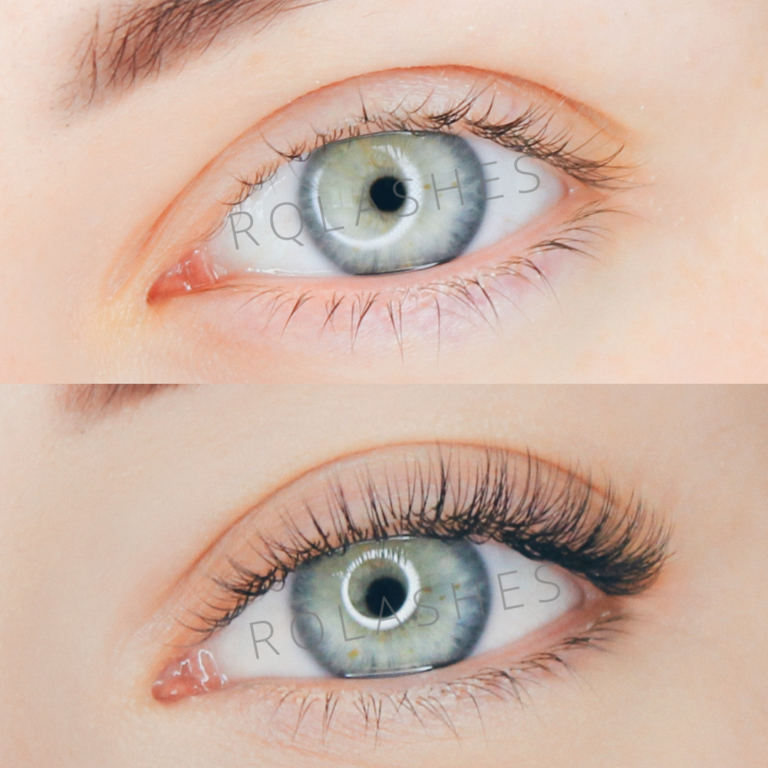 Are Classic Lash Extensions Still Trending?
 7 Ways Lash Artists Can Protect Their Eyesight
 How to Do a Lash Patch Test the Right Way
 The Natural Lash Effect
 How Lash Extensions Are Made, Step by Step
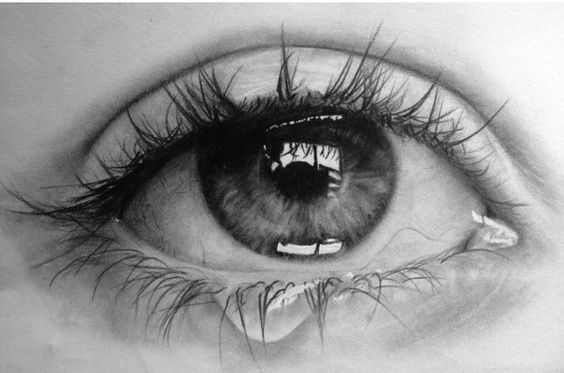 The Difference Between an Allergy and Irritation After Lash Extensions
 How to Choose the Best Lash Tweezers
 Angling Lashes Toward the Nose in the Corners: Yes or No?
 How to Set Up Your Lash Workstation
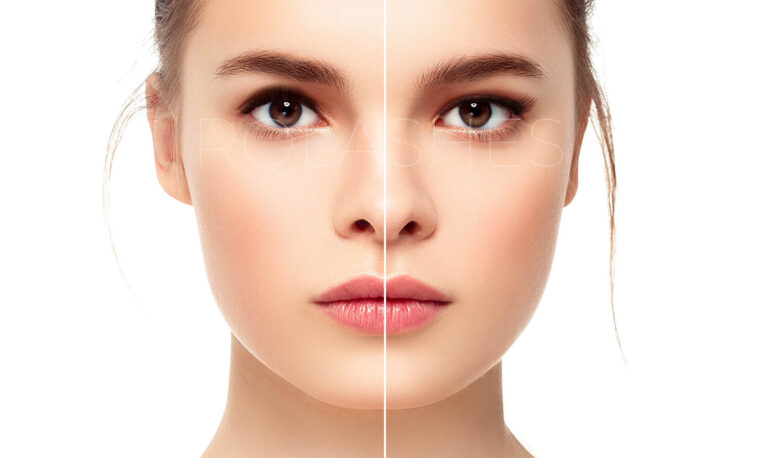 The Main Lash Extension Effects
 How to Make Lash Extensions Last Longer
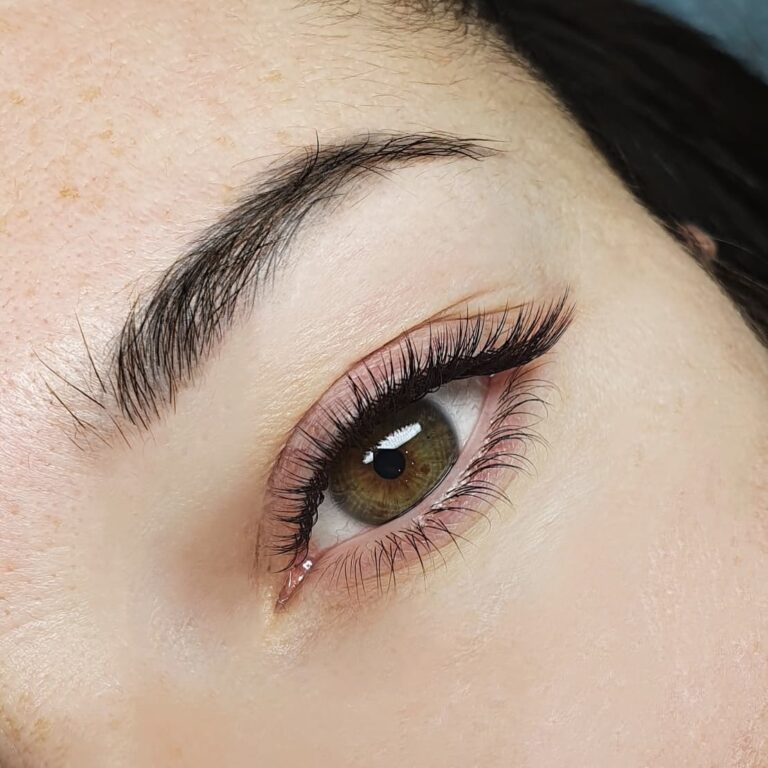 The Wet Effect in Lash Extensions (Photos and Diagrams)
 The Real History of False Lashes and Lash Extensions
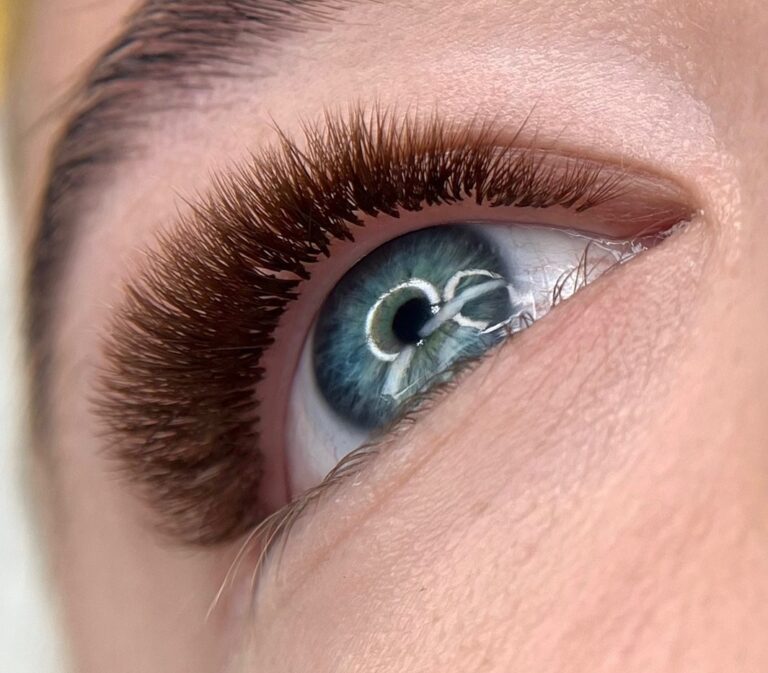 Everything About Brown Lash Extensions
 Lash Extensions for Beginners: Where to Start and What You Need
 Under-Eye Pads for Lash Extensions
 The Best Lash Adhesive: How to Choose
 How to Tame Your Lash Adhesive
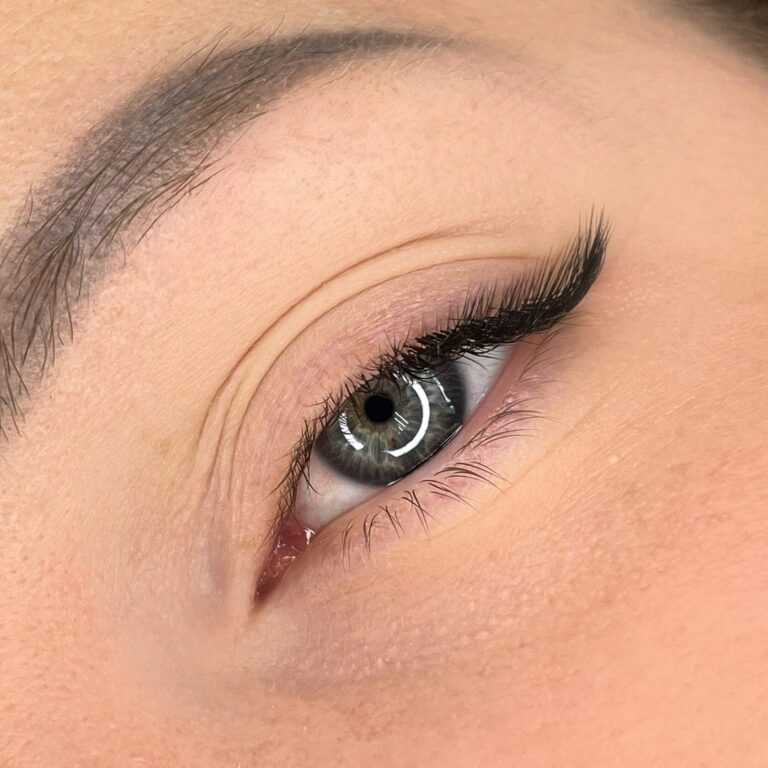 Wet Effect Lashes: A Photo Gallery
 Disinfecting and Sterilizing Lash Tweezers