Disinfection vs. sterilization: what’s the difference?
These two words get mixed up a lot, but they’re different processes:
🔹 Disinfection. This is surface-level decontamination that kills bacteria, viruses, and fungi on the outside. It kills most microbes, but not all of them.
🔹 Sterilization. This is deep processing that destroys all forms of microorganisms, including spores. After sterilization a tool is considered completely safe and could even be used in surgery.
Every working surface, hand tool, your hands, and your skin need to be disinfected.
Prepping your hands before a set
Washing your hands removes pathogens. Wash and treat them with a skin disinfectant (an antiseptic), both before and after contact with a client. Liquid soap in a no-touch dispenser is best. If you use bar soap, make sure it dried out after the last use.
To keep your skin intact and supple, antiseptics include softening additives; you can also use lanolin or a 1% glycerin. Liquid antibacterial soap, gel-based antibacterial products, and alcohol-based skin antiseptics all work too. Your hands are cleanest after an alcohol-based antiseptic, though the skin can get too dry.
The steps for processing your tweezers
Here’s what should happen to a tool after every client:
1. Remove physical debris. Right after your set, clear the tweezer of adhesive residue, stray lashes, and dust. You can use wet wipes, microbrushes, or an ultrasonic bath. More on removing stuck-on micro-drops of adhesive below.
2. Disinfect. Next comes disinfection with a product that eliminates microbes, viruses, fungi, and bacteria. In the US, use an EPA-registered, hospital-grade disinfectant (a tuberculocidal one, such as Barbicide or an equivalent your state board approves). Always read and follow the label instructions.
Usually you submerge the tools in the ready solution, remove them after the labeled contact time, rinse thoroughly under running water, and dry with sterile wipes. Whatever you use, follow the maker’s directions exactly.
Important: stick to the concentration and contact time the manufacturer specifies. Too short and it won’t work. Too long and the tool starts to corrode.
3. Dry. Always dry the tool completely with a clean, lint-free or microfiber wipe. Never put a wet tool into a sterilizer.
4. Sterilize. Pick one of these methods:
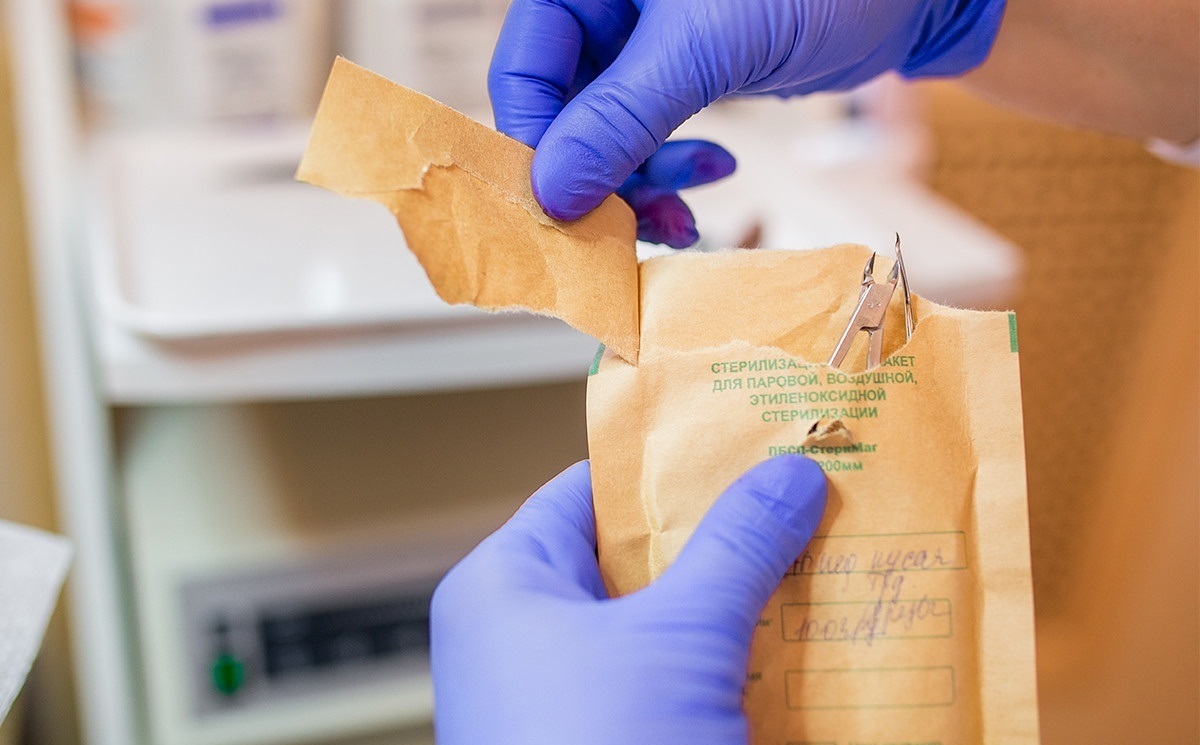
✅ Dry heat sterilizer. Temperature: 320 to 356°F (160 to 180°C). Time: 60 to 120 minutes depending on the model. Prep required: the tool must be fully dry and packed in a sterilization pouch or container.
✅ Autoclave (steam sterilization). Temperature: around 250 to 273°F (121 to 134°C) under pressure. Time: 15 to 60 minutes. Gentler on metal than dry heat. After sterilizing, place tools in a sealed tray or a UV cabinet. If you sterilized them in a pouch, leave them sealed in the pouch until use.
⚠️ What does not count as sterilization: a UV lamp doesn’t sterilize, it only reduces surface microbes. Wiping with alcohol doesn’t kill spores or deep bacterial forms. Soaking in disinfectant without follow-up sterilization is incomplete protection. For a detailed look at sterilization and disinfection equipment, read this article.
Common mistakes when processing tweezers
Using one batch of solution all day, when it evaporates and loses effectiveness. Wiping with an alcohol pad and assuming that’s “enough.” Storing clean and dirty tools together. Sterilizing a wet tool (which damages the metal and cuts effectiveness). Mixing disinfectants (or topping off old solution with new) or swapping the recommended products for “whatever’s on hand.”
Do you even need to sterilize tweezers?
Opinions differ on whether tweezers need full sterilization or simple disinfection is enough, since lashing (unlike, say, manicures) doesn’t involve contact with body fluids like blood or lymph, and with correct technique the tweezers never touch the skin. By that logic, disinfection should be plenty. But there’s always a risk of accidentally nicking the skin, plus fungi and bacteria passing from one client to another through tears, so sterilization reliably protects you from any trouble. On top of that, US sanitation rules are set by your state cosmetology or health board, and some states require sterilizing reusable tools. So to work by the book and stay clear of issues with inspectors, you should sterilize.
How to clean adhesive residue off tweezers the right way
Adhesive residue on your tweezers is one of the most common reasons an artist starts having trouble: fans getting damaged when you lift them off the strip, and losing grip precision.
If adhesive is left on a straight tweezer, it can catch on the natural lashes and get in the way of a clean isolation. If a curved tweezer is dirty, there’s a good chance the fan starts falling apart while you’re still lifting it off the strip.
How do you know a tweezer is dirty?
✔️ By sight: you can see dried micro-drops of adhesive or a film. ✔️ By ear: tap two tweezers together lightly, and if the sound is clear and ringing, the metal is clean. If it’s dull, there’s probably adhesive on the working end.
How to clean tweezers correctly.
Don’t scrape adhesive off mechanically, especially by pressing one tweezer against another. You risk damaging the sharpening or bending the tips.
The best option is a gel or liquid remover on a cotton pad or lint-free wipe. Gently wipe the dirty areas without extra pressure. This lifts the adhesive off gently without harming the tool, and keeps it working well for a long time.
Bottom line
Processing your tweezers properly isn’t a hassle, it’s a professional standard. And if you work around the eyes, sterility isn’t a luxury, it’s your responsibility.
Since full sterilization can take an hour and a half to two hours, you should have a backup set of tweezers. Don’t forget the sterility of your disposable supplies either: cotton pads, wipes, masks. Your instrument table and your hands need disinfecting too.
You might also like
 The Main Lash Extension Effects
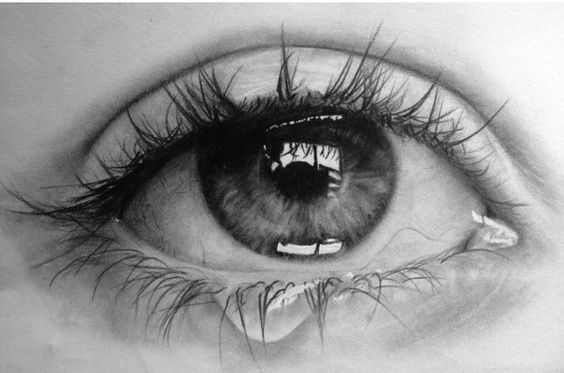 The Difference Between an Allergy and Irritation After Lash Extensions
 The Natural Lash Effect
 How to Choose a Lash Curl
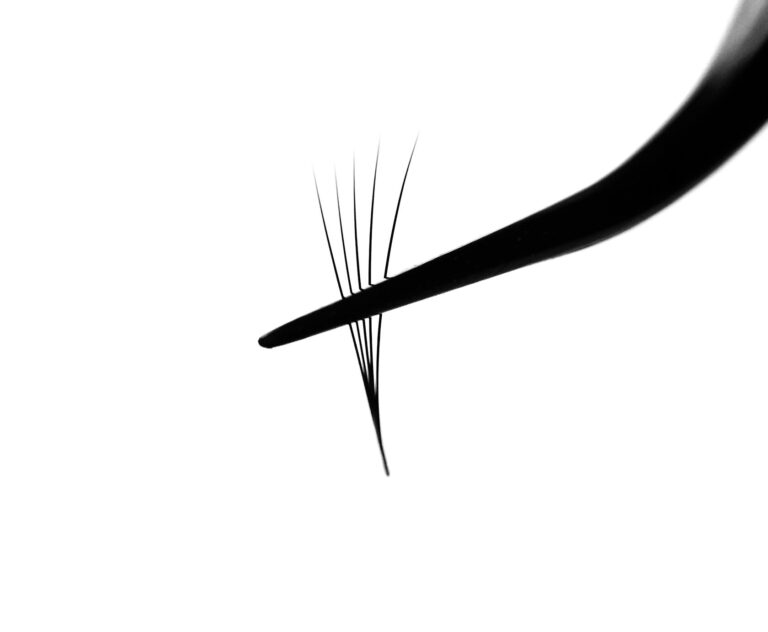 Why Volume Fans Fall Apart
 Your Client’s Eyelids Keep Twitching: What to Do?
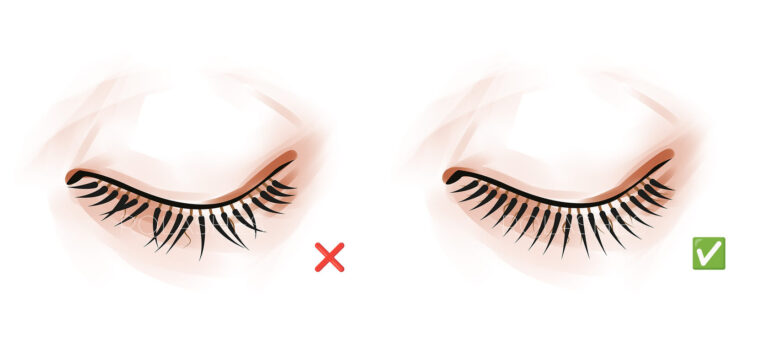 How to Set the Direction of the Lashes
 Lash Cleanser and Primer: Do You Need Them?
 The Wispy Lash Effect
 The Squirrel Effect in Lash Extensions (Diagrams and Photos)
 Types of Lash Tweezer Sterilization Equipment
 Wet Effect Lashes: A Photo Gallery
 Why Your Client’s Eyes Water, and Why It Matters
 How Often Should You Refresh the Adhesive Drop?
 The Best Surface for Your Adhesive Drop
 Angling Lashes Toward the Nose in the Corners: Yes or No?
 Lash Remover: Which Type to Choose
 How to Do a Lash Patch Test the Right Way
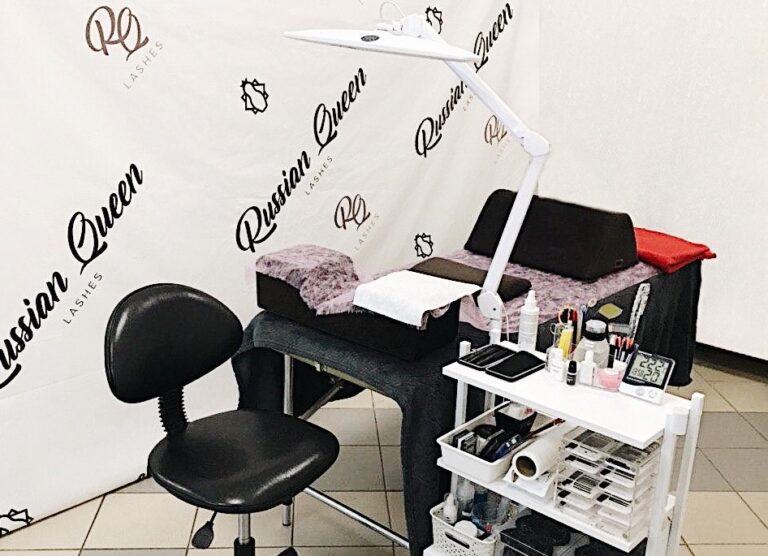 How to Set Up Your Lash Workstation
 What Causes Allergies in Lash Extensions?
 The Real History of False Lashes and Lash ExtensionsHow to Choose the Best Lashes for Extensions
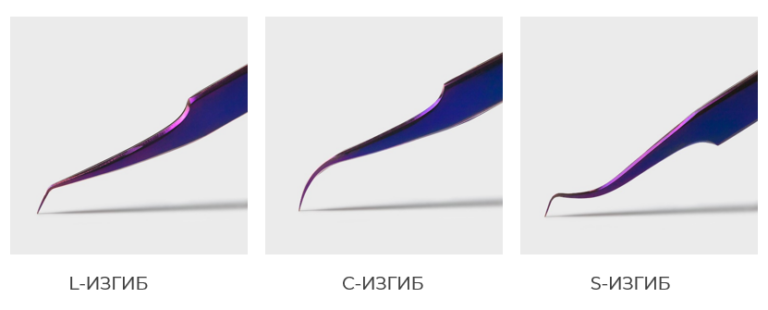 Types and Shapes of Lash Tweezers
 How to Work With Lash Adhesive
 Are Classic Lash Extensions Still Trending?
 Lash Extensions for Beginners: Where to Start and What You Need
 Mistakes When Cleansing Lashes Before Application
 How Lash Extensions Are Made, Step by Step
 How to Make Lash Extensions Last Longer
 The Cat Eye Lash Effect