Which lash adhesive to buy and use is on every artist’s mind. You always want to feel confident in the result, the quality, and the safety. As you probably know, an adhesive that works beautifully in one level of humidity and climate can turn out completely useless in another. There’s no single “best universal lash adhesive,” it simply doesn’t exist. The real goal is to find the best one for you and your working conditions.
Consistency, minimal fumes (which really matters for sensitive clients), grab speed, and, of course, the reliability that gives you long retention, these are the qualities that make an adhesive a professional favorite.
The conditions for adhesive to work its best
Humidity
Cyanoacrylate adhesives polymerize within a few seconds under the influence of humidity. The higher the relative humidity in the room, the faster the adhesive cures. But there’s an optimal range. The best conditions for a strong, reliable bond come at 40 to 70% relative humidity. If the humidity is too low (under 30%), the cure time gets too long; if it’s too high (over 80%), you get what’s called shock polymerization, and that leads to a weaker bond.
Relative vs. absolute humidity. The humidity we’re talking about comes in two kinds. Absolute humidity is the mass of water vapor in 1 cubic meter of air (its density). At a given temperature, air can only absorb so much vapor before it reaches saturation; absolute humidity at saturation is called the moisture capacity, and it rises sharply as the temperature goes up. Relative humidity is the ratio of absolute humidity to the moisture capacity at that same temperature, which is the percentage your hygrometer shows.
An important nuance: at different room temperatures the % humidity will be different, even though the actual amount of moisture in the air hasn’t changed. So it’s more accurate to aim for a specific pairing of temperature and relative humidity rather than separate recommended ranges: at 70°F versus 75°F, the % you need will vary for the very same amount of moisture in the air. Use a thermo-hygrometer to keep both readings in check as you work.
Temperature
Temperature has a big effect on the speed of the chemical reaction. Raising it by about 18°F (10°C) doubles the polymerization time. But there’s a specific range that gives the best results: between 68 and 80°F (20 to 27°C). Keep in mind that at lower or higher temperatures, the adhesive’s viscosity changes.
The surface condition
For cyanoacrylate adhesives, a clean surface matters, and so does the pH value. On an acidic surface, the cure time increases. On an alkaline surface, curing speeds up. But if the surface is too alkaline, shock polymerization can occur, which degrades the adhesive’s properties. As you know, healthy human skin has a neutral pH of about 5.5, which is why a special primer is used to make the surface slightly more alkaline.
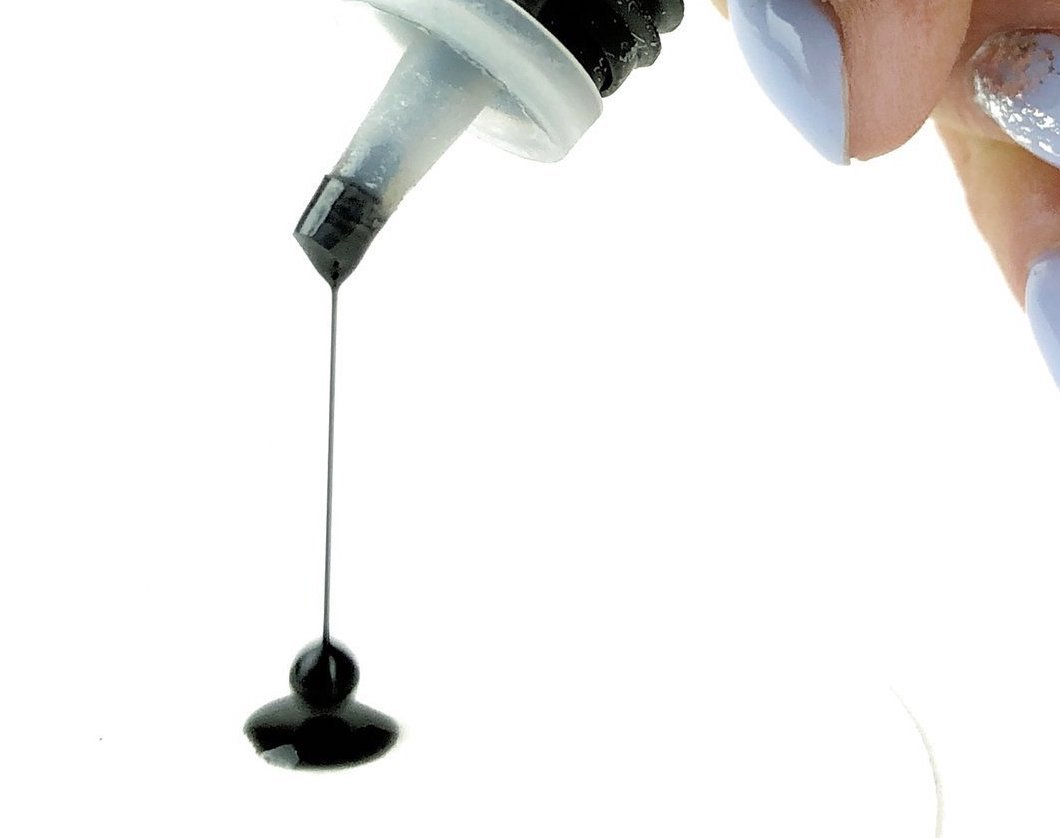
The adhesive drop has to be refreshed constantly during the service! Depending on the adhesive, the room climate, and the surface the drop sits on, you need to change it every 20 to 35 minutes.
How to control your microclimate
Thermo-hygrometer. This is your main helper. It shows temperature and humidity at once, and it’s what you use to adjust everything else. Tip: put it next to your station (not by a window or radiator), because that’s where the adhesive works, and that’s the only spot that matters.
Air conditioner. The best way to drop temperature and humidity at once. But watch out: AC dries out the air, especially in small rooms. If you’ve turned on the AC, you may need to add a humidifier or use an accelerator so curing doesn’t stall.
Humidifier. Works alongside an AC or heater to keep humidity in range. Don’t put it too close to your work zone; set it in another corner of the room for an even background level.
Heater. Can help if your room is cold, especially in winter. Use it only if the temperature is genuinely low and the space is poorly heated. Paired with a heater, you may need a humidifier to avoid excess dryness.
A few more tips. In summer, shade your windows, especially south-facing ones, so the room doesn’t overheat. Store adhesive in the shade and cool, upright, ideally in a sealed container with silica gel. Don’t put your drop in an airstream (fan, AC), or you’ll have to change it more often.
Tips for working with adhesive
- The adhesive in the drop should be fluid enough. As soon as it gets thicker and more viscous, change the drop.
- Use a medium amount of adhesive per lash. Too little leads to it polymerizing before it even reaches the lash, too much leads to stickies and messy work.
- Go by the grab speed the manufacturer states.
- Prep the lashes for the application. Use primer and a cleanser, so the adhesive grabs better and retention lasts longer.
- Use a humidifier to speed up polymerization. BUT! If you’re working in a hot or humid room and picking up too little adhesive, or can’t keep up with its grab speed, a humidifier will only make the problem worse.
- To make the adhesive polymerize slower, work in a cooler room or set yours to 70 to 72°F (21 to 22°C). Or use a slower adhesive.
Safety when working with lash glue
Before the finer points, one thing matters most: cyanoacrylate glue calls for real safety habits. Here’s what ignoring them can do:
Respiratory system. The glue irritates your airways, and long exposure to high vapor concentrations can have a chronic effect on sensitive people. In dry air (humidity under 50%), the vapors irritate more.
Skin. The glue bonds to skin in seconds. It’s low-toxicity on its own, but because it polymerizes on the skin’s surface, an allergic reaction is possible.
Eyes. The vapors irritate the eyes, and in dry air (humidity under 50%) they can cause watering.
How to protect yourself:
1. Keep your glue base as far from your face as you can. Don’t use a glue ring, it constantly brings the glue close to your face and airways.
2. Keep in mind that most filter masks (carbon ones included) don’t protect against glue vapors. The simplest, most effective option is a damp mask: the moisture polymerizes the vapors and stops them from reaching your airways.
3. Ideally, set up an extraction fan over your workspace that actively pulls the air and vapors away.
Common questions about working with glue
Do you need to shake the glue? The need to mix comes from how multi-component modern glues are: the pigment and the components responsible for elasticity can separate from the cyanoacrylate base. But that’s not always the case. Whether a specific glue needs shaking is best figured out by testing: let the tube sit undisturbed for at least an hour, then, without shaking, squeeze out a drop and check how uniform it is and how it works.
How long does the glue take to cure? A freshly placed fan holds so firmly within 3 to 5 minutes that removing it mechanically risks damage. Full polymerization takes 1 to 2 hours, and clients are advised to wait 3 hours before putting the lashes into full “service.” Normal curing can be slowed by vibrations passed from your hand to the drop during placement, and by trying to reposition a fan late in the curing process.
Why does the glue work poorly with some clients? The signs are slow curing on the eyes and a fragile, off-looking bond. The causes are usually on the client’s side: a dense lash microstructure that resists absorbing the glue; heavy enzyme secretion that clogs the micropores; or the use of lash-repair oils shortly before the appointment, which get in the way of both fast polymerization and a solid bond.
Why does the glue seem to “slow down” by evening? Glue performance doesn’t depend on the time of day. It comes down to the artist’s state by the end of the workday: fatigue lowers focus, and some of the technique’s nuances slip. Poor lighting and an awkward workspace setup make it worse.
Read also:
You might also like
The Real History of False Lashes and Lash Extensions
How to Set the Direction of the Lashes
Why Do Lashes Tangle, Twist, or Droop?
How Lash Extensions Are Made, Step by Step
The Cat Eye Lash Effect

How to Choose a Lash Curl

Men’s lash extensions: how to define the eyes and keep them masculine
Under-Eye Pads for Lash Extensions
Why Do Eyes Get Red After Lash Extensions?
Disinfecting and Sterilizing Lash Tweezers
The Difference Between an Allergy and Irritation After Lash Extensions
Lash Remover: Which Type to Choose
Lash Primer, Cleanser, Accelerator, and Bonder: When You Need Them and How to Choose
Types of Lash Tweezer Sterilization Equipment
How to Choose the Volume
Are Classic Lash Extensions Still Trending?
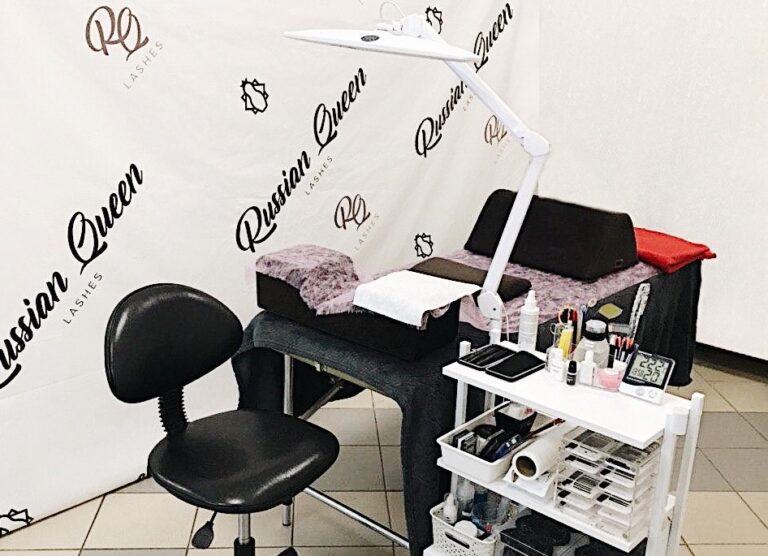
How to Set Up Your Lash Workstation

7 Ways Lash Artists Can Protect Their Eyesight
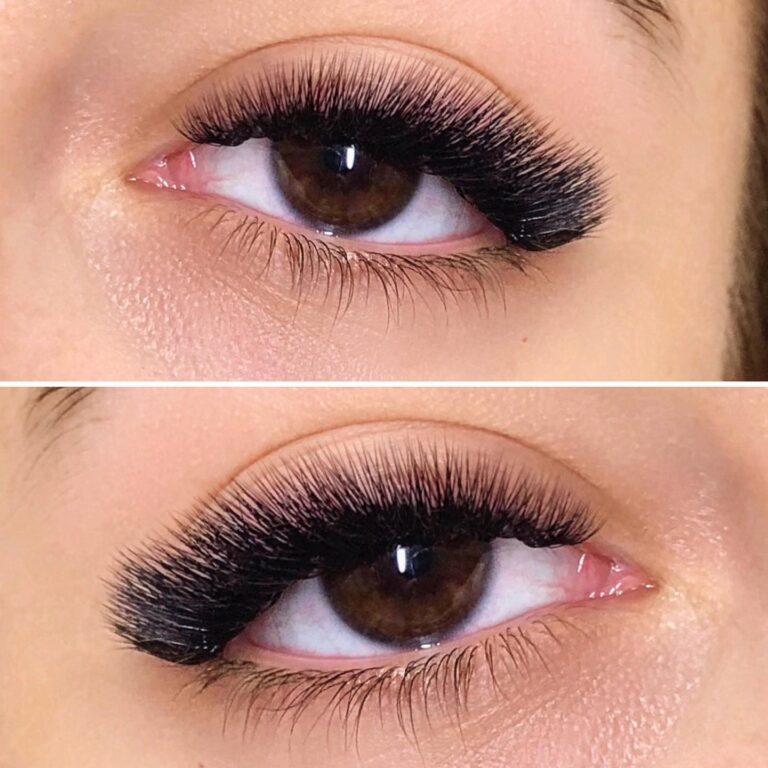
The Squirrel Effect in Lash Extensions (Diagrams and Photos)
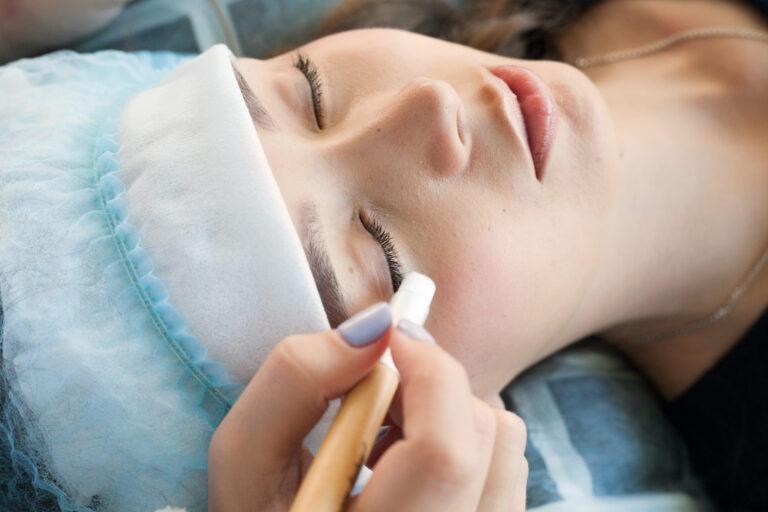
Mistakes When Cleansing Lashes Before Application
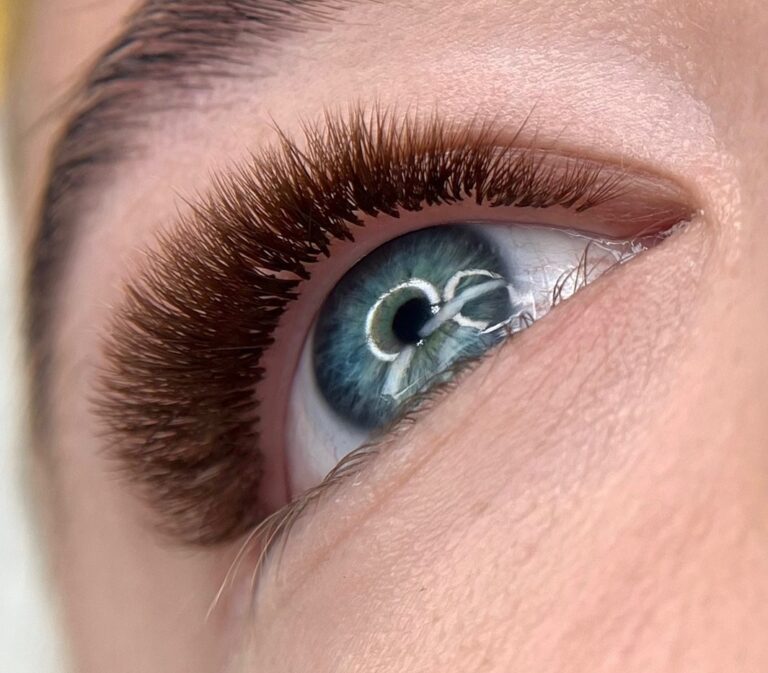
Everything About Brown Lash Extensions
The Wispy Lash Effect
How Often Should You Refresh the Adhesive Drop?
Lash Extensions for Beginners: Where to Start and What You Need
Your Client’s Eyelids Keep Twitching: What to Do?
Remover Balls Up Into White Clumps: What to Do?

Why Your Client’s Eyes Water, and Why It Matters
How Deep to Dip the Lash in Adhesive
Common Lash Extension Mistakes